This blog post serves as an example of how our platform empowers developers and businesses to seamlessly integrate open source as web services into their applications and services. Build applications and solutions on these open web services to avoid being locked in to a single web services vendor.

In this example we will build a NodeJS application that uses an open web service to store application configurations. Before we begin and to follow this guide you will need to signup with Eyevinn Open Source Cloud to get the personal access token to access available web services. Navigate to the Web Console and register with your email. Signup is free and on the free plan you have access to create one open web service at the time. Upgrade to startup or business plan gives you access to use more open web services at the same time. Create a tenant and you are good to go.
You can now obtain the access token by navigating to Settings / API in the web console. Copy this and store in your shell’s environment in the environment variable OSC_ACCESS_TOKEN.
% export OSC_ACCESS_TOKEN=access-token-copied-above
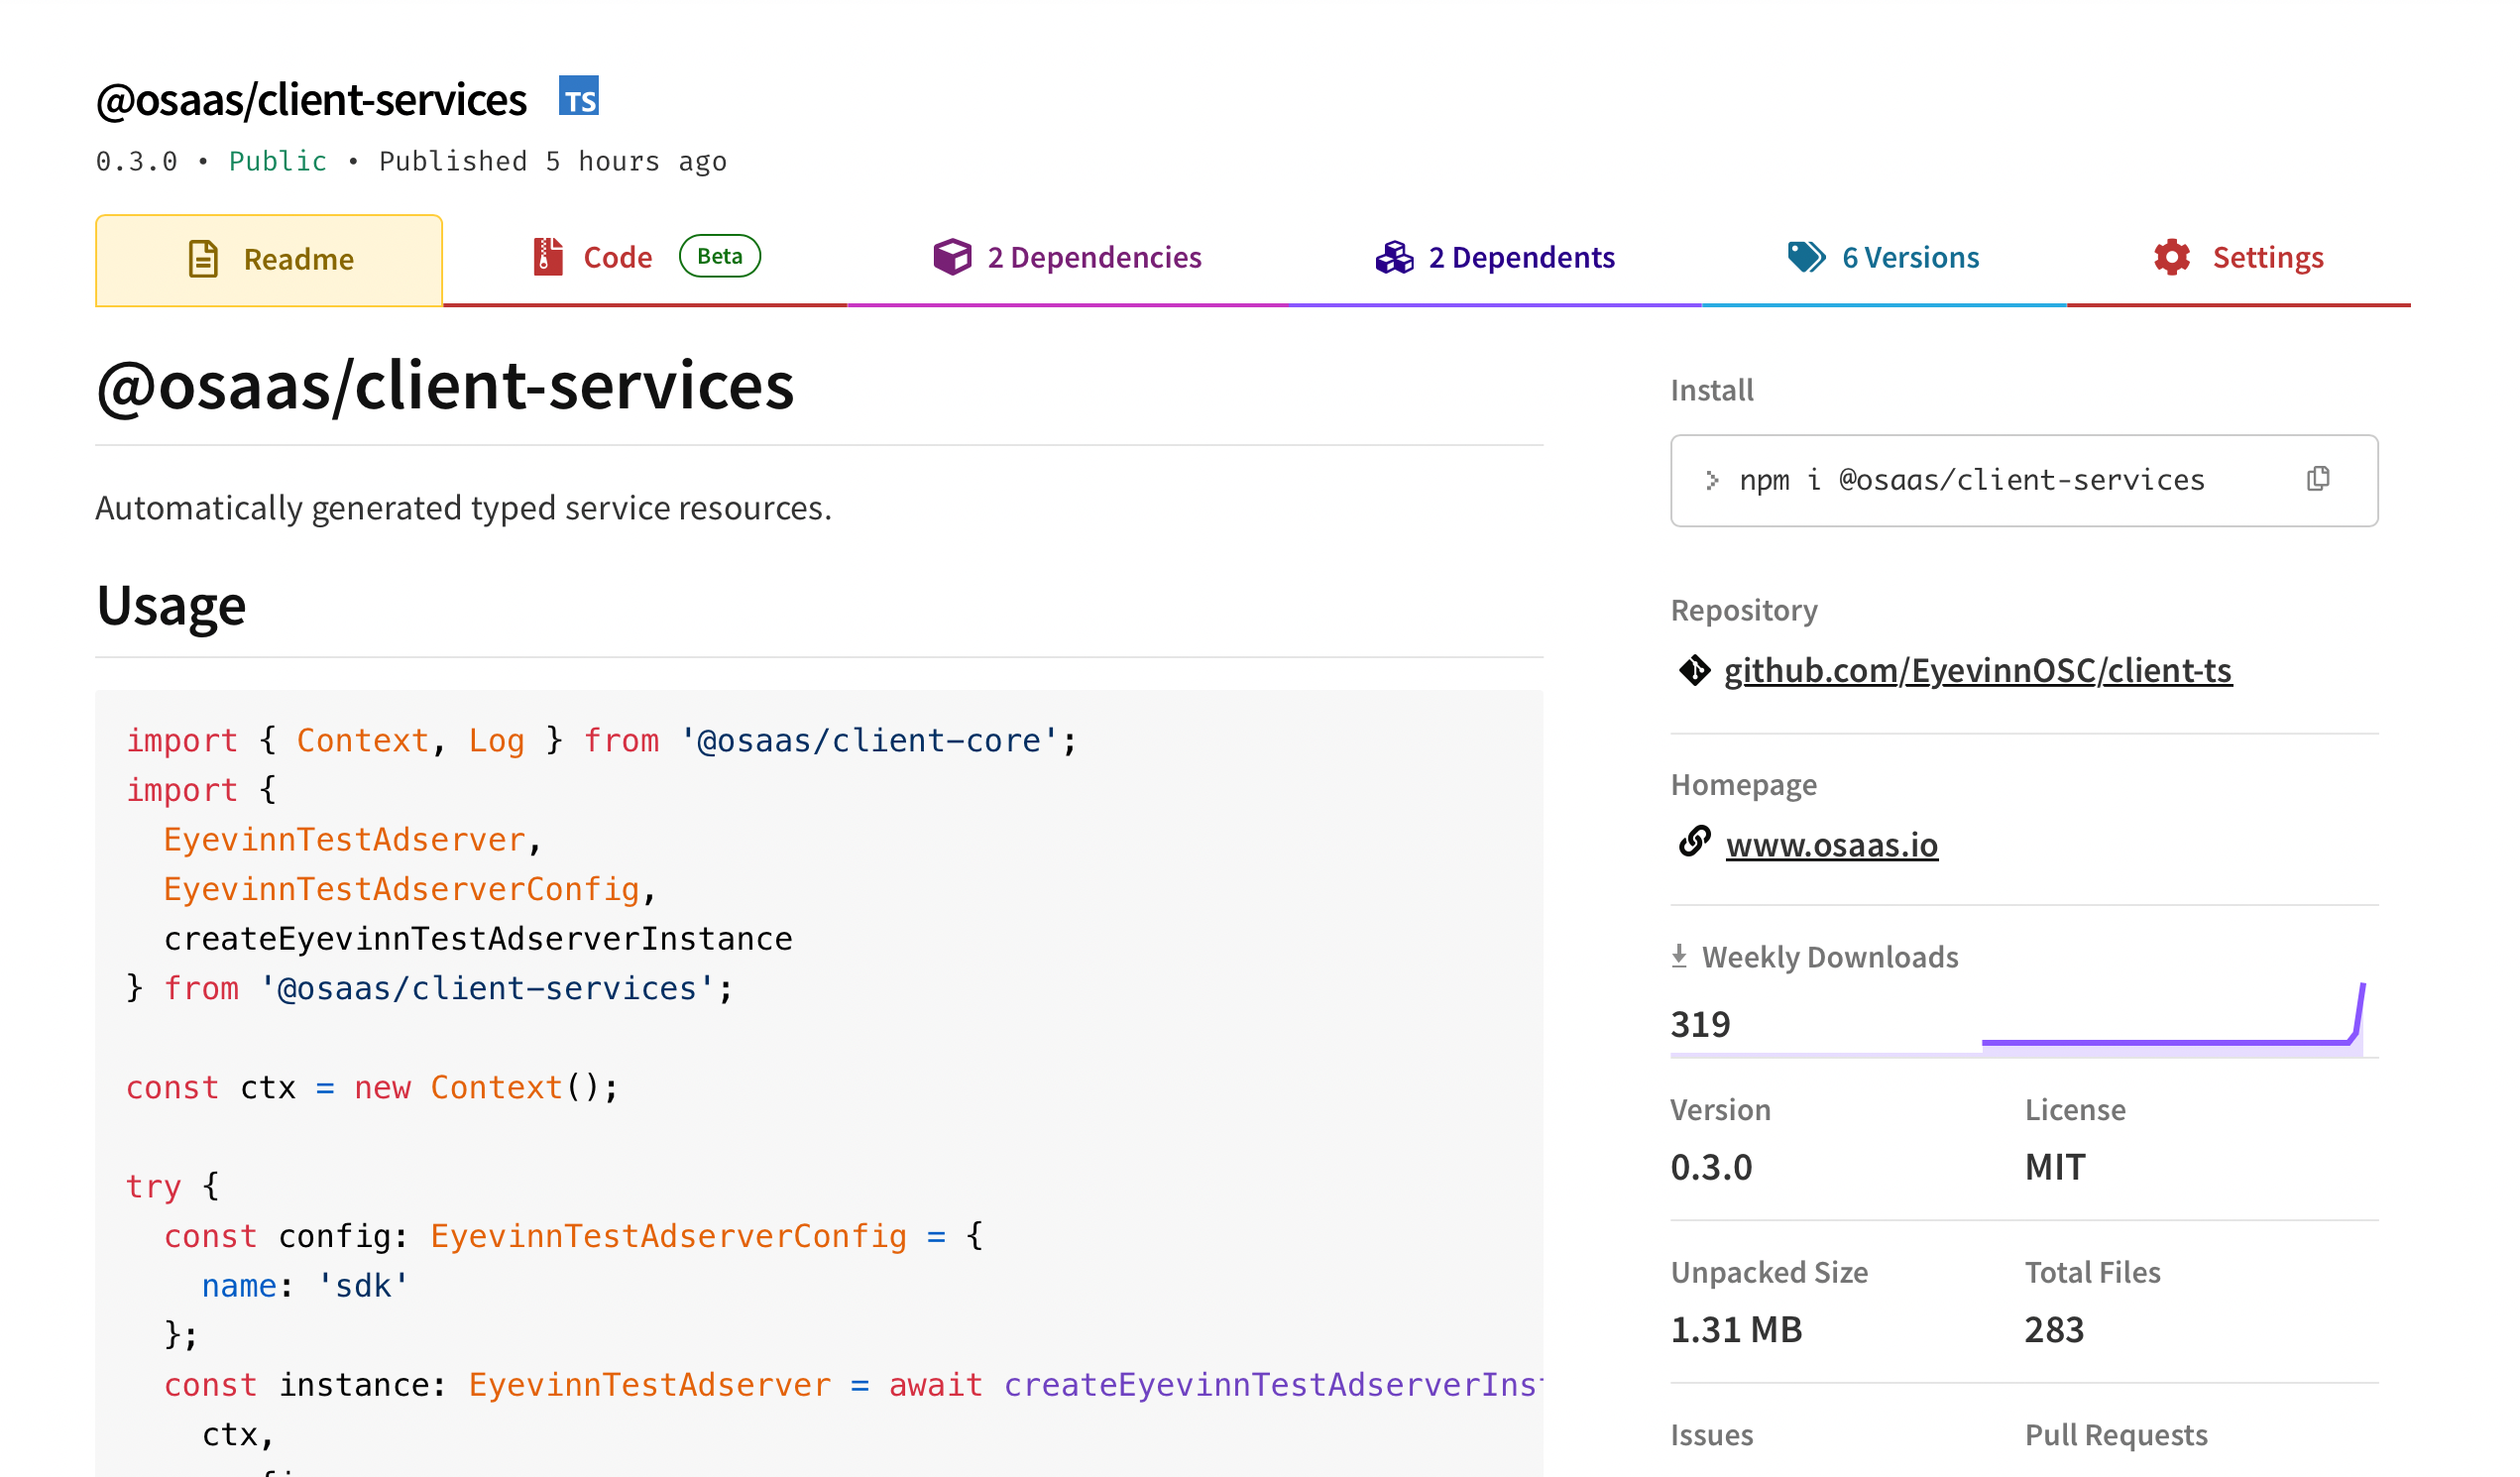
Setup your Node/Typescript project and install the Typescript client SDK.
% npm install --save @osaas/client-services
Create a main function that will read a config value and if not existing it will save a default.
async function main() {
  const ctx = new Context();
  const service = await setup(ctx);
  console.log('Configuration UI available at:', service.url);
  let value = await readConfigVariable(service, 'foo');
  if (!value) {
    await saveConfigVariable(service, 'foo', 'default');
    value = await readConfigVariable(service, 'foo');
  }
  console.log(`Config value: ${value}`);
}
Let us go through in more detail what above does.
This line will read the OSC_ACCESS_TOKEN environment variable from your shell and create a context for accessing the Eyevinn Open Source Cloud platform.
const ctx = new Context();
Then we will setup the open web services that we will need.
const service = await setup(ctx);
In return we will get the open web service handling the configuration variables and a URL to the configuration service web user interface. In this web interface you can manage the values of the configurations.
  let value = await readConfigVariable(service, 'foo');
  if (!value) {
    await saveConfigVariable(service, 'foo', 'default');
    value = await readConfigVariable(service, 'foo');
  }
  console.log(`Config value: ${value}`);
We try to read a variable called foo and if it does not exists we will create a variable with a default value. We then print the value to the console.
Now let us take a closer look at the function setup().
In this function we create the open web service for managing configuration variables. An open web service created from the open source project App Config Svc available on GitHub. This service requires a Redis database for storing and accessing the values.
For the database we will then create an instance of the Valkey.io open web service that provides a Redis compatible API. We obtain the IP and ports to this instance and creates a Redis URL that we provide the application config service we want to create.
async function setup(ctx: Context) {
  const configServiceAccessToken = await ctx.getServiceAccessToken(
    'eyevinn-app-config-svc'
  );
  let configService: EyevinnAppConfigSvc = await getInstance(
    ctx,
    'eyevinn-app-config-svc',
    'example',
    configServiceAccessToken
  );
  if (!configService) {
    const valkeyInstance = await createValkeyIoValkeyInstance(ctx, {
      name: 'configstore'
    });
    const redisUrl = await getRedisUrlFromValkeyInstance(
      ctx,
      valkeyInstance.name
    );
    configService = await createEyevinnAppConfigSvcInstance(ctx, {
      name: 'example',
      RedisUrl: redisUrl
    });
  }
  return configService;
}
The functions to save and read configuration variables are written as followed. Basically just using the HTTP API that the configuration service provides for writing and reading variables.
async function saveConfigVariable(service: EyevinnAppConfigSvc, key: string, value: string) {
  const url = new URL('/api/v1/config', service.url);
  const response = await fetch(url.toString(), {
    method: 'POST',
    headers: {
      'Content-Type': 'application/json'
    },
    body: JSON.stringify({ key, value })
  });
  if (!response.ok) {
    throw new Error(`Failed to save config: ${response.statusText}`);
  }
}

async function readConfigVariable(service: EyevinnAppConfigSvc, key: string) {
  const url = new URL(`/api/v1/config/${key}`, service.url);
  const response = await fetch(url.toString(), {
    method: 'GET',
    headers: {
      'Content-Type': 'application/json'
    }
  });
  if (!response.ok) {
    return undefined;
  }
  const data = await response.json();
  return data.value;
}
This example shows you how you can integrate open web services easily in your applications and services. More examples are available in this GitHub repository.
