Instantly share your web application

In web development prototyping and the ability to get early feedback from users can be a critical factor for success. While in theory this is a good practice it can in reality be cumbersome to achieve. You have a running web application locally on your computer but to be able to share it with stakeholders for feedback it most often requires a lot of infrastructure work first. Time and effort you don’t want to spend just to show something that is work in progress.

This is the problem that the open web service Web Runner in Eyevinn Open Source Cloud addresses. In this blog post we will demonstrate how you with this service can take your web application and make it available online in minutes.

Why Open Source Cloud for web development prototyping?

Using an open web service based on open source you are not locked in with a specific vendor and you have the option to run the very same code in your own infrastructure or cloud.

Create an account for free at app.osaas.io and create your tenant. If you already have access to Eyevinn Open Source Cloud you can skip this step.

Step 1: Create a Hello World web application

If you already have a web application you can skip this step.

We will create a web application using the NEXT.js framework in this example.

Create a new Next.js project by running this command

% npx create-next-app@latest

After the prompts, create-next-app will create a folder with your project name and install the required dependencies. We can try it out by running it.

% npm run build
% npm start

Now you have your web application available on http://localhost:3000

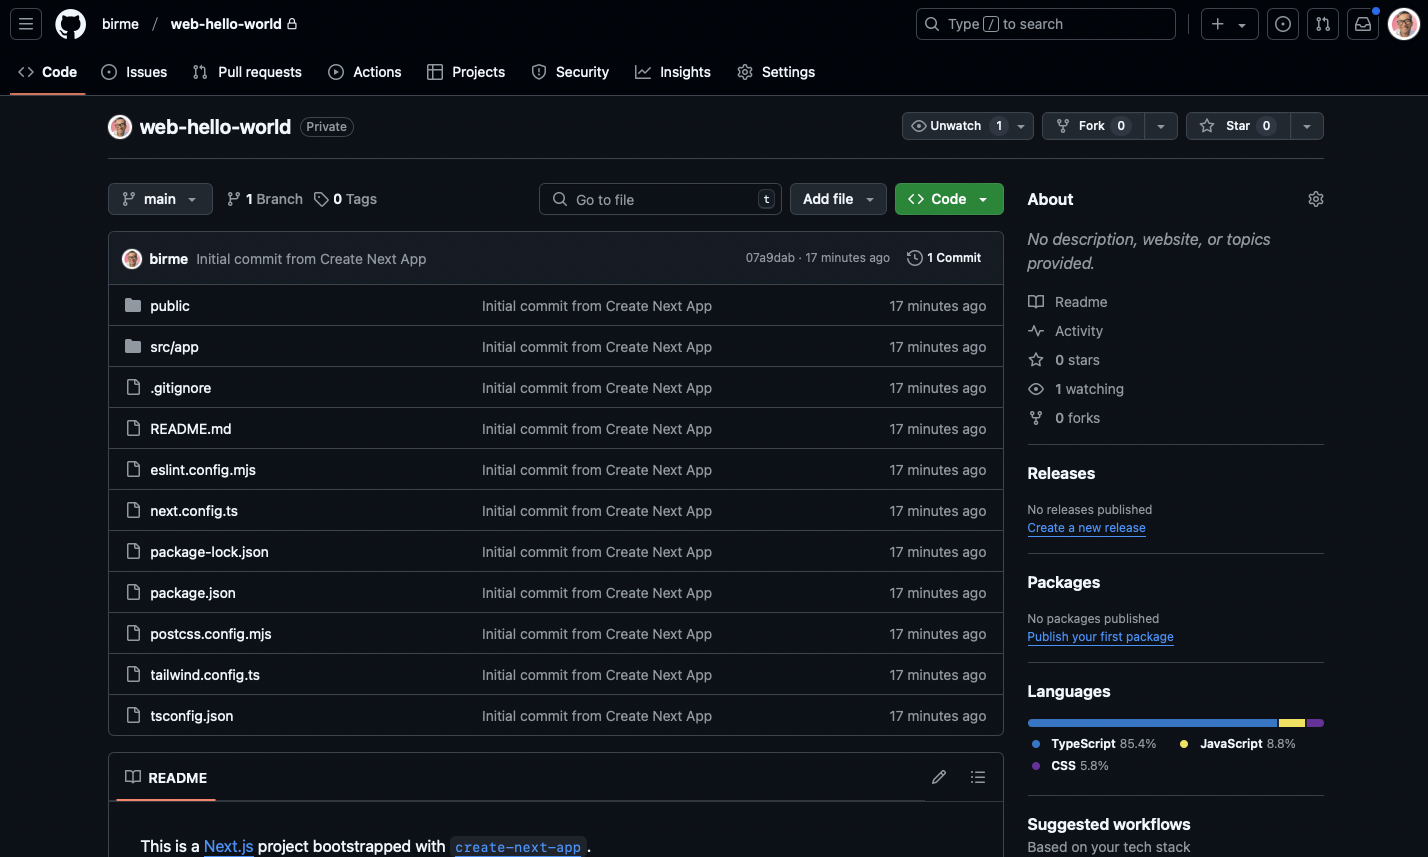
Step 2: Create a repository on GitHub

Login or signup on GitHub and create a repository for your web application and give it a name, for example web-hello-world. It can be a private or a public repository. Push the code in the project folder, for example.

% git remote add origin git@github.com:birme/web-hello-world.git
% git branch -M main
% git push -u origin main

Step 3: Create a GitHub personal access token

Follow the steps described in the GitHub documentation for how to create a personal access token. You can skip this step if you already have a personal access token.

Step 4: Store token as a Service Secret

Now navigate to the Web Runner service in Eyevinn Open Source Cloud web console. Click on the tab “Service Secrets” and click on the button “New Secret”. Give the secret a name and paste the GitHub token from your clipboard.

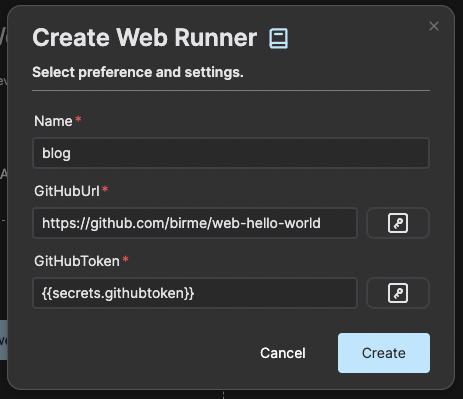
Step 5: Create Web Runner

To make the web application available online you create a Web Runner instance.

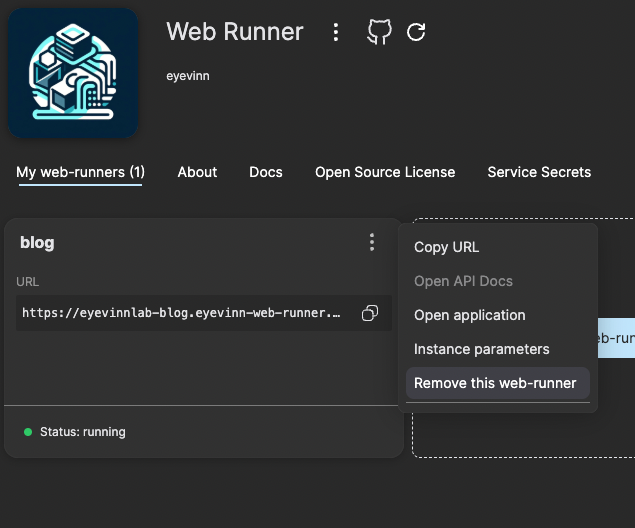
Click on the tab “My web-runners” and then on the button “Create web-runner”. Enter the GitHub URL for your web application code and enter a reference to the secret you created in step 4. Enter the URL to the GitHub repository that you created in step 2.

Press create and you should now after a few minutes have an instance of your web application ready.

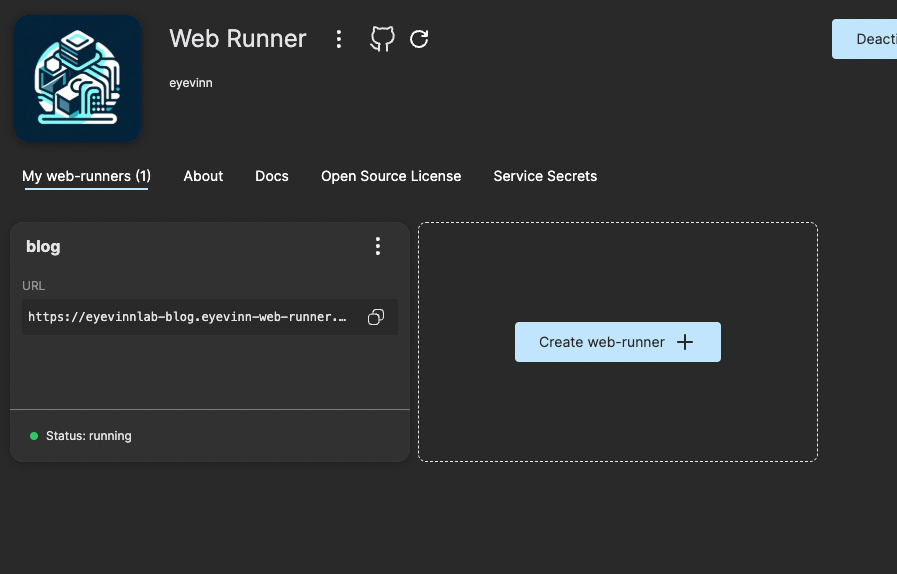
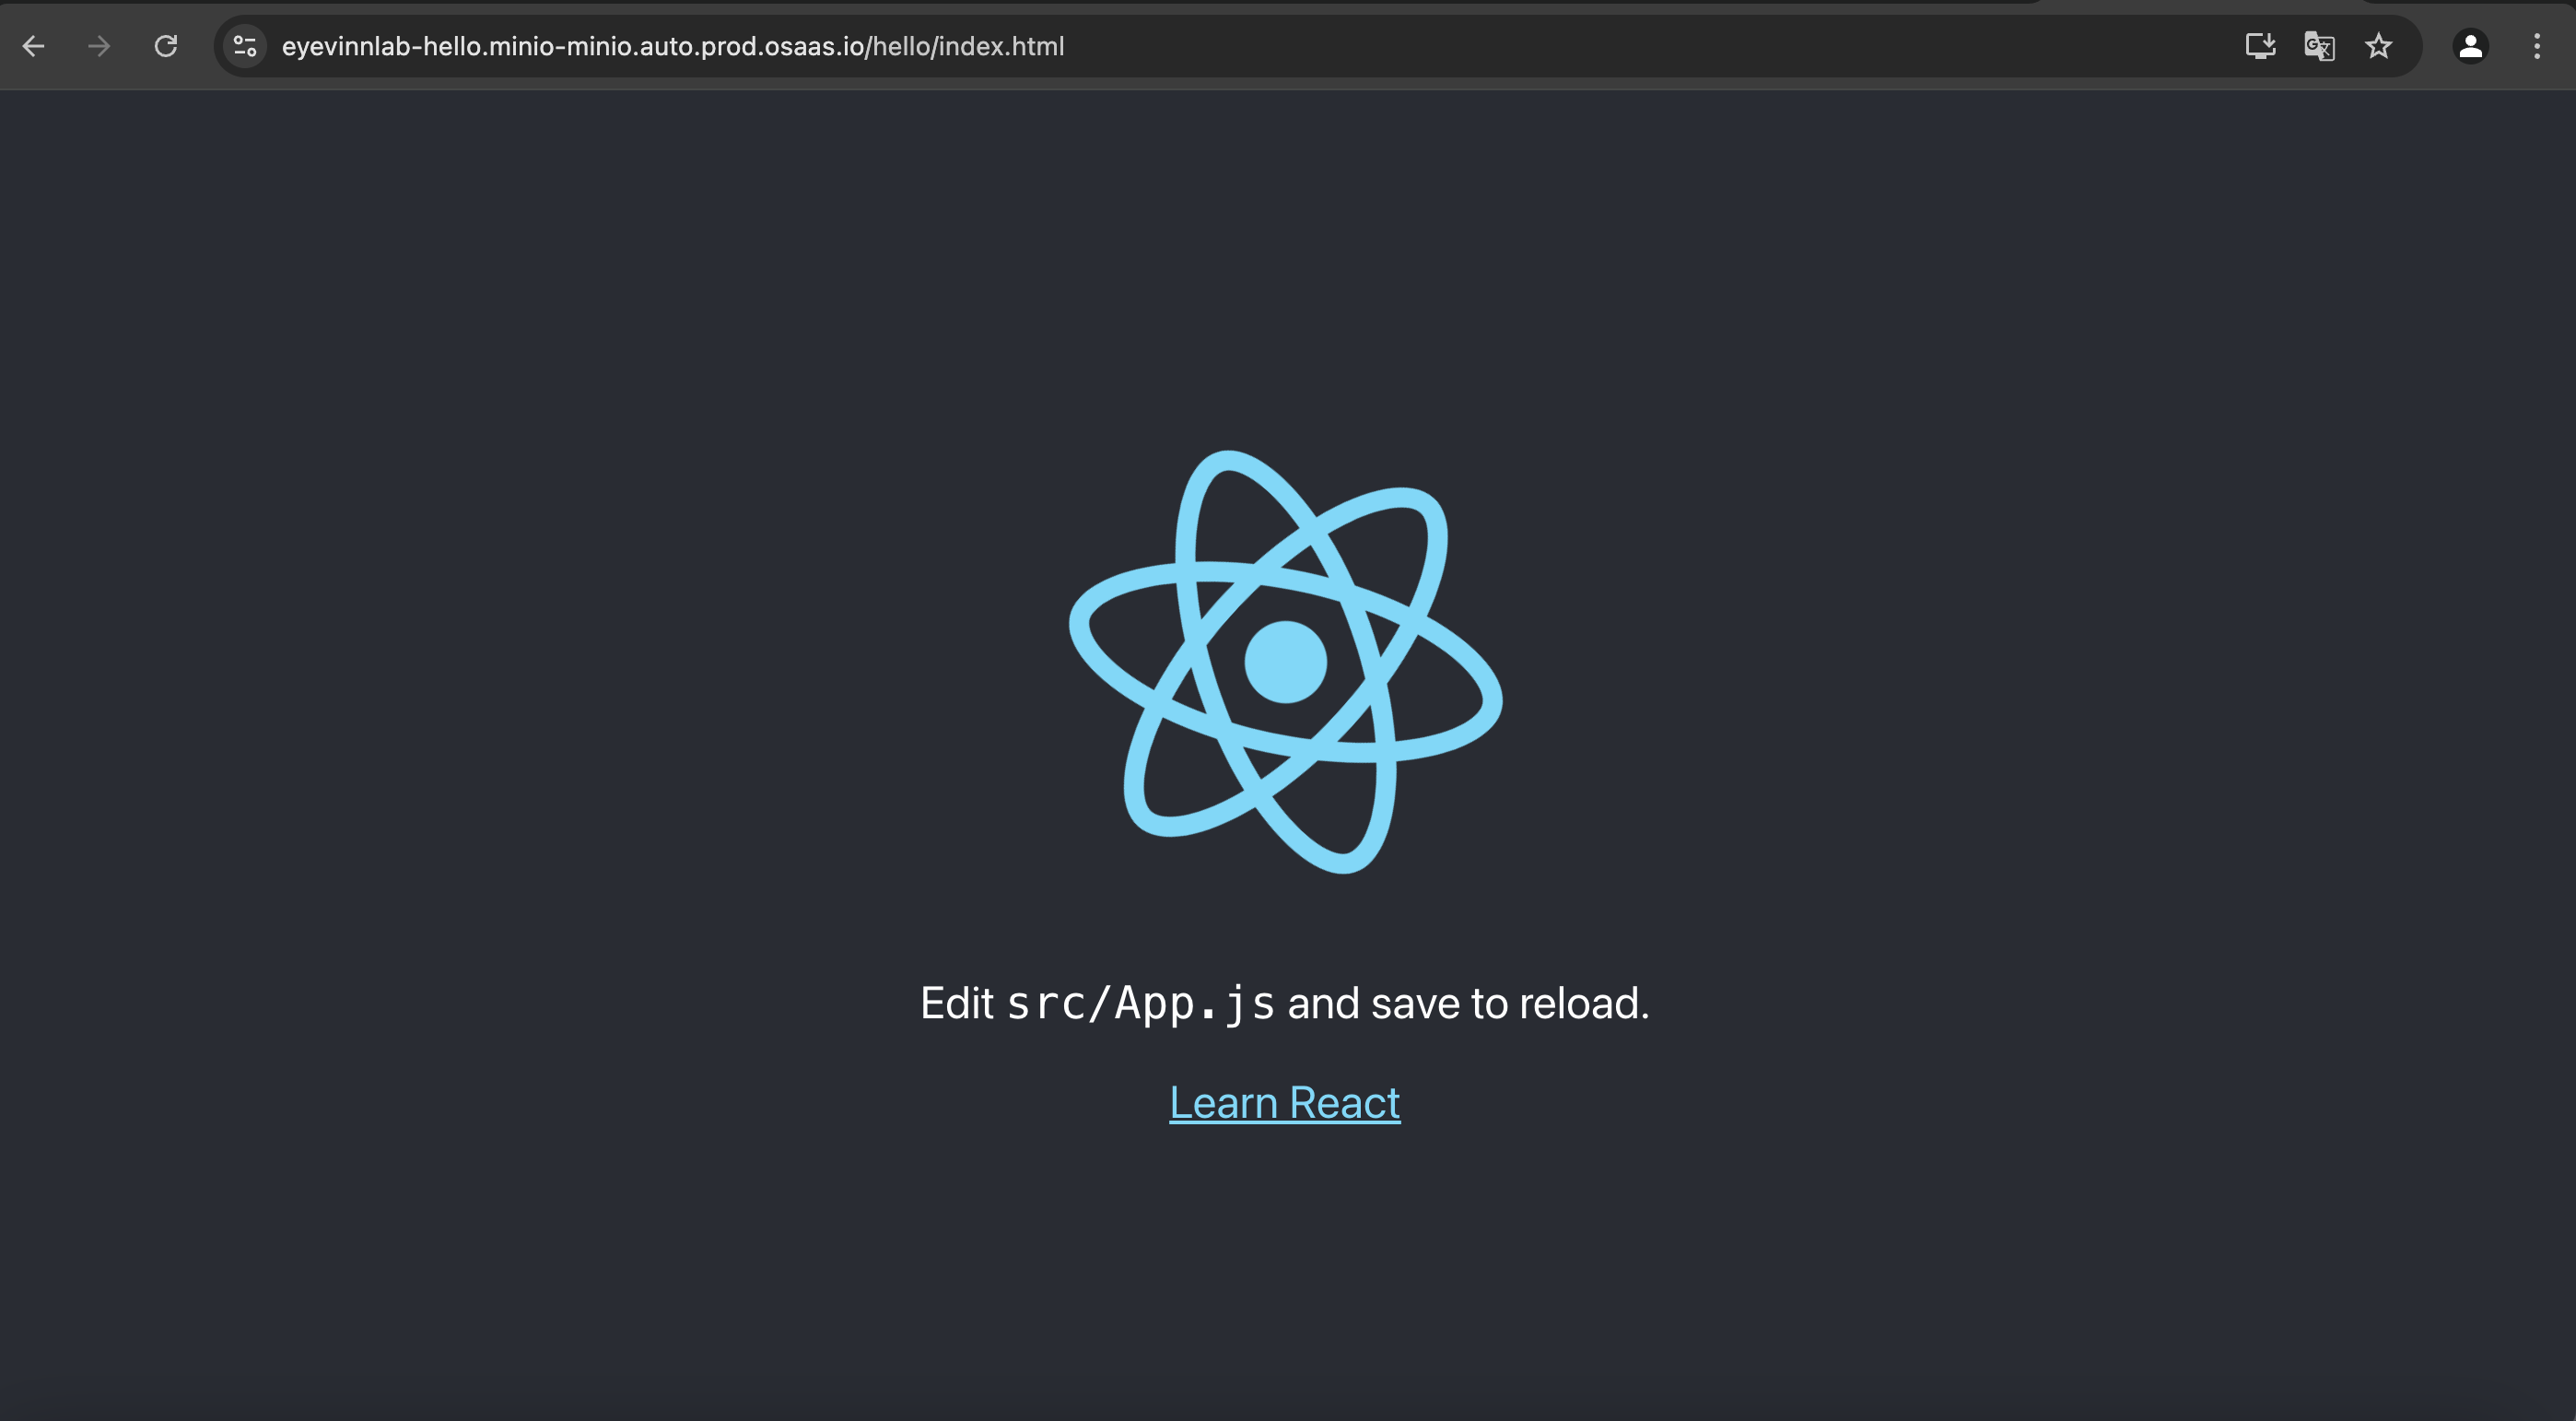
Give it a minute or two and then click on the instance card and it will open up a new window or tab to your web application. If you see an error the web application build process is still ongoing and you just might need to wait another minute or so.

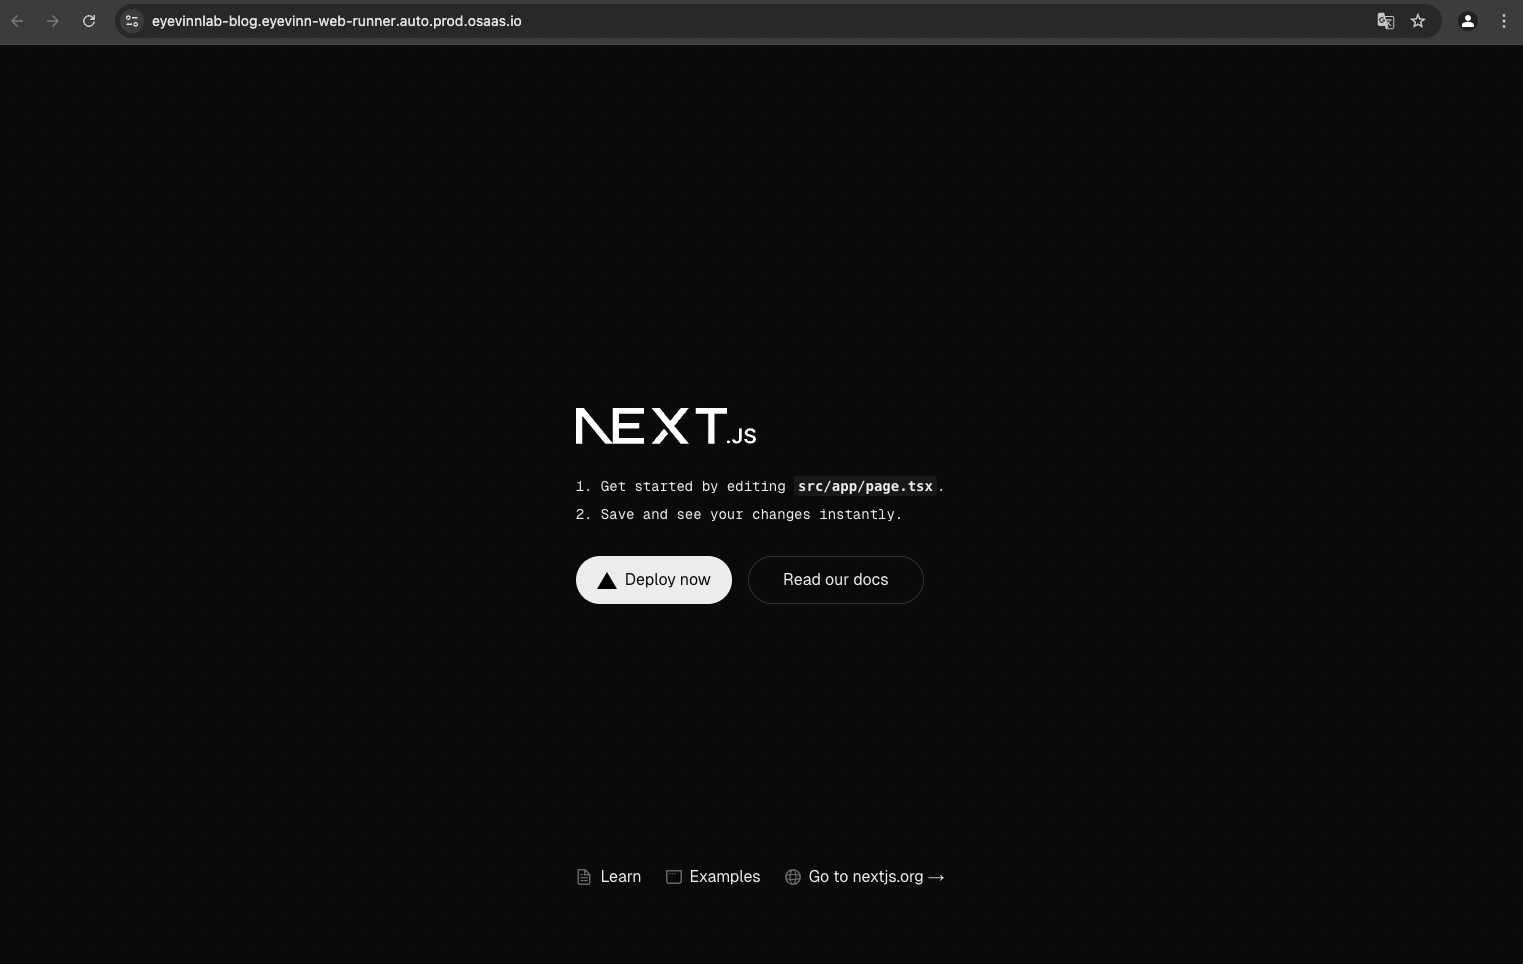
You can now share the URL to this instance to stakeholders or users you want feedback from. In this example the URL is https://eyevinnlab-blog.eyevinn-web-runner.auto.prod.osaas.io

And as you see it is all running over HTTPS with a valid certificate.

To un-publish this web application you simply remove the instance that is running.

Extras

Using the GitHub action for OSC you can add this process to a build pipeline. For example automatically create a Web Runner instance of your application when a branch is updated for example.

Create a web runner instance of your web application in integration and end-to-end tests.

Conclusion

We have now given an example of how you quickly can share a prototype or a work-in-progress web application using an open web service in Eyevinn Open Source Cloud. As this is an open web service in Eyevinn Open Source Cloud you always have the option to run the same solution on your own premises as it is based on open source

If you want to try this out you can sign up and launch one instance all for free.

Hosting a static website

This blog describes how to host a static website using open web services in Eyevinn Open Source Cloud. The static website is hosted on a bucket provided by the MinIO storage service based on open source.

Why Open Source Cloud for hosting a static website?

Using an open web service based on open source you are not locked in with a specific vendor and you have the option to run the very same code in your own infrastructure or cloud.

Create an account for free at app.osaas.io and create your tenant. If you already have access to Eyevinn Open Source Cloud you can skip this step.

Step 1: Create a Hello World application

In this tutorial we will start by creating a Hello World application in React. We assume that you have NodeJS installed. Create a new React application by running the following command.

% npx create-react-app hello-world
Need to install the following packages:
create-react-app@5.0.1
Ok to proceed? (y) y

This will create a new directory called “hello-world” containing all the necessary files and dependencies for your React application.

Move into your new app’s directory:

% cd hello-world

Start the development server by running the following command.

% npm start

Your browser will open with this sample application.

Step 2: Build the application

Build the application to generate the static website. As it will be deployed to a subfolder we need to provide that information when building the website. We do that by setting the environment variable PUBLIC_URL when we build the application.

% PUBLIC_URL=/hello/ npm run build

The generated website is available in the folder called “build” in your directory.

Step 3: Deploy the build

Go to the web console of Eyevinn Open Source Cloud and obtain the access token available under Settings. Copy the token and store it in the environment variable OSC_ACCESS_TOKEN.

% export OSC_ACCESS_TOKEN=YOUR_TOKEN

Now run the following command to deploy the build. We name the website “hello” which will be the subfolder where the files are placed.

% npx @osaas/cli@latest web publish -s hello build/
Website published at: https://eyevinnlab-hello.minio-minio.auto.prod.osaas.io/hello/index.html
CDN settings:
 - Origin: eyevinnlab-hello.minio-minio.auto.prod.osaas.io
 - Origin Headers: 'Host: eyevinnlab-hello.minio-minio.auto.prod.osaas.io'
 - Origin Path: hello
 - Default root object: index.html

In this example the website is published and available at https://eyevinnlab-hello.minio-minio.auto.prod.osaas.io/hello/index.html

Step 4: Configure CDN

For performance and security you want to use a CDN provider for the delivery of the website. Now we also have the option to skip the subfolder and place the website in the root of the domain. To prepare for that we will rebuild the application without the PUBLIC_URL environment variable set.

% npm run build
% npx @osaas/cli@latest web publish -s hello build/

The files will be uploaded to the folder “hello” so when we configure the CDN we need to set that path in the request to the origin. When you setup your distribution property at your CDN provider you will then use the following in this example:

  • Origin: eyevinnlab-hello.minio-minio.auto.prod.osaas.io
  • Protocol: HTTPS
  • Port: 443
  • Origin Path: /hello/
  • Origin Host Headers: eyevinnlab-hello.minio-minio.auto.prod.osaas.io
  • Default root object: index.html

Now the website will be available at https:///index.html

Conclusion

With the open web service providing static website hosting in Eyevinn Open Source Cloud you always have the option to run the same solution on your own premises as it is based on open source. You can create one website including 50 GB storage for free to try this out.

MinIO Storage as VOD Origin

As a continuation to previous blog where we described how to get started with MinIO storage in Eyevinn Open Source Cloud we will in this blog walk you through how you can use it as an origin for Video On-Demand distribution.

Why Open Source Cloud as VOD Origin?

Using an open web service based on open source you are not locked in with a specific vendor and you have the option to run the very same code in your own infrastructure or cloud.

We will not cover how to create video on demand files in this blog post as it is covered in detail in the Eyevinn Open Source Cloud documentation.

Create an account for free at app.osaas.io and create your tenant. If you already have access to Eyevinn Open Source Cloud you can skip this step.

Step 1: Create a MinIO bucket

Start by creating a MinIO bucket in Eyevinn Open Source Cloud by following the instructions in the documentation. By following this guide you should now have a bucket called “tutorial”.

Step 2: Enable public access to bucket

For a video player to be able to download the Video On-Demand files we need to enable public read-only access for the bucket. If you followed the guide you will have en alias to your MinIO server instance called “guide” and using the MinIO command line tool you enable public access with the following command.

% mc anonymous set download guide/tutorial

Step 3: Upload VOD packages to bucket

Now let us upload VOD packages to this bucket. There are several options available here:

  • Setup a VOD creation pipeline in Eyevinn Open Source Cloud to create a VOD package from a video file.
  • Upload existing VOD packages on your computer to this bucket.
  • Migrate VOD packages from another origin using the HLS Copy to S3 service in Eyevinn Open Source Cloud.

In this walk-through we will use the “HLS Copy to S3” service to copy an HLS package we have available online to the bucket you created.

Navigate to the HLS Copy to S3 service and click on the button “Create Job”. Enter the following in the job creation dialog.

  • Name: guide
  • CmdLineArgs: https://maitv-vod.lab.eyevinn.technology/VINN.mp4/master.m3u8 s3://tutorial/
  • DestAccessKey: root
  • DestSecretKey: abC12345678
  • DestEndpoint: (MinIO server endpoint)

Press “Create” and wait for the job to complete.

Let us now verify that all files ended up in our bucket. We can use the MinIO command line tool or the AWS S3 client.

% mc ls guide/tutorial/VINN.mp4/
[2025-01-15 13:51:33 CET]   351B STANDARD master.m3u8
[2025-01-15 13:51:58 CET]     0B 1000/
[2025-01-15 13:51:58 CET]     0B 2000/
[2025-01-15 13:51:58 CET]     0B 600/

Step 4: Verify VOD package

We can now verify that the VOD package can be played. Open a web browser and go to our online web player at https://web.player.eyevinn.technology/ and enter the URL to index file, in our example it is https://demo-guide.minio-minio.auto.prod.osaas.io/tutorial/VINN.mp4/master.m3u8

Step 5: Configure CDN

To be able to handle the distribution of these VOD files you need to setup a CDN that your users go through to access the files. Pointing your users directly to the origin is not recommended as it is designed to handle large scales of request. For performance and security you will use a CDN provider for the delivery.
When you setup your distribution property at your CDN provider you will use the following:

  • Origin: Your MinIO instance hostname, e.g. demo-guide.minio-minio.auto.prod.osaas.io
  • Protocol: HTTPS
  • Port: 443
  • Origin Host Header: e.g. demo-guide.minio-minio.auto.prod.osaas.io

Important here is that the Host header in the HTTPS request to the origin is the hostname of the MinIO storage instance and not the hostname in the viewer request. Consult your CDN provider documentation on how to configure this.

Conclusion

With the open web service providing origin functionality in Eyevinn Open Source Cloud you always have the option to run the same solution on your own premises as it is based on open source. You can create one MinIO instance including 50 GB storage for free to try this out.

Transfer files from one S3 bucket to another

With the open web service S3 sync in Eyevinn Open Source Cloud you can synchronize the contents of one S3 bucket to another S3 bucket without having to download and upload the files first. This service can be used to for example:

  • Migrate from cloud storage in AWS to MinIO storage service in Eyevinn Open Source Cloud
  • Migrate from MinIO storage service in Eyevinn Open Source Cloud to MinIO storage service on own infrastructure
  • Backup and provide redundancy for critical files

In this blog post we will give an example of how you can synchronize files on an S3 bucket in AWS to a bucket in a MinIO server instance in Eyevinn Open Source Cloud.

Create an account for free at app.osaas.io and create your tenant. If you already have access to Eyevinn Open Source Cloud you can skip this step.

Step 1: Create the destination bucket

Login and navigate to the MinIO service in the catalog of open web services. Follow the MinIO getting started guide in a previous blog post here. Once completed you should have MinIO server and a bucket called “tutorial” and a web user interface to access it.

Step 2: Setup access to source bucket

Setup and obtain the access credentials from AWS for the source bucket. Ensure that the access credentials can only access the source bucket.

Navigate to the S3 Sync service in the Eyevinn Open Source Cloud web console and select the tab titled “Service Secrets”. Create secrets called “sourceaccesskey” and “sourcesecretkey” where “sourceaccesskey” stores the AWS_ACCESS_KEY_ID and “sourcesecretkey” stores the AWS_SECRET_ACCESS_KEY.

Step 3: Setup access to destination bucket

Add two new secrets called “destaccesskey” and “destsecretkey” where “destaccesskey” is the MinIO RootUser and “destsecretkey” is the RootPassword that you configured in step 1. You should now have 4 secrets created that you will use in the next step.

Step 4: Create an S3 sync job

In this example we want to synchronize the content on an S3 bucket in AWS called “lab-testcontent-output” and available in the “eu-north-1” AWS region to the bucket called “tutorial” on a MinIO server instance in Eyevinn Open Source Cloud. Choosing a folder on this bucket will migrate all the files and the subfolders in this folder.

  • Name: A unique name for the S3 sync job.
  • CmdLineArgs: We enter here the S3 URL for the source and destination.
  • SourceAccessKey: We reference the “sourceaccesskey” secret we created.
  • SourceSecretKey: We reference the “sourcesecretkey” secret we created.
  • SourceRegion: We can enter “eu-north-1” here but in this example it was not needed to specify.
  • DestAccessKey: We reference the “destaccesskey” secret we created.
  • DestSecretKey: We reference the “destaccesskey” secret we created.
  • DestEndpoint: The URL to the MinIO storage instance in Eyevinn Open Source Cloud.

Press the button “Create” to create and start the job.

Now we have a job running that starts to migrate the files from the AWS S3 bucket to a bucket in Eyevinn Open Source Cloud.

Command Line Tool

You can also use the OSC command line tool to create this job.

osc create eyevinn-s3-sync guidecli \
  -o cmdLineArgs="s3://lab-testcontent-output/osc/VINN-11/ s3://tutorial/" \
  -o SourceAccessKey="{{secrets.sourceaccesskey}}" \
  -o SourceSecretKey="{{secrets.sourcesecretkey}}" \
  -o DestAccessKey="{{secrets.destaccesskey}}" \
  -o DestSecretKey="{{secrets.destsecretkey}}" \
  -o DestEndpoint="https://eyevinnlab-jonas.minio-minio.auto.prod.osaas.io"

Conclusion

With the open web service providing storage functionality in Eyevinn Open Source Cloud you always have the option to run the same solution on your own premises as it is based on open source, and with this tooling you can easily migrate data to Eyevinn Open Source Cloud as well as from Eyevinn OSC to a self-hosted solution.

Getting started with Open Source Cloud and MinIO

As a follow-up to our last post how you can simplify your file storage without being locked in with a specific vendor we will in this post walk you through step-by-step how to get started with file storage in Eyevinn Open Source Cloud.

Why Open Source Cloud with MinIO?

Using an open web service based on open source you are not locked in with a specific vendor and you have the option to run the very same code in your own infrastructure or cloud. To reduce the barrier to get started we have included in the free tier one MinIO server instance with 50 GB of storage. Storage interface is compatible with AWS S3 tools offering a wide range of options to access the storage.

Create an account for free at https://app.osaas.io and create your tenant. If you already have access to Eyevinn Open Source Cloud you can skip this step.

Step 1: Create a MinIO server instance

Login and navigate to the MinIO service in the catalog of open web services. Follow the MinIO getting started guide in the Open Source Cloud documentation. Once completed you should have MinIO server and a bucket called “tutorial”.

Step 2: Provide a web user interface to the storage

To manage the storage we have a couple of options. Either use the AWS S3 command line tool for uploading and downloading files, the AWS S3 SDK or a desktop application. If you want to provide your users with a web based user interface to the buckets on this MinIO server instance you can use another open web service available in Eyevinn Open Source Cloud.

Navigate to the Filestash service in the catalog of services in Eyevinn Open Source Cloud. Create a new Filestash instance by pressing “Create filestash” button.

Follow the steps below to configure and connect this manager with the MinIO instance you created earlier.

  • 1. Click on the instance card once it is in state running. A new page will open in a new tab or browser window.
  • 2. Enter an administrator password for this Filestash storage manager instance.
  • 3. In the navigation sidebar on the left click on the item “Backend”. Select S3 as storage backend. You may remove the others as we will be only be using S3 in this example.
  • 4. Choose the authentication middleware ADMIN. This means that you will login with the admin password you just created. You might at least want to use HTPASSWD for more granular access control in practice.
  • 5. Select S3 backend
  • 6. Enter the access key id and secret key. This is the RootUser and RootPassword that you set for your MinIO instance. The endpoint is the URL to the MinIO server instance that you created.

Step 3: Upload a file

Now go back to the start page by clicking on the instance card and login with the admin password that you created. Use drag-and-drop to upload a file.

Now you have a storage based on open web services in Eyevinn Open Source Cloud and a web based user interface to access it. A storage for storing poster and image objects for a streaming service, backing up project files, sharing large media files with team members or creating scalable media libraries to mention a few examples of use cases.

Simplify Your File Storage with Open Source Cloud and MinIO

Ever struggled with managing digital files for your project? Whether you’re a developer, content creator, or just someone who needs reliable file storage, I’ve got a game-changing solution that’s both powerful and surprisingly easy to use.

What Exactly is Object Storage?

Think of object storage like a super-smart, infinitely expandable digital filing cabinet. Instead of saving files on your local computer or a single hard drive, you can store them in the cloud, access them from anywhere, and scale your storage as your needs grow. The best part? You don’t need to be a tech wizard to use it.

Why Open Source Cloud with MinIO?

Traditional cloud storage can be expensive and complicated. Open Source Cloud offers a refreshing alternative:

– Free tier with 50 GB of storage
– Completely compatible with popular tools like AWS S3
– No complex setup or massive technical knowledge required
– Supports media, images, documents, and more

Your Quick Start Guide

Getting Set Up

– Create an Account: Sign up for Open Source Cloud (it’s free!)
– Install the Basics: You’ll need NodeJS and a few simple command-line tools
– Follow the simple instructions: https://docs.osaas.io/osaas.wiki/Service%3A-MinIO.html
– Create Your Storage: Set up a MinIO storage service in just a few clicks

Creating Your First Bucket

A “bucket” is just a fancy term for a folder in the cloud. You can create as many as you need for different projects – one for photos, another for documents, another for backups.

Uploading and Accessing Files:

– Upload files using simple commands
– Generate shareable links
– Access your files from any device
– Integrate with existing tools and applications

Real-World Use Cases:

– Storing poster and image objects for a streaming service
– Backing up project files
– Sharing large media files with team members
– Creating scalable media libraries

The Open Source Difference

What makes this special isn’t just the technology – it’s the philosophy. Open Source Cloud shares revenue with the open-source authors, which means you’re supporting the community of developers who create these amazing tools.

Getting Started is Easier Than You Think

Don’t let technical jargon intimidate you. With Open Source Cloud’s MinIO, you can have a professional-grade storage solution up and running in minutes, without spending a fortune or getting a computer science degree.

Ready to simplify your file storage?

– Visit Open Source Cloud
– Sign up for a free account
– Start storing your files in minutes

Additional Resources:

– Open Source Cloud: https://app.osaas.io
– API Documentation: https://api.osaas.io

Tip: Start small, explore, and scale as you grow!