
As a follow-up to our last post how you can simplify your file storage without being locked in with a specific vendor we will in this post walk you through step-by-step how to get started with file storage in Eyevinn Open Source Cloud.
Why Open Source Cloud with MinIO?
Using an open web service based on open source you are not locked in with a specific vendor and you have the option to run the very same code in your own infrastructure or cloud. To reduce the barrier to get started we have included in the free tier one MinIO server instance with 50 GB of storage. Storage interface is compatible with AWS S3 tools offering a wide range of options to access the storage.
Create an account for free at https://app.osaas.io and create your tenant. If you already have access to Eyevinn Open Source Cloud you can skip this step.
Step 1: Create a MinIO server instance
Login and navigate to the MinIO service in the catalog of open web services. Follow the MinIO getting started guide in the Open Source Cloud documentation. Once completed you should have MinIO server and a bucket called “tutorial”.
Step 2: Provide a web user interface to the storage
To manage the storage we have a couple of options. Either use the AWS S3 command line tool for uploading and downloading files, the AWS S3 SDK or a desktop application. If you want to provide your users with a web based user interface to the buckets on this MinIO server instance you can use another open web service available in Eyevinn Open Source Cloud.
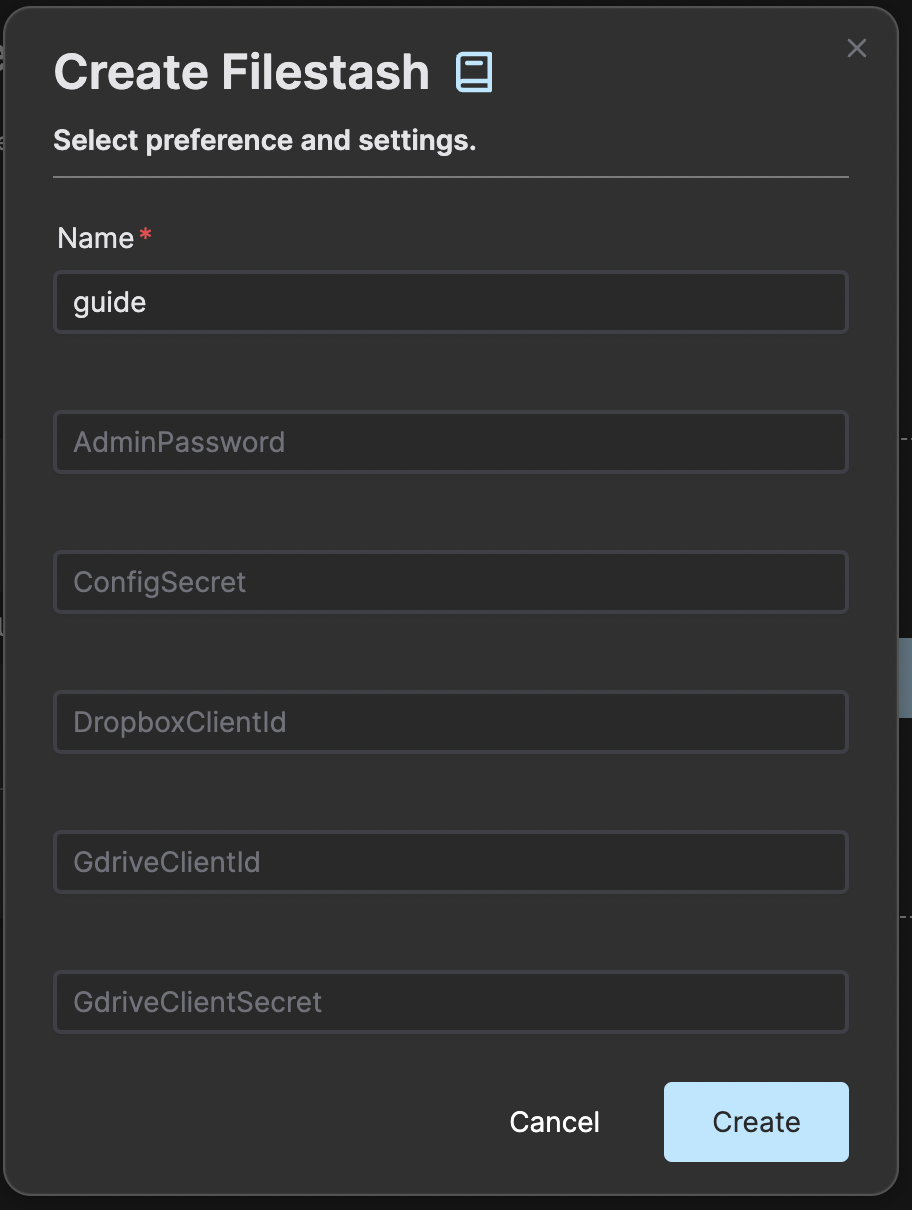
Navigate to the Filestash service in the catalog of services in Eyevinn Open Source Cloud. Create a new Filestash instance by pressing “Create filestash” button.
Follow the steps below to configure and connect this manager with the MinIO instance you created earlier.
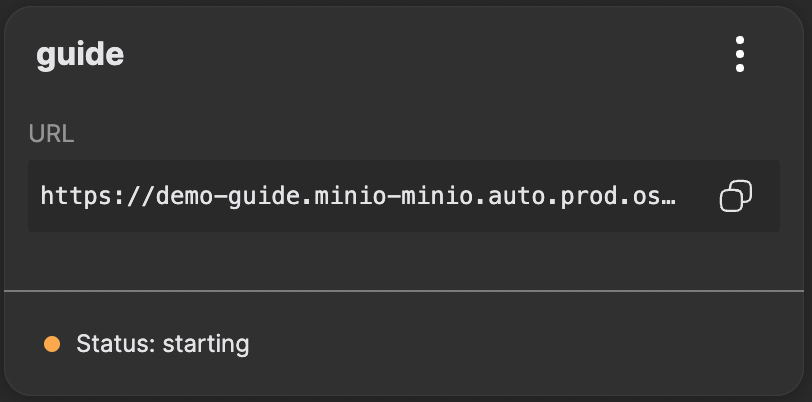
- 1. Click on the instance card once it is in state running. A new page will open in a new tab or browser window.
- 2. Enter an administrator password for this Filestash storage manager instance.
- 3. In the navigation sidebar on the left click on the item “Backend”. Select S3 as storage backend. You may remove the others as we will be only be using S3 in this example.
- 4. Choose the authentication middleware ADMIN. This means that you will login with the admin password you just created. You might at least want to use HTPASSWD for more granular access control in practice.
- 5. Select S3 backend
- 6. Enter the access key id and secret key. This is the RootUser and RootPassword that you set for your MinIO instance. The endpoint is the URL to the MinIO server instance that you created.

Step 3: Upload a file
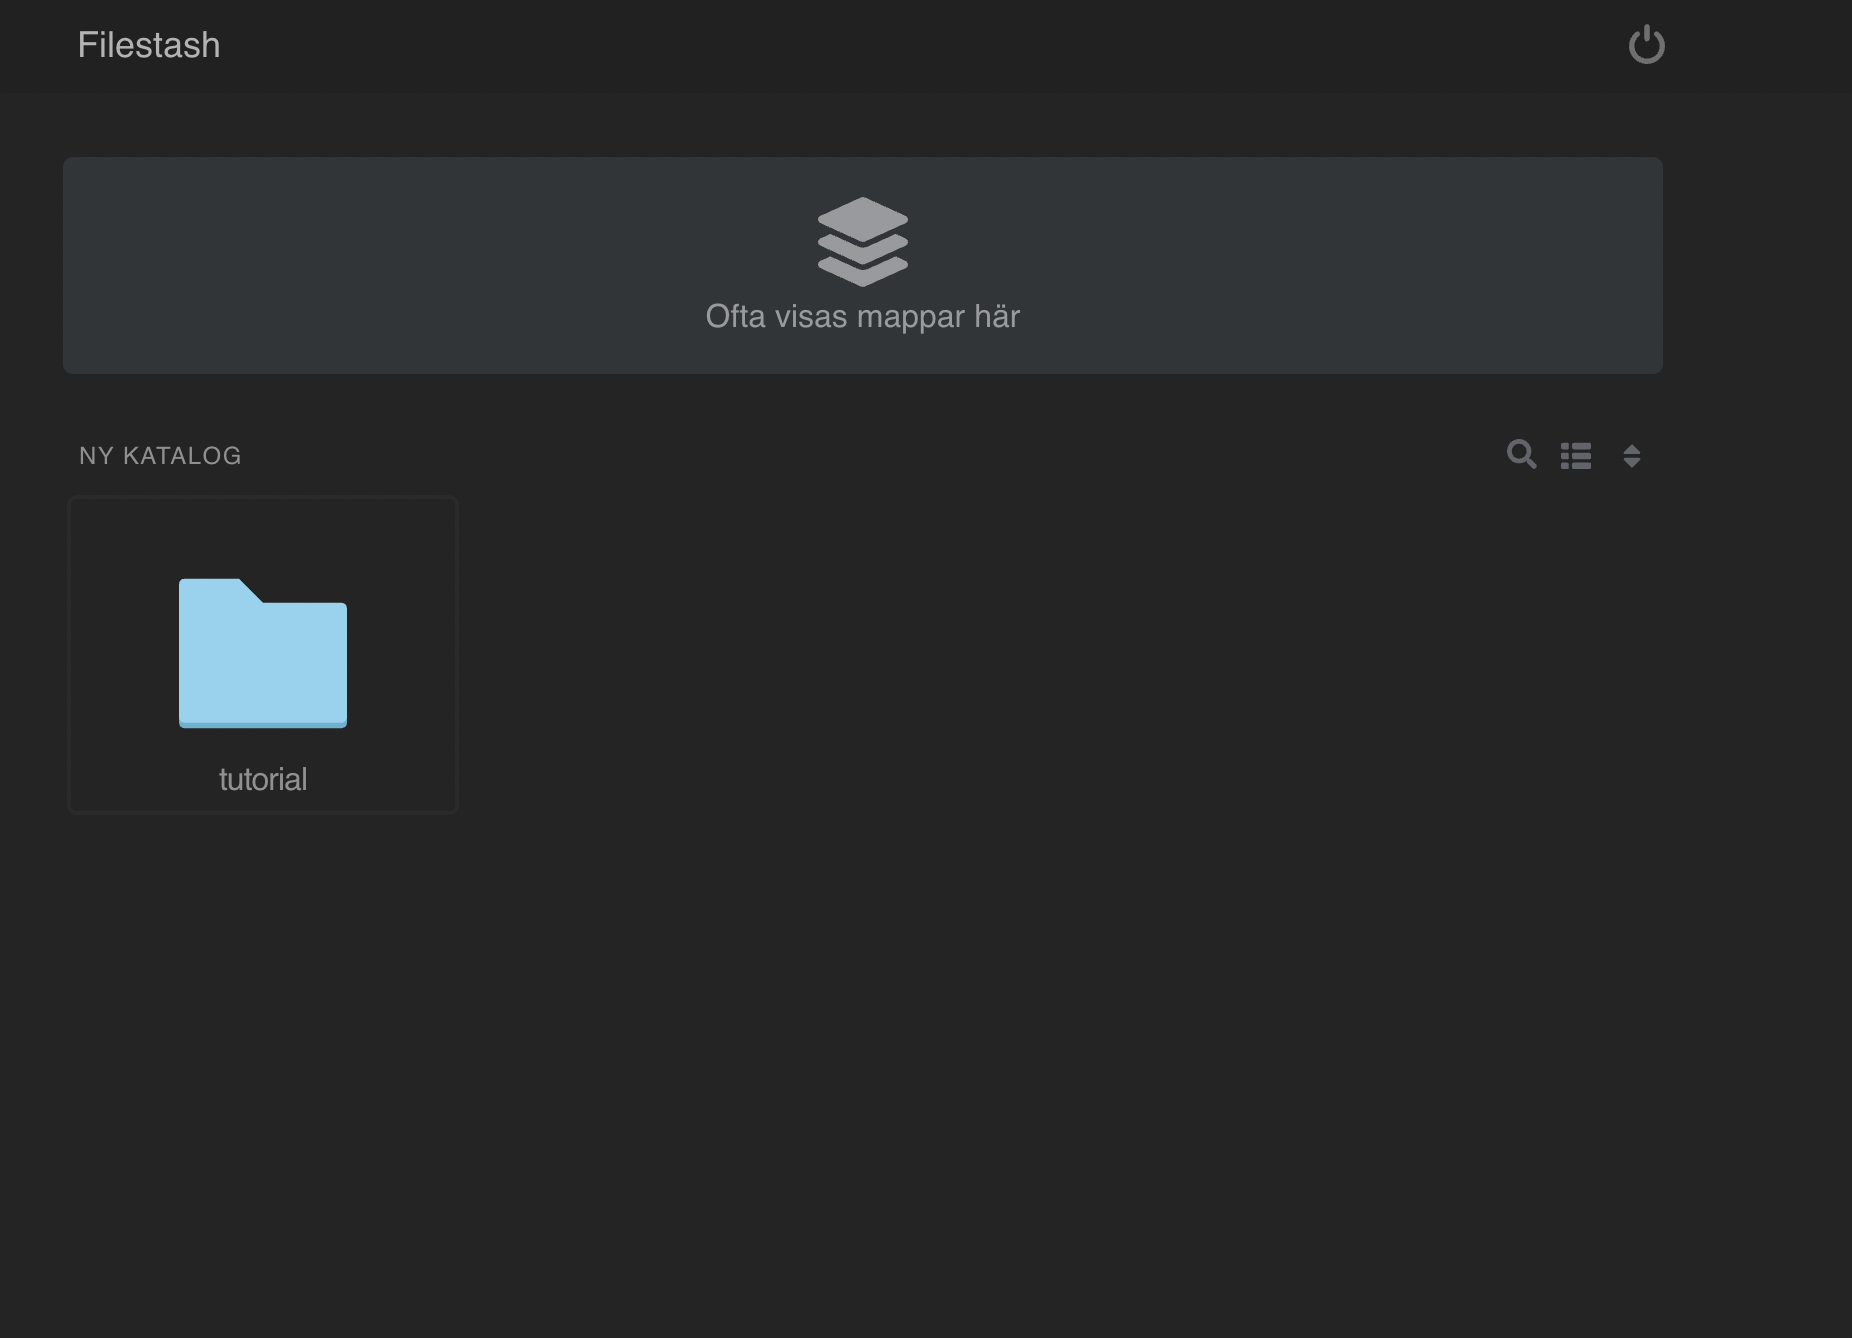
Now go back to the start page by clicking on the instance card and login with the admin password that you created. Use drag-and-drop to upload a file.


Now you have a storage based on open web services in Eyevinn Open Source Cloud and a web based user interface to access it. A storage for storing poster and image objects for a streaming service, backing up project files, sharing large media files with team members or creating scalable media libraries to mention a few examples of use cases.