
Our vision with Eyevinn Open Source Cloud is to make open source easily available for non-developers and by doing that provide a platform for open source creators to make their work more accessible for non-developers.
Umami is a fast, privacy-centric analytics tool and a perfect simple alternative to Google Analytics. We have made this open source project available as an open web service in Open Source Cloud (OSC) so you can host and manage it yourself with just a few clicks of a button. In this article we provide a step-by-step guide to get started.
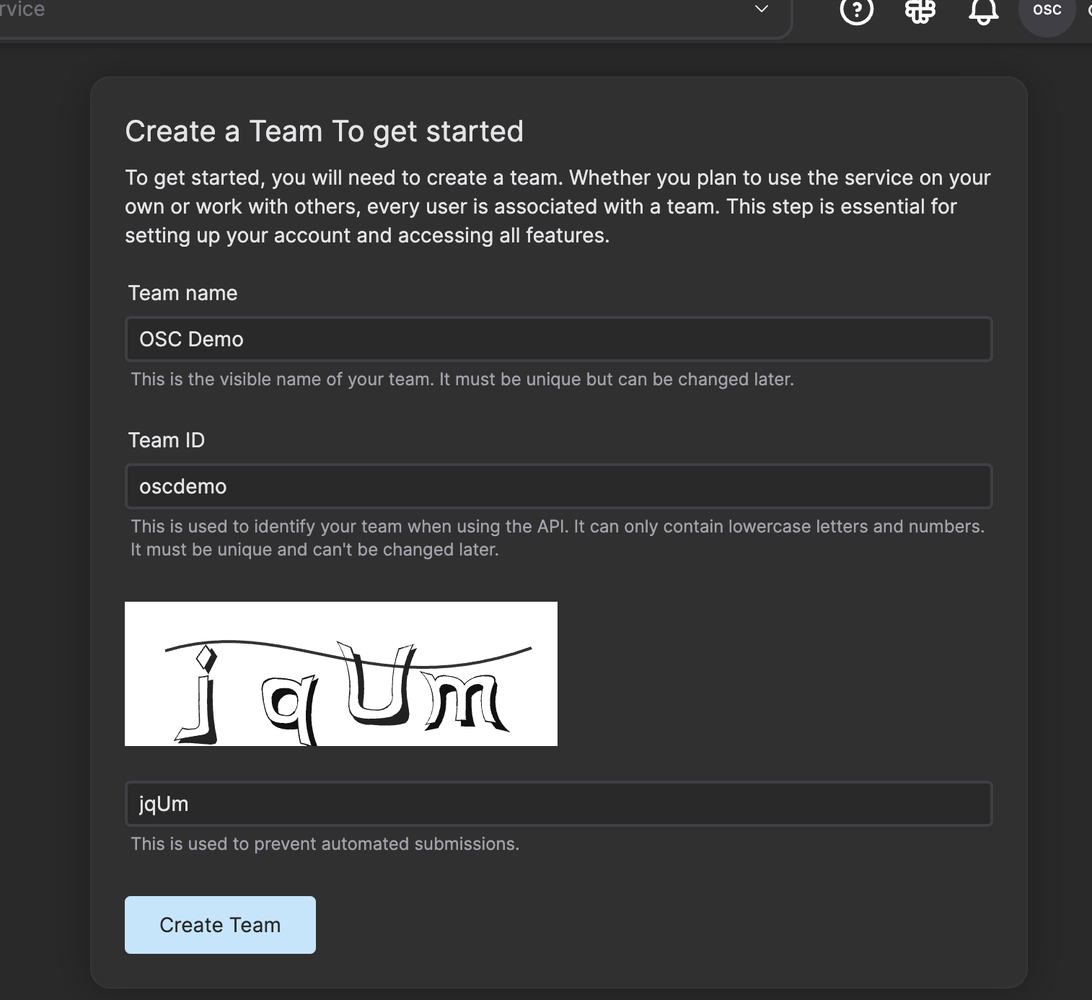
Start by signing up for an OSC account for free and create a team.
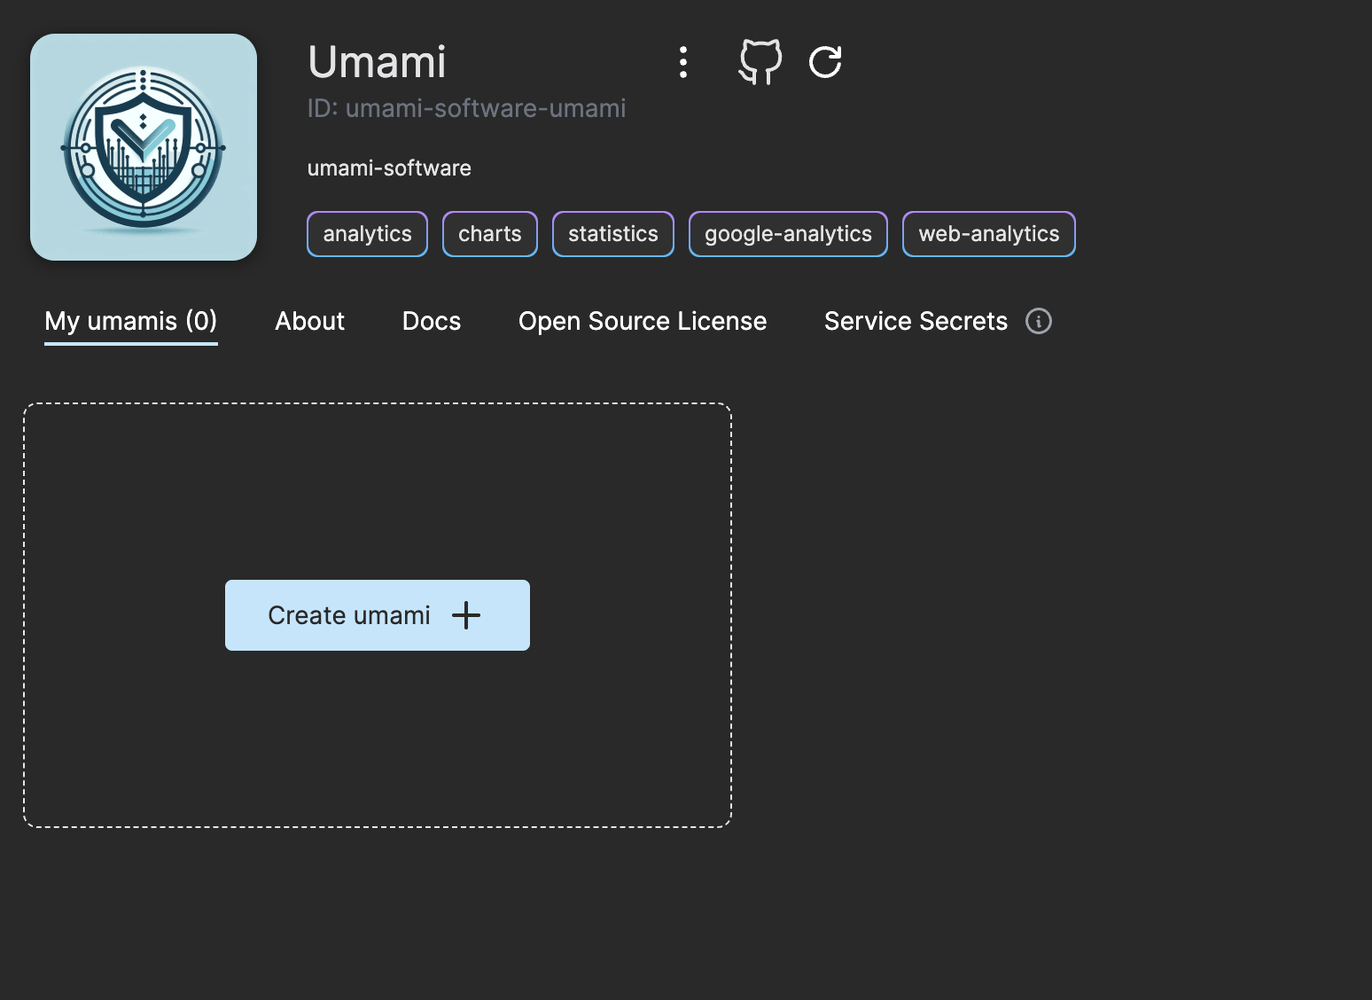
As a new user signing up you get 300 usage tokens to use for free. Navigate to the Umami web service and click on the button “Create umami”.
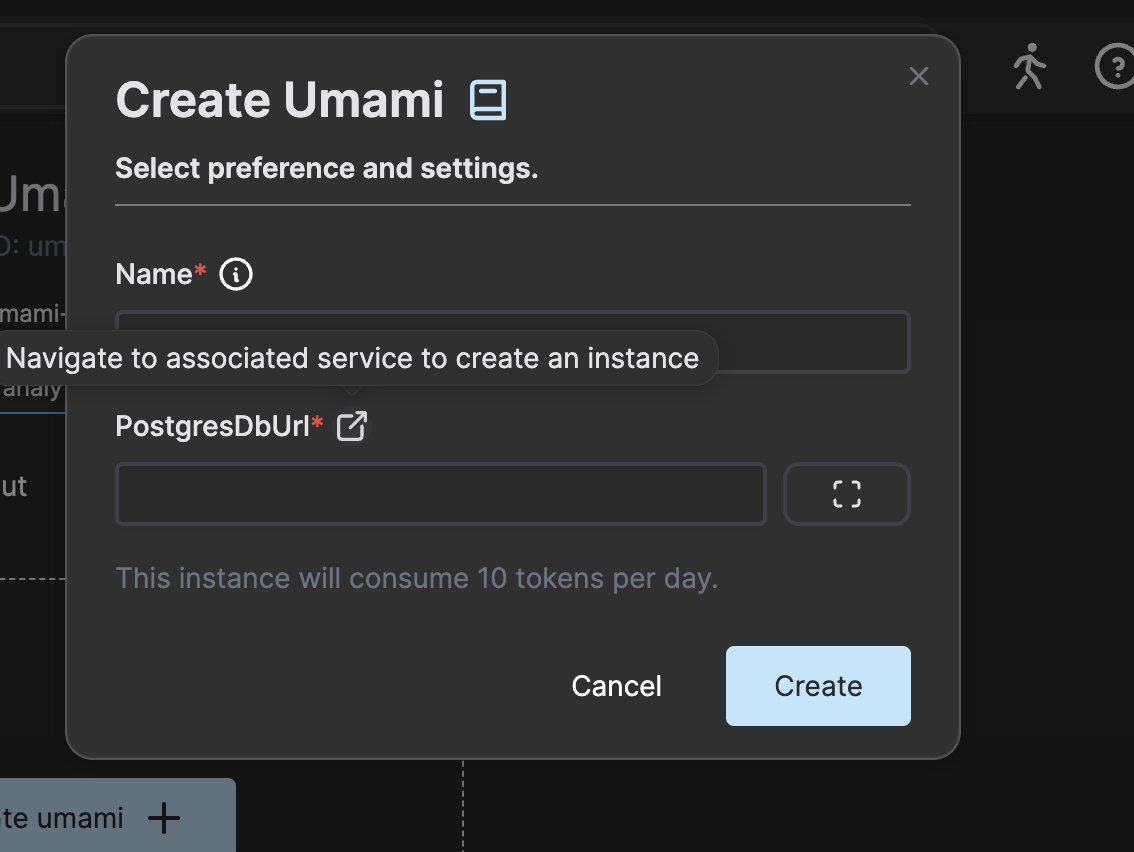
Click on the link next to the PostgresDbUrl label to create a PostgreSQL database in OSC.
Enter the following in the PostgreSQL instance creation dialog.
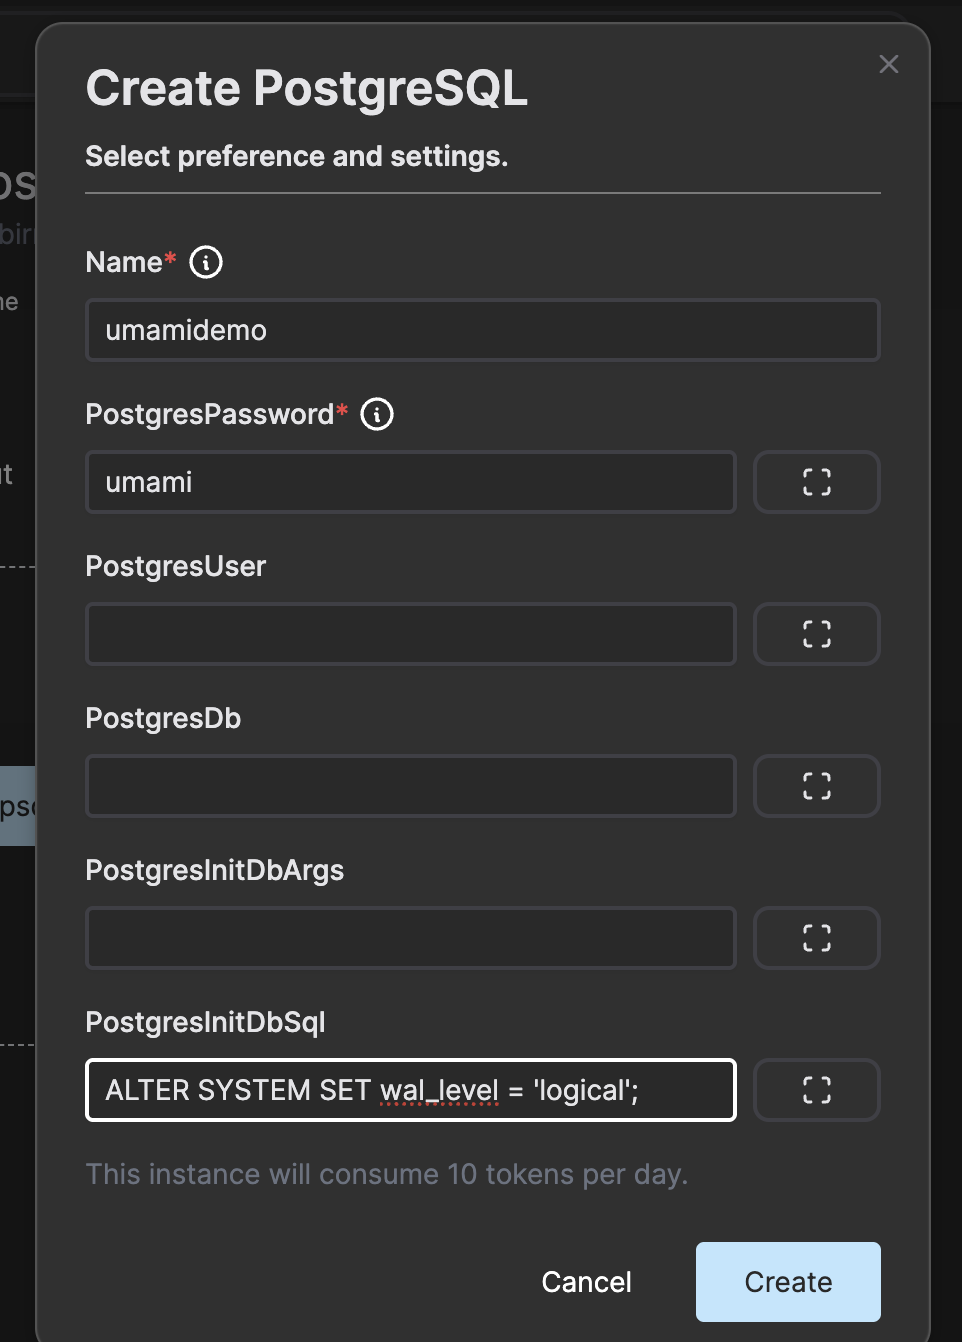
Add the line “ALTER SYSTEM SET wal_level = ‘logical’;” in the PostgresInitDbSql field as this cannot be configured once the database instance is up and running.
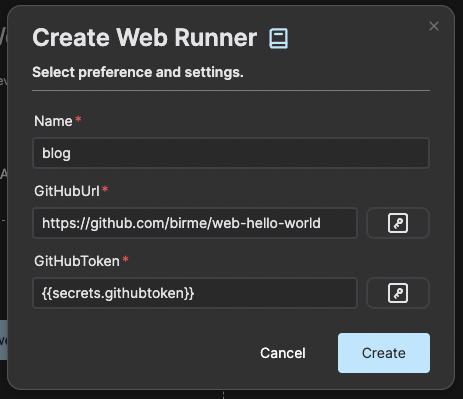
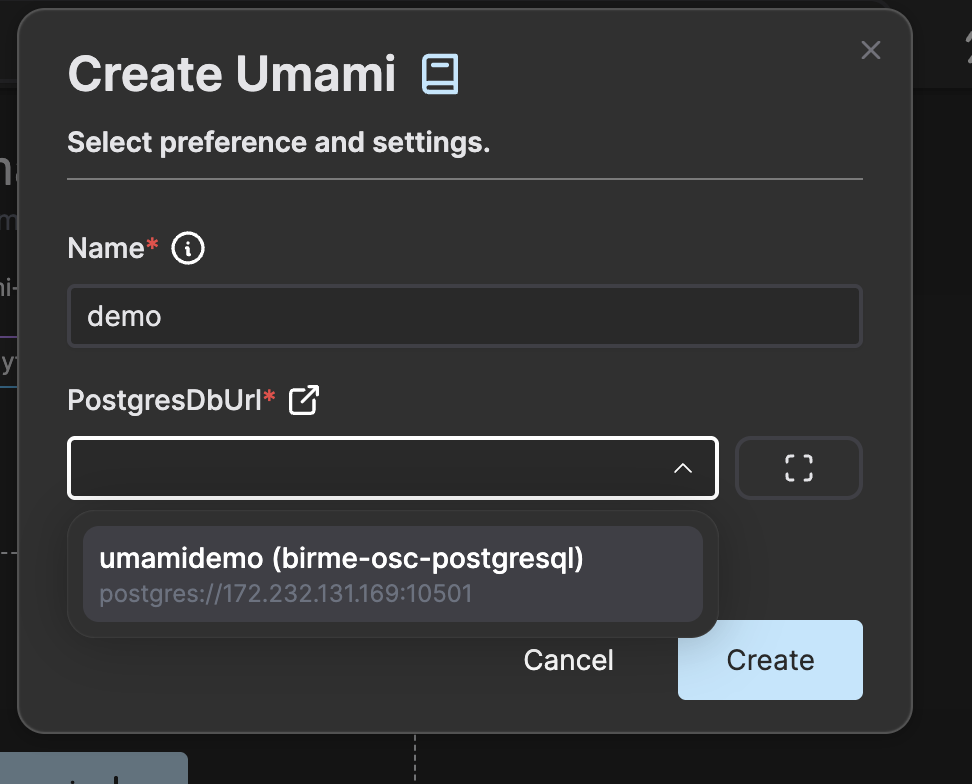
Now go back to the Umami service and press create.
Give the Umami instance a name and choose the PostgreSQL instance you just created.
Enter the credentials for the PostgreSQL database. The password we chosen in this example was “umami” and the default username is “postgres”. As we did not specify a specific database it will use the database called “postgres” by default. Enter this value in the input labeled Path.
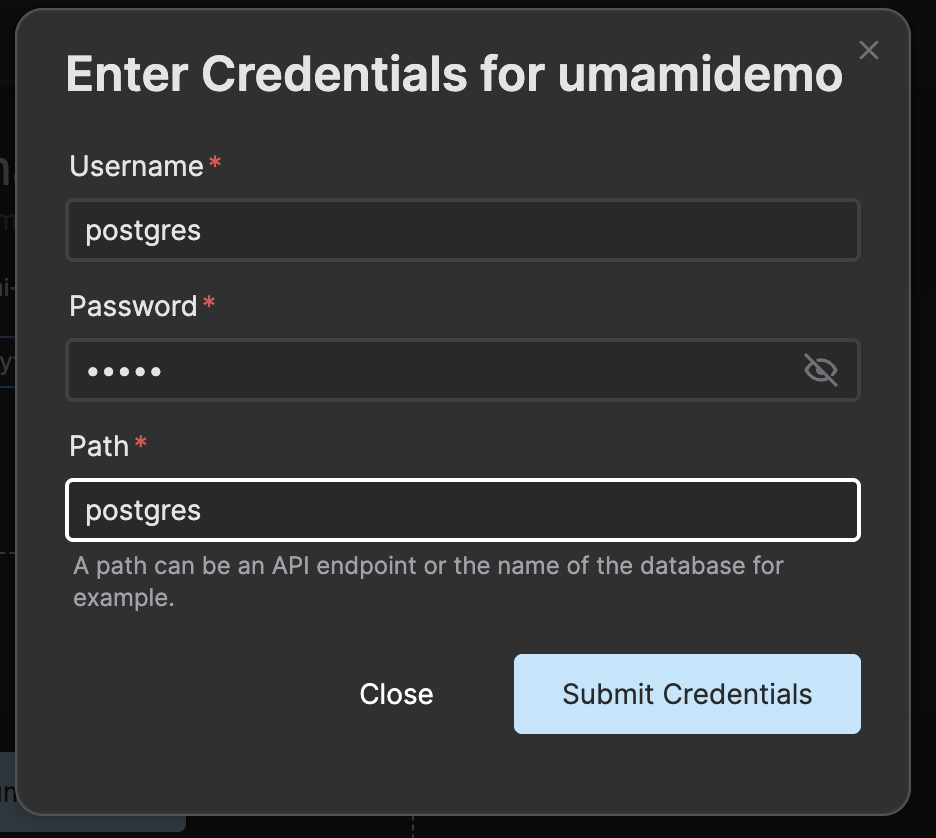
Press Submit Credentials to store the database URL including the credentials in a service secret that is referenced to in the instance creation dialog.
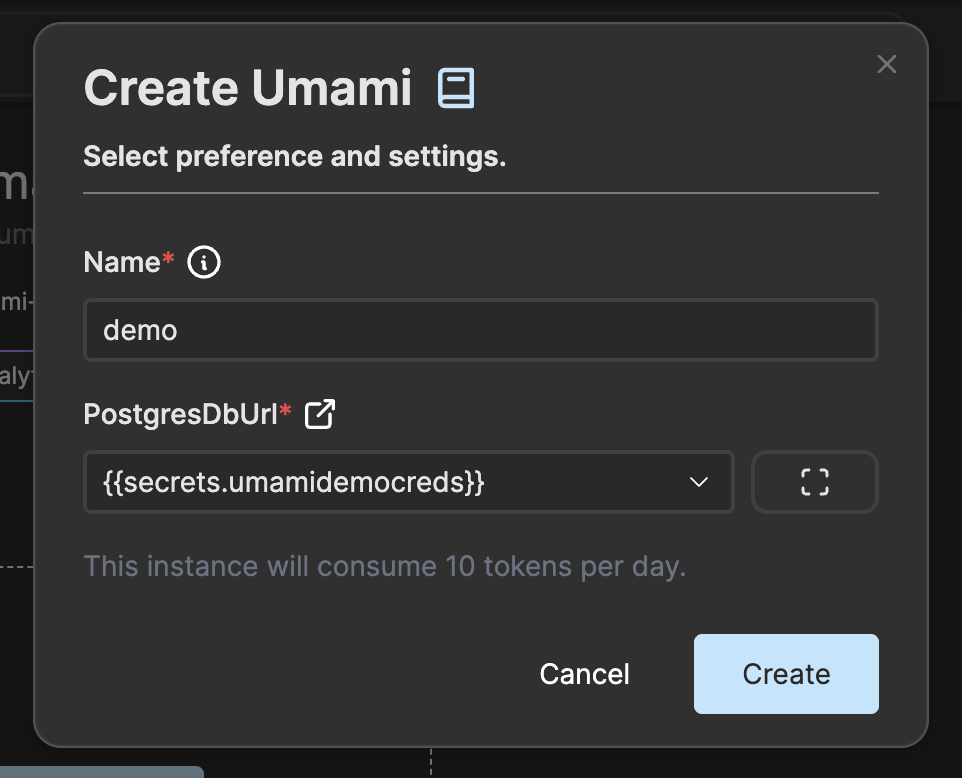
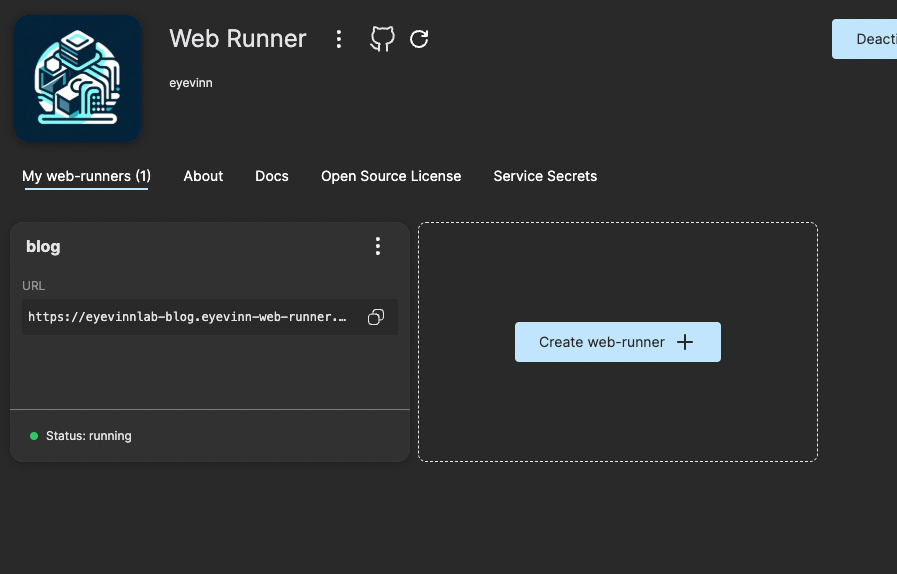
Press Create to create and start an Umami instance. Once the instance is up and running you can click on the instance card.
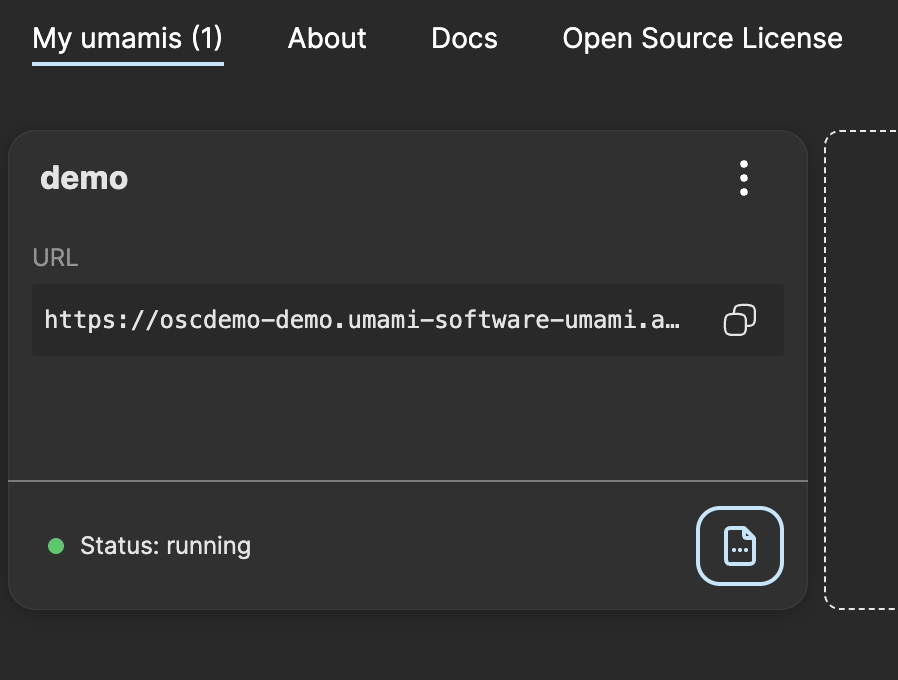
Login with the default credentials where username is “admin” and the password is “umami”.
We recommend to change the admin password as soon as you are logged in.

Under settings, navigate to websites to set up tracking for your site. Note that you should not add http/https in the url.

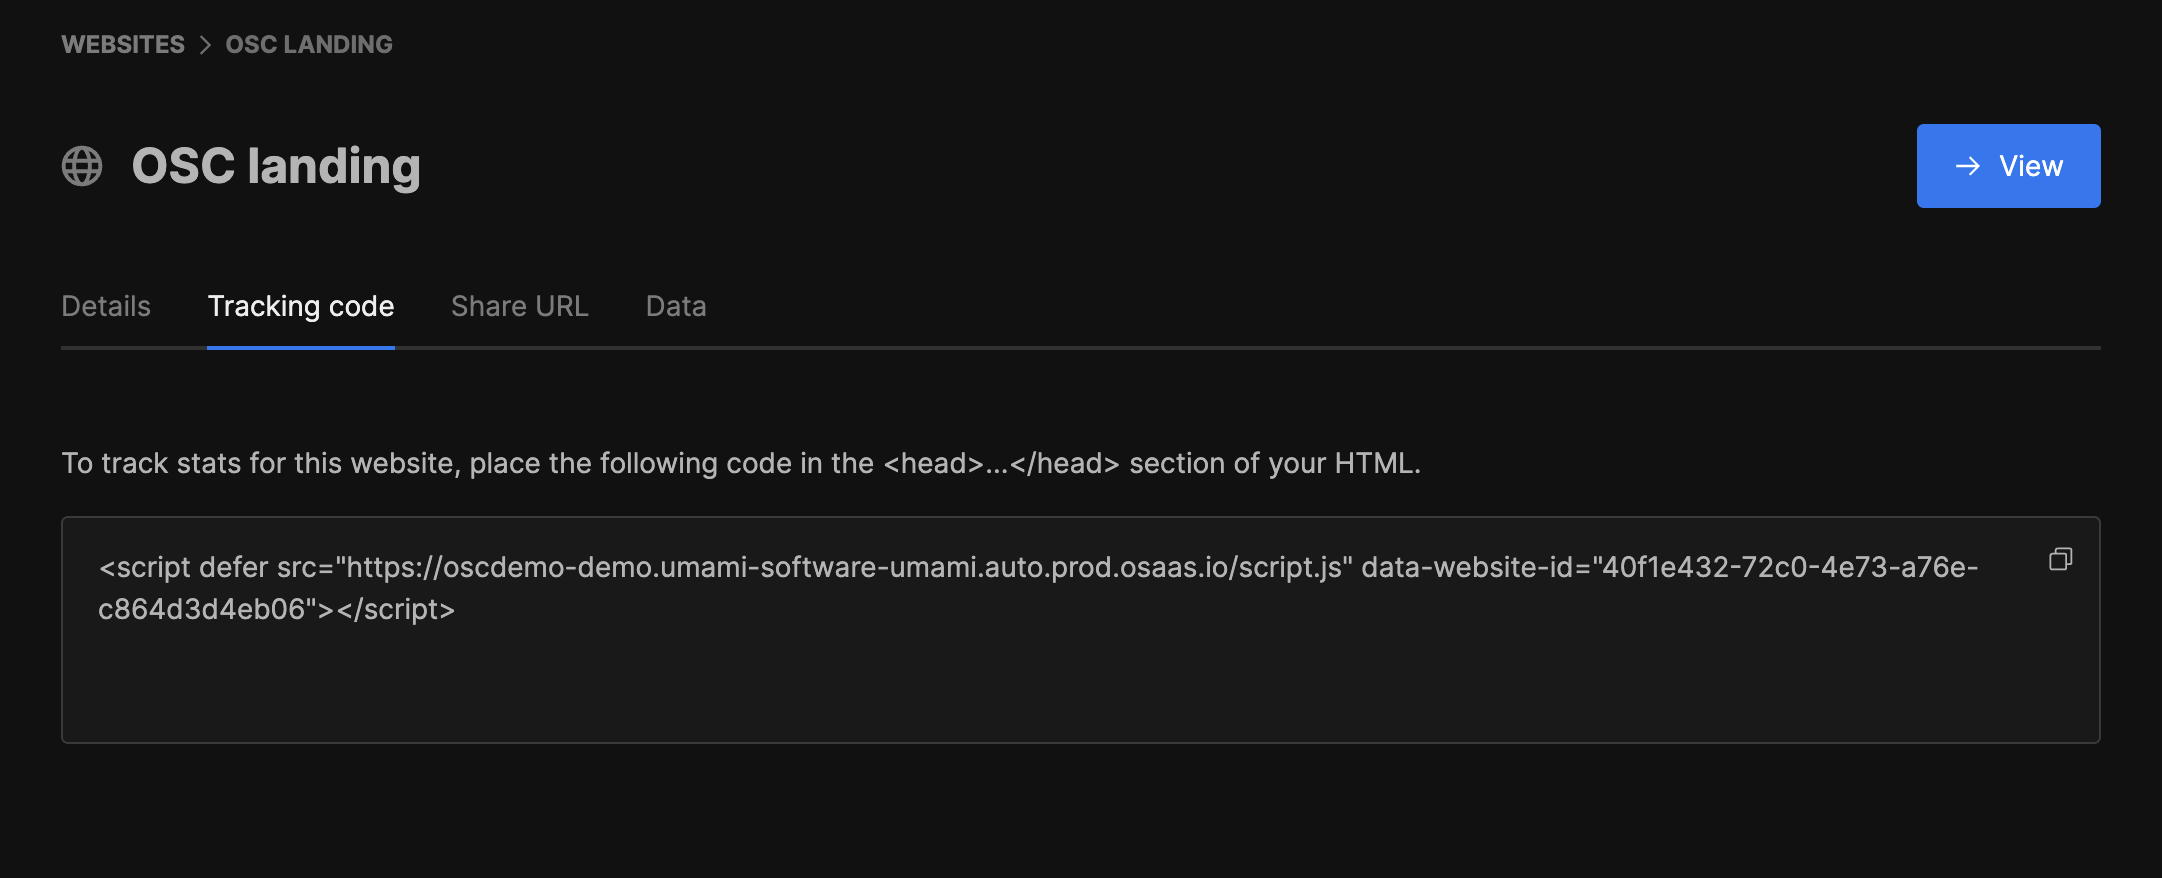
Once the website has been set up, press edit in the list of websites under settings. Navigate to tracking code, copy the code and paste it in the ... section of your HTML. If you are using a Next.js app, you can place the code in your root layout.
Now you are up and running with your own instance of an Umami open web service for site analytics and tracking. For more details read the documentation available here.
The instances in this setup will consume in total 20 tokens per day (10 each) and that means with the 300 tokens you get on signup you can try this out for free for 15 days. If you want to continue use this and get a daily token refill you upgrade to one of the paid plans.
If you have any questions and wants more information about this service or Open Source Cloud in general don’t hesitate to contact us at contact@sales.osaas.io.