Setup a Bluesky Personal Data Server in Open Source Cloud

Bluesky is a decentralized microblogging social media service based on open standards (AT Protocol) and open source infrastructure so that social communication can be as open and interoperable as the web itself. The AT Protocol (Authenticated Transfer Protocol aka atproto) is a federated protocol for large-scale distributed social applications.

The three core services in a network are Personal Data Server (PDS), Relays and App Views. A personal data server is your home in the cloud. This is the server that hosts your data, distribute it, manage your identity and orchestrate requests to other services to give you your views. However, the goal of the AT protocol is to ensure that a user on one PDS can move and migrate their account to a new PDS without the server’s involvement.

In this blog we will describe how you can setup your own Personal Data Server based on open source made available as a service all for free.

Step 1: Create an account in Eyevinn Open Source Cloud

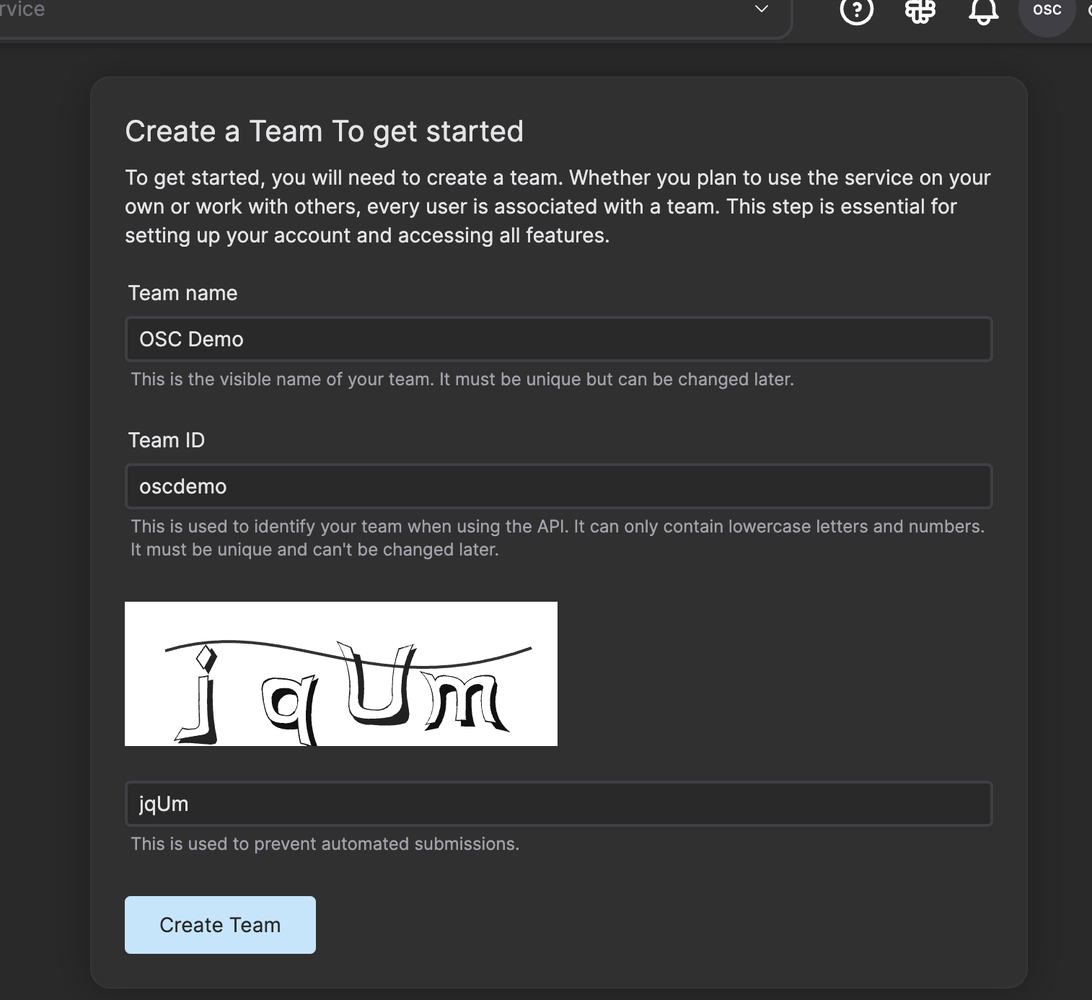
Navigate to www.osaas.io and click on Login/Signup. Enter your email to create an account and enter the login code you receive in your inbox. If this is the first time you logged in you need to create a tenant first.

Step 2: Create your own PDS

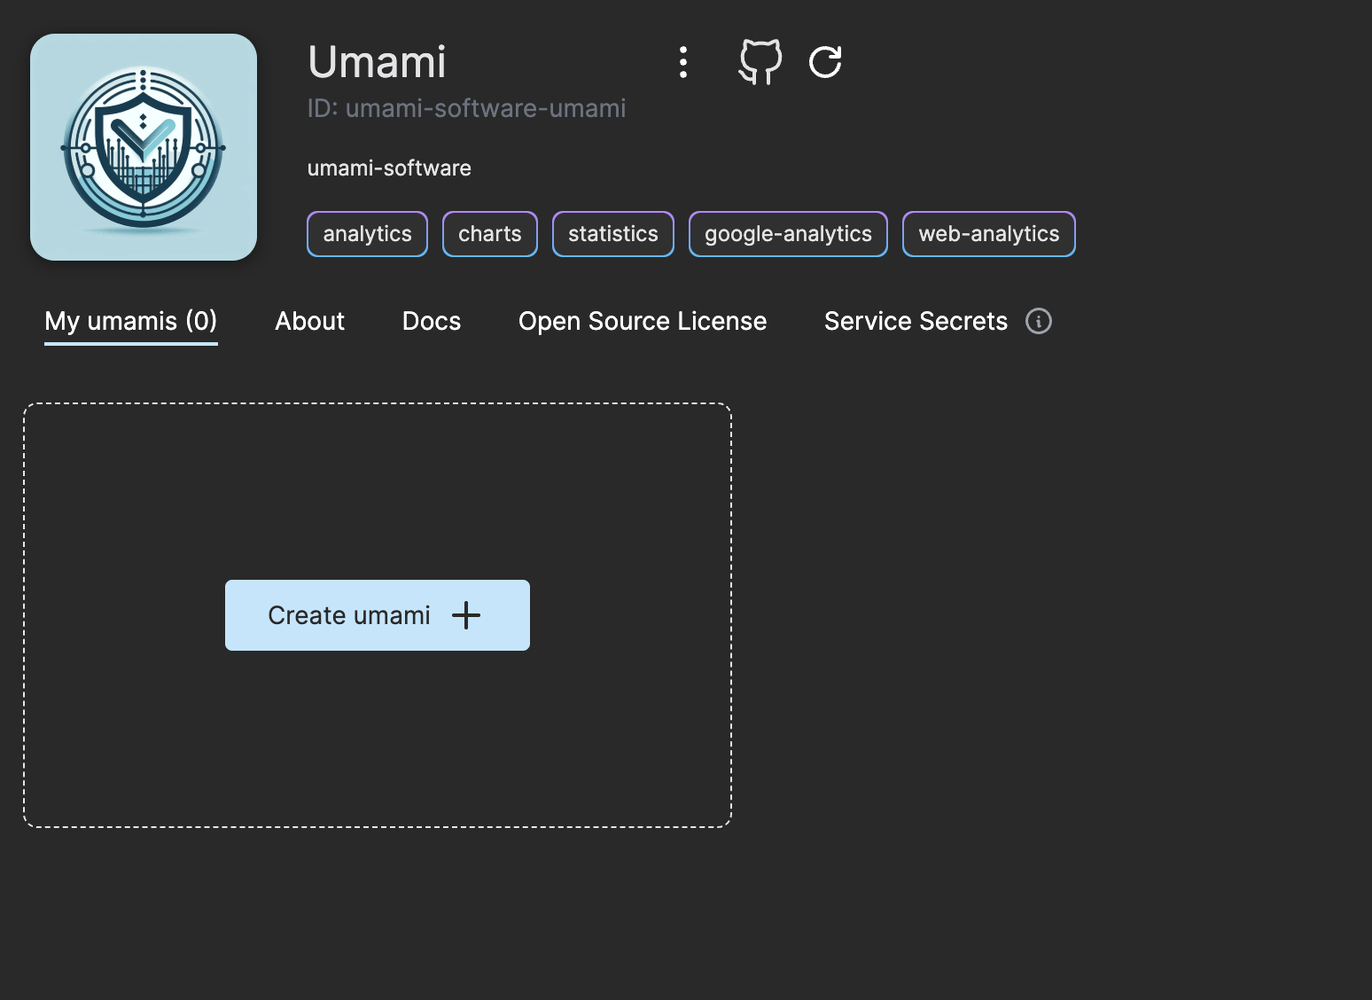
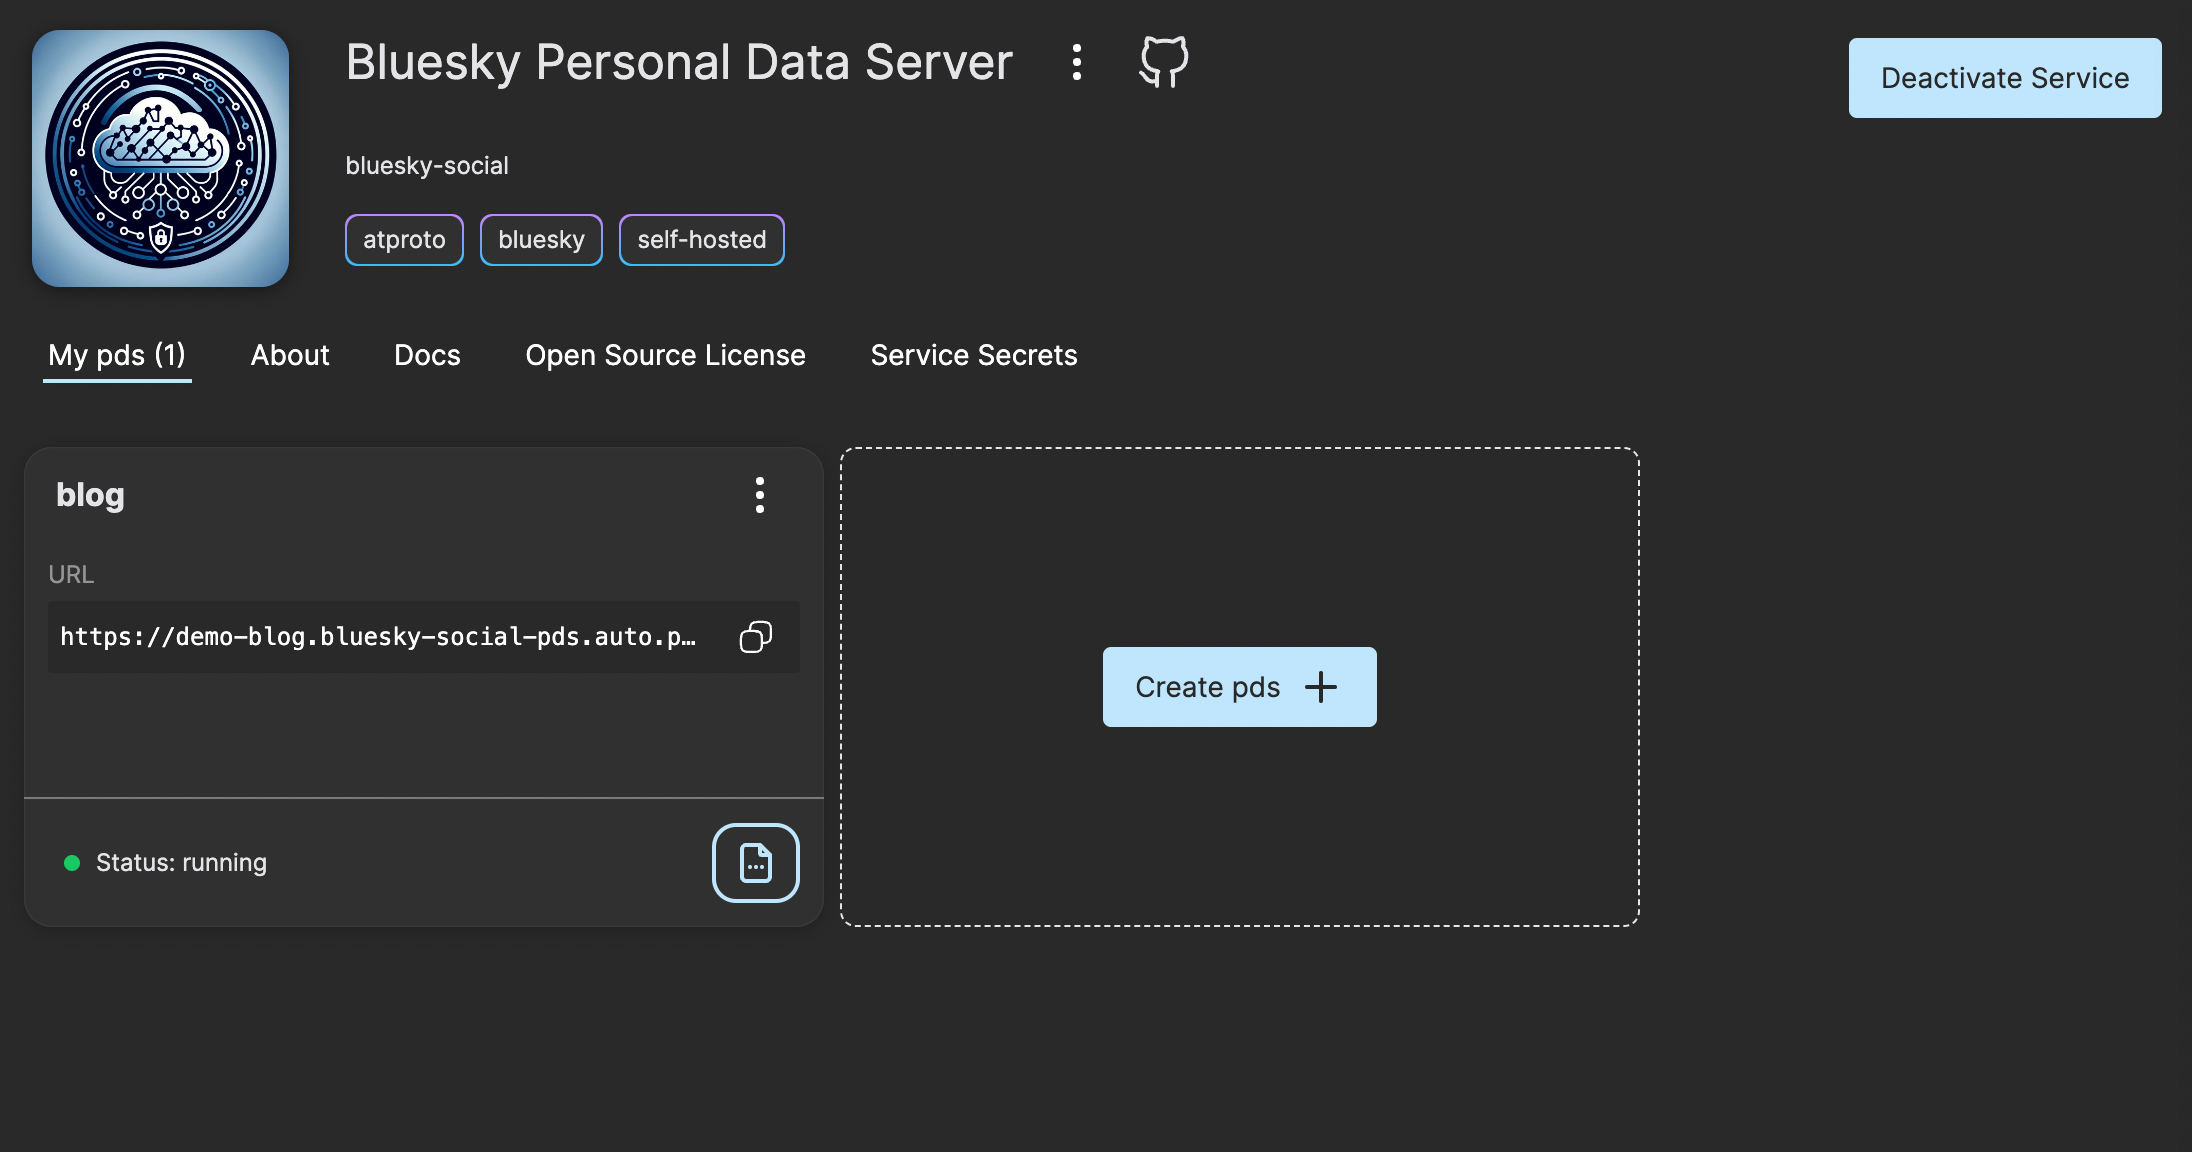
Navigate to Bluesky Personal Data Server by entering this text in the search bar in the top bar.

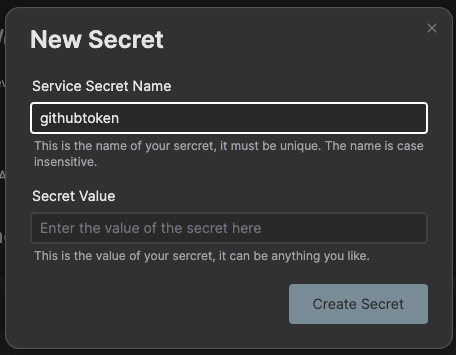
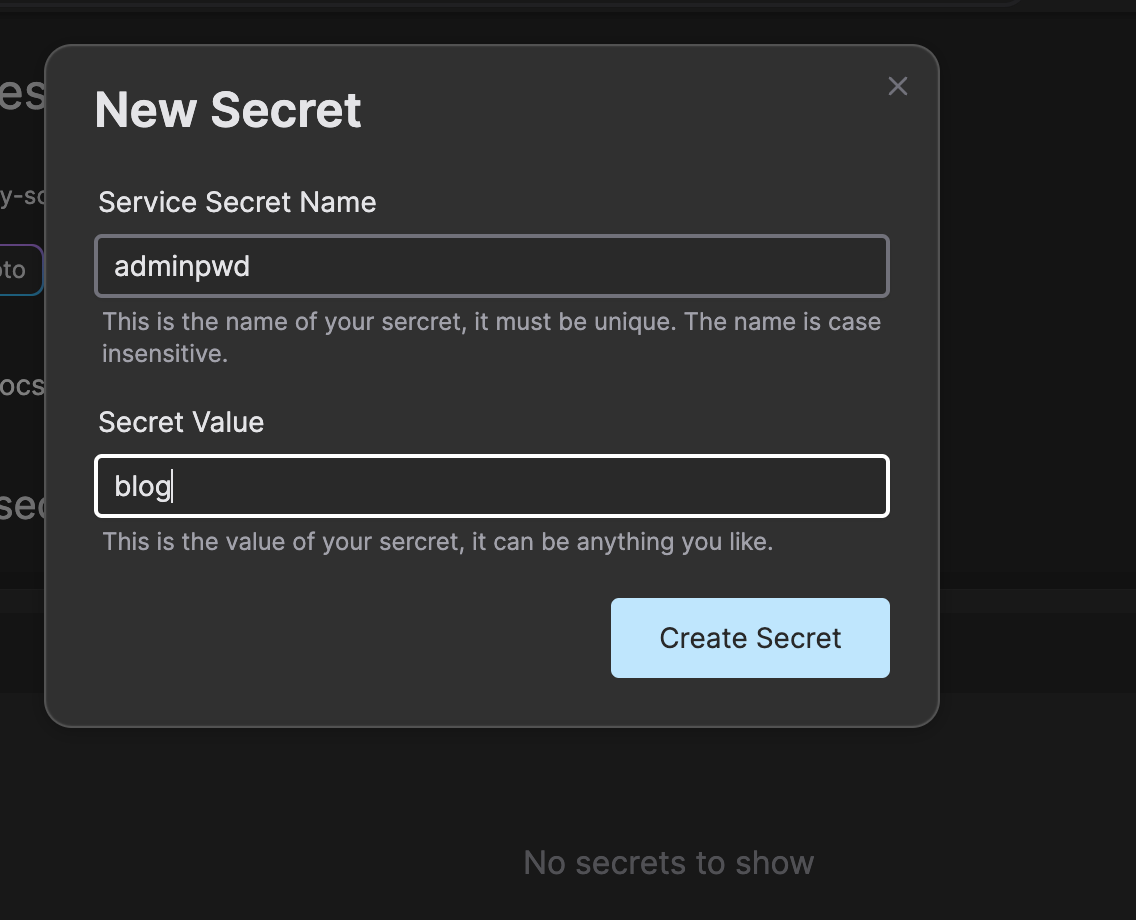
Click on the tab Service secrets and click on New Secret to create a secret for your administration password.

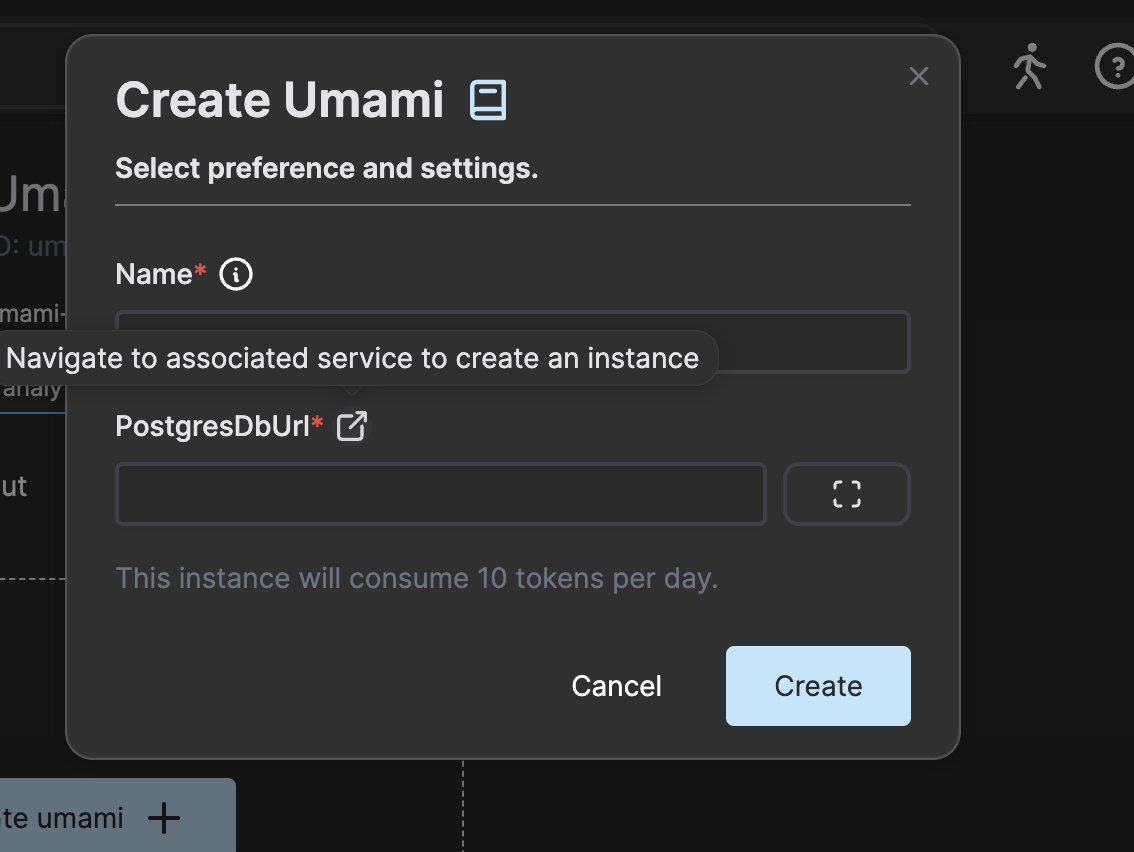
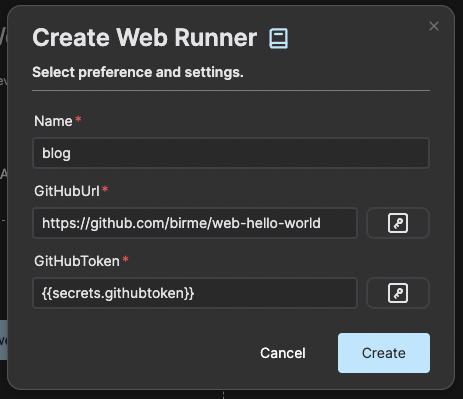
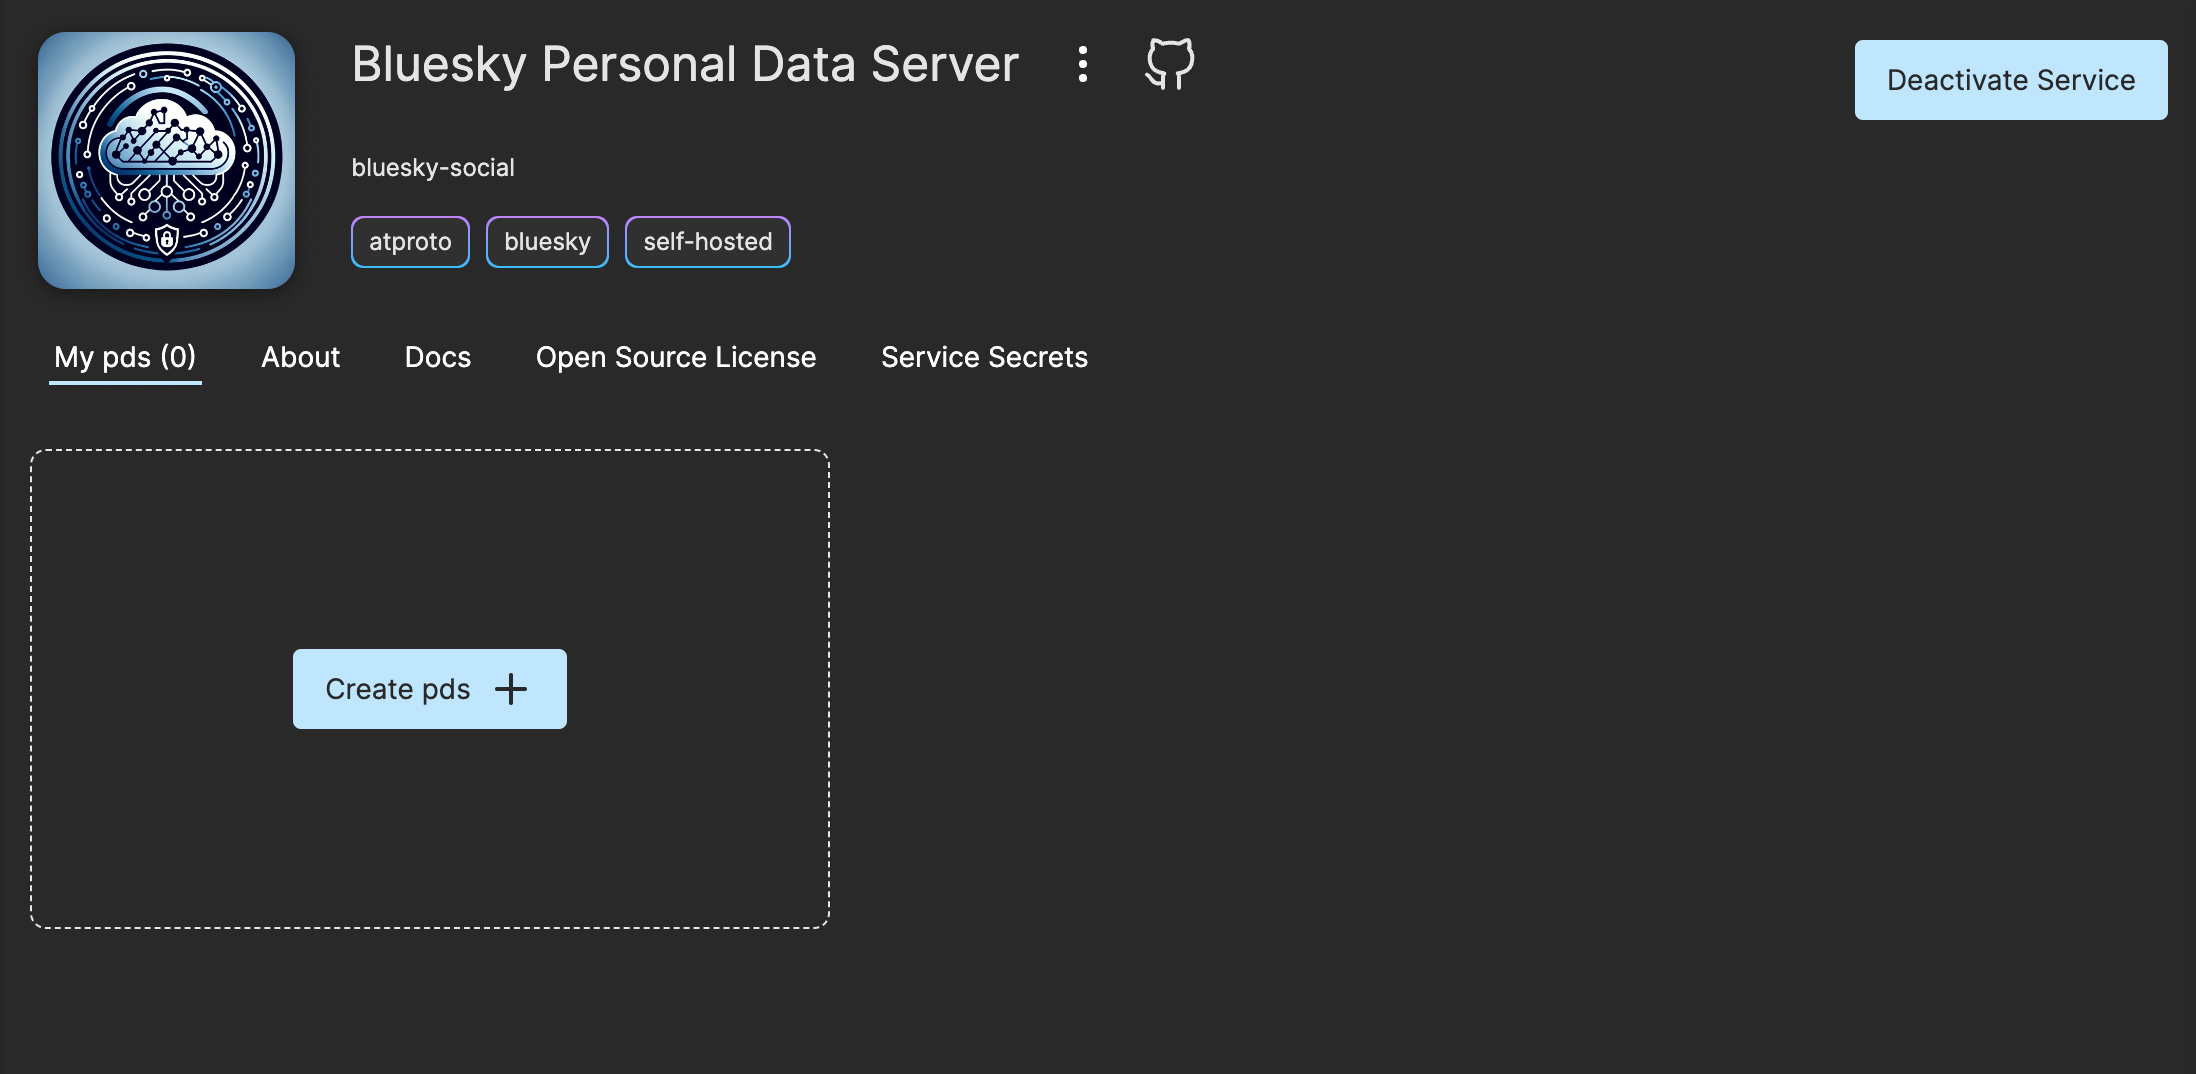
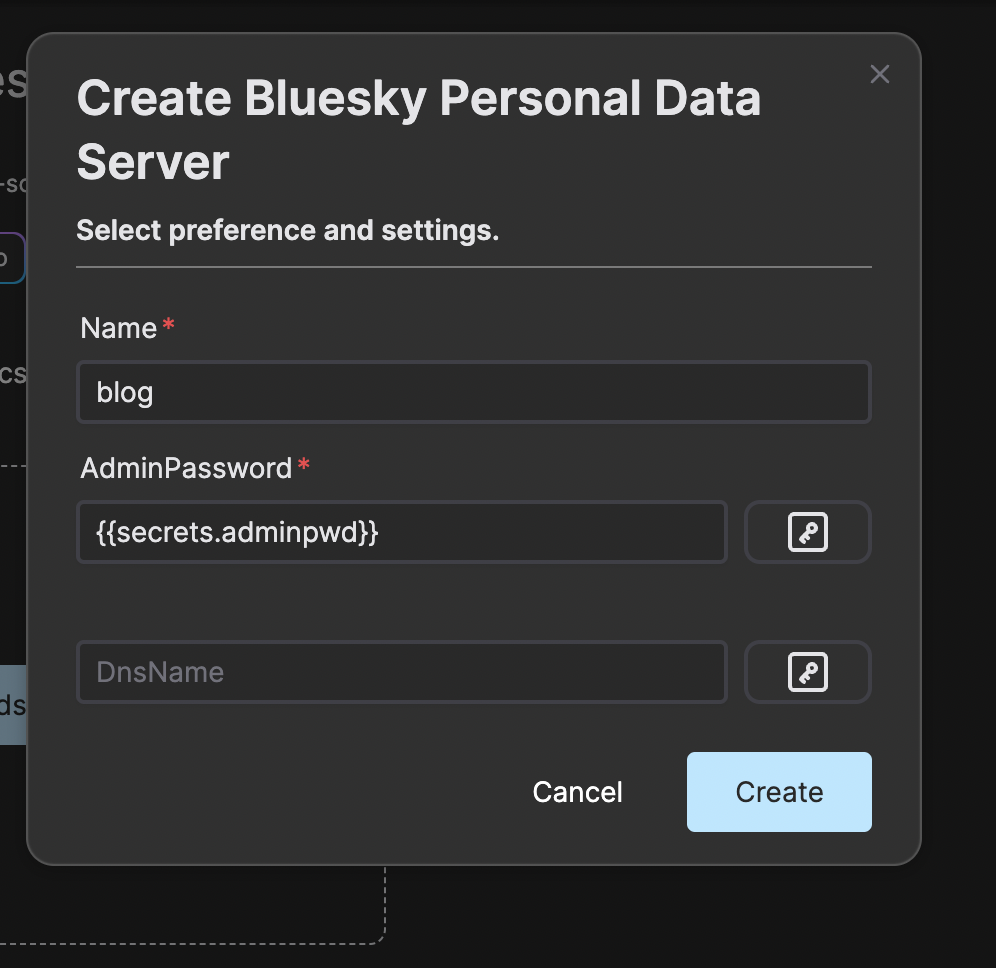
Click on the button “Create pds” and enter the name of your PDS and a reference to the secret you created.

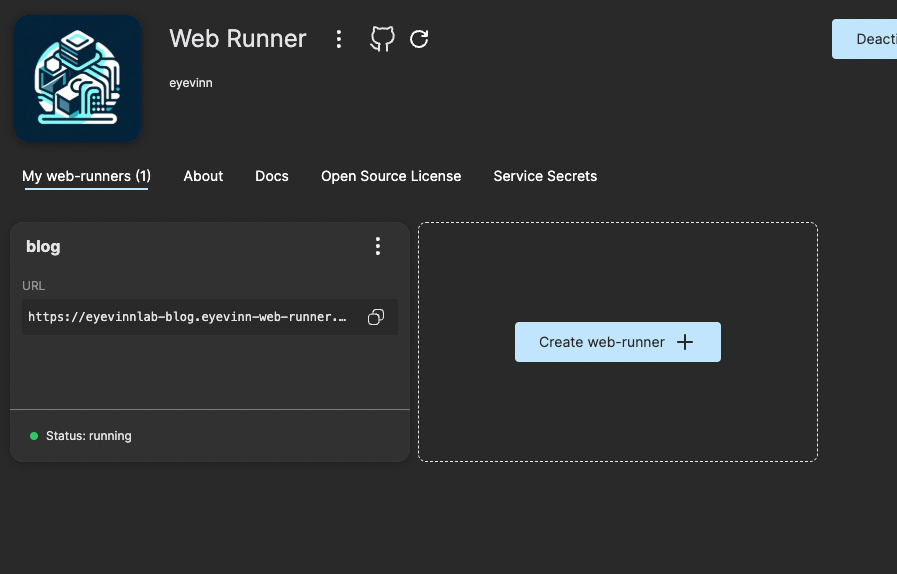
Leave the input DnsName empty for now. This will be used when you add a CDN in front of the server and use a custom domain name. Press create and wait for the indicator on the instance card to turn green.

Step 3: Create an invitation code

Now you have your own PDS up and running. To create an account on the server you need to first create an invitation code. This is done by sending an HTTP request to the PDS API. In this example we will use an HTTP API client available online.

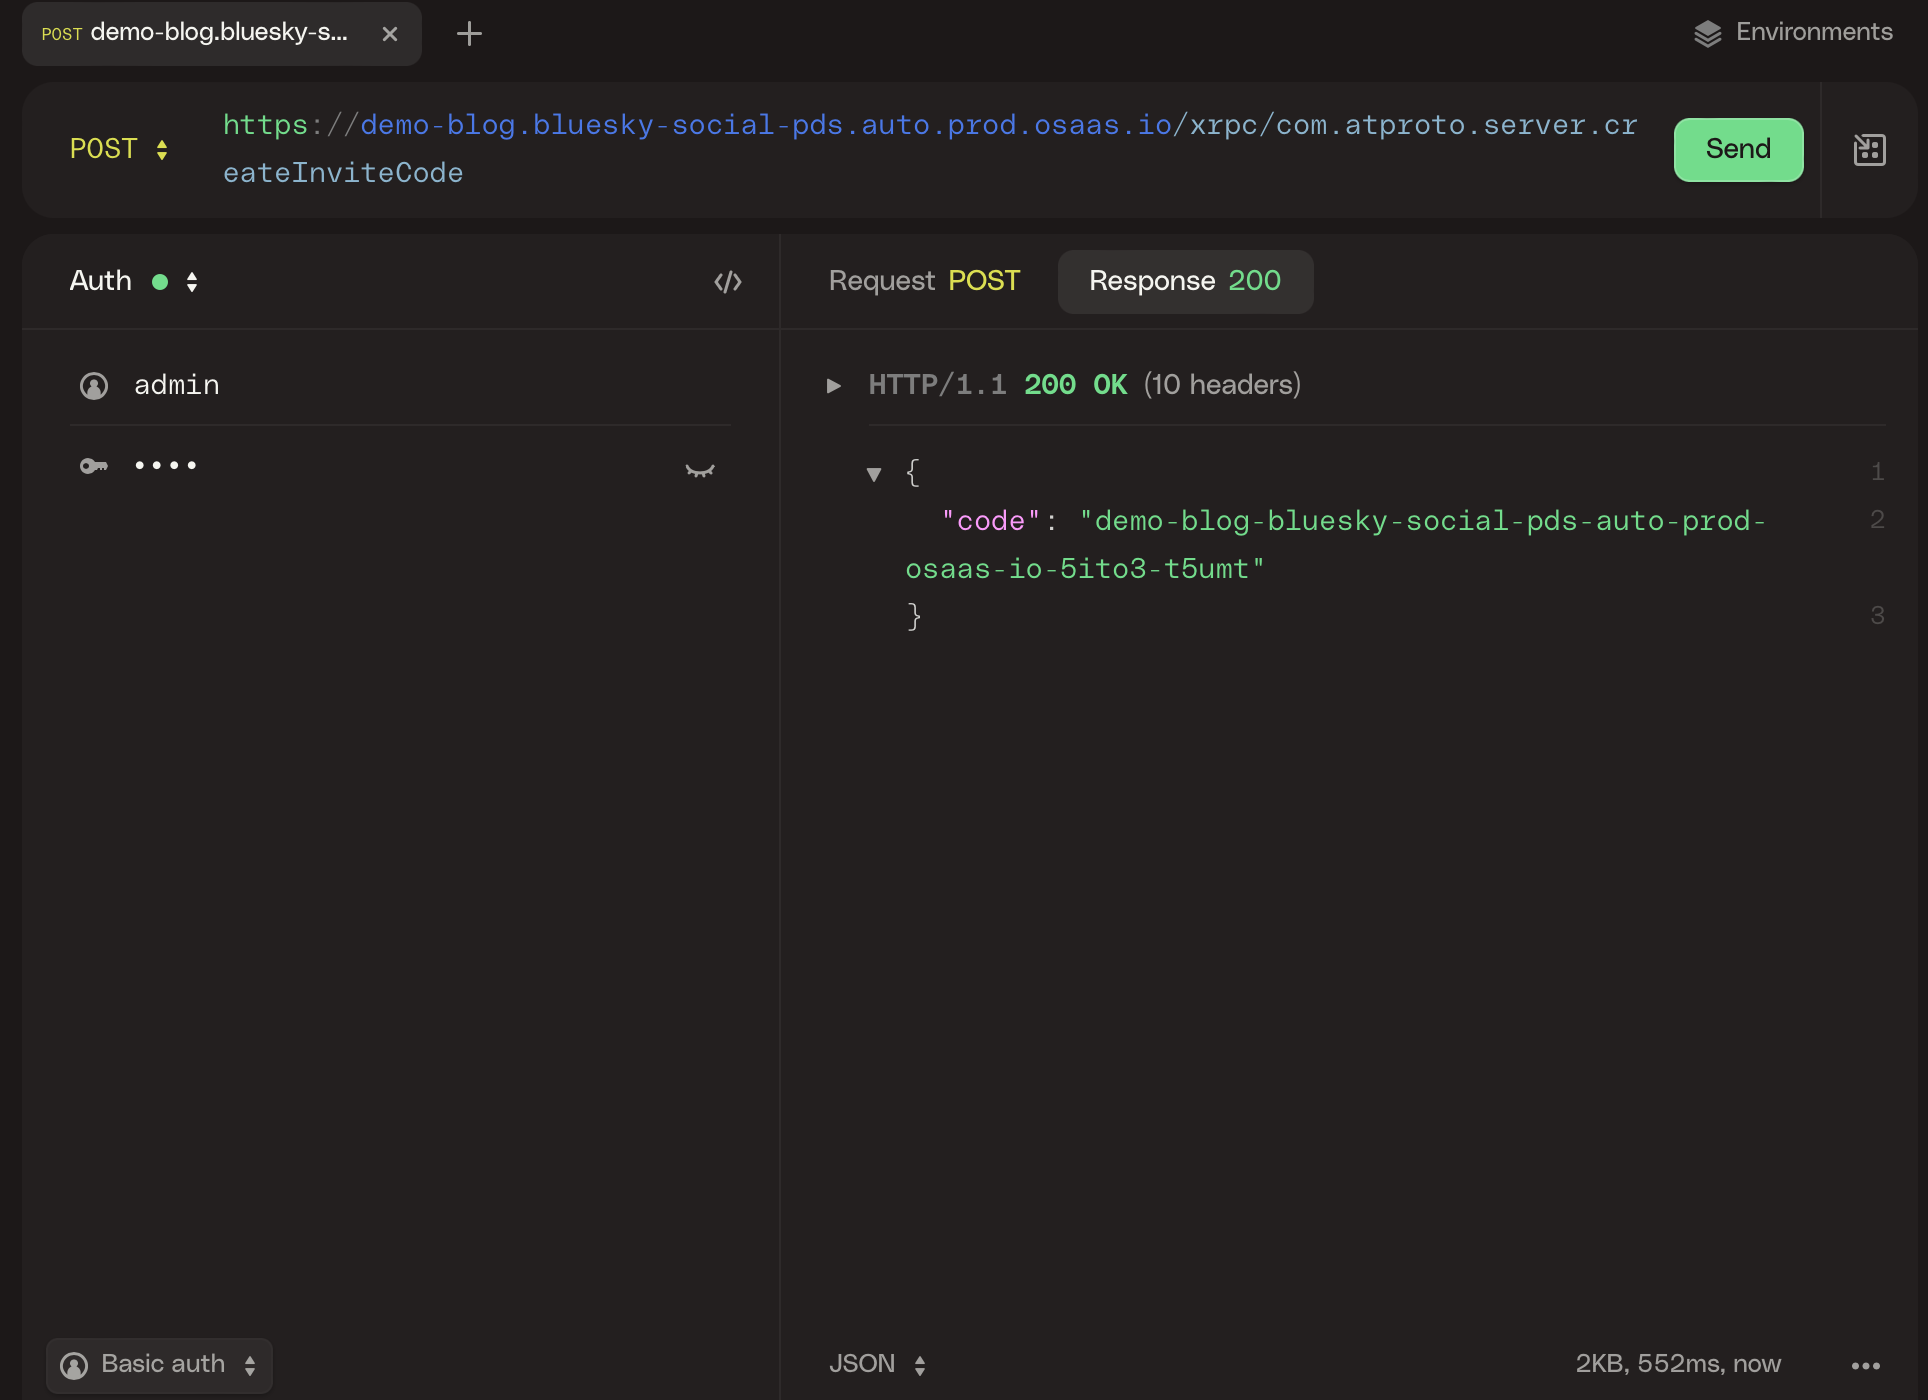
Use Basic auth as authentication method and admin as user and the password is the administration password that you created above. As URL you enter the URL available on the instance card and add /xrpc/com.atproto.server.createInviteCode

In the body you enter the following JSON:

{ "useCount": 1 }

The code returned in the response is the invitation code, in this case demo-blog-bluesky-social-pds-auto-prod-osaas-io-5ito3-t5umt. This is the code you are using when creating an account on this server.

Step 4: Create an account

Download the Bluesky social app on your appstore. When registering a new account select a custom hosting provider and enter the URL to the PDS created. Use the invitation code and enter email and password. Now you will have an account created with a handle @.demo-blog.bluesky-social-pds.auto.prod.osaas.io and you are ready to go!

Advanced: Custom domain and CDN

To use a custom domain name for your service you need to be able to administer a DNS domain and CDN. We will not go through this in detail in this blog post. What you need to setup is the following:

  • 1. Decide and register a root domain name, e.g. my.org
  • 2. Decide what domain name you will use for the PDS, e.g. pds.my.org
  • 3. Create an SSL certificate for *.pds.my.org and pds.my.org
  • 4. Create a PDS in OSC as before with the addition that you set DNS_NAME to pds.my.org
  • 5. Setup a CDN property / distribution where origin is the URL to the PDS created above, e.g. demo-blog.bluesky-social-pds.auto.prod.osaas.io and use the SSL cert created in 3. It is important that the CDN uses the origin host in the request to the origin. Consult your CDN provider for how to configure this.
  • 6. Create DNS records *.pds.my.org and pds.my.org to point to the CDN distribution created in 5.

Conclusion

Creating your own Bluesky Personal Data Server based on open source is achievable with only a few click of a button and a quick way to get your own self-hosted account to join the conversation in this open social media network.

Open source databases available as a service

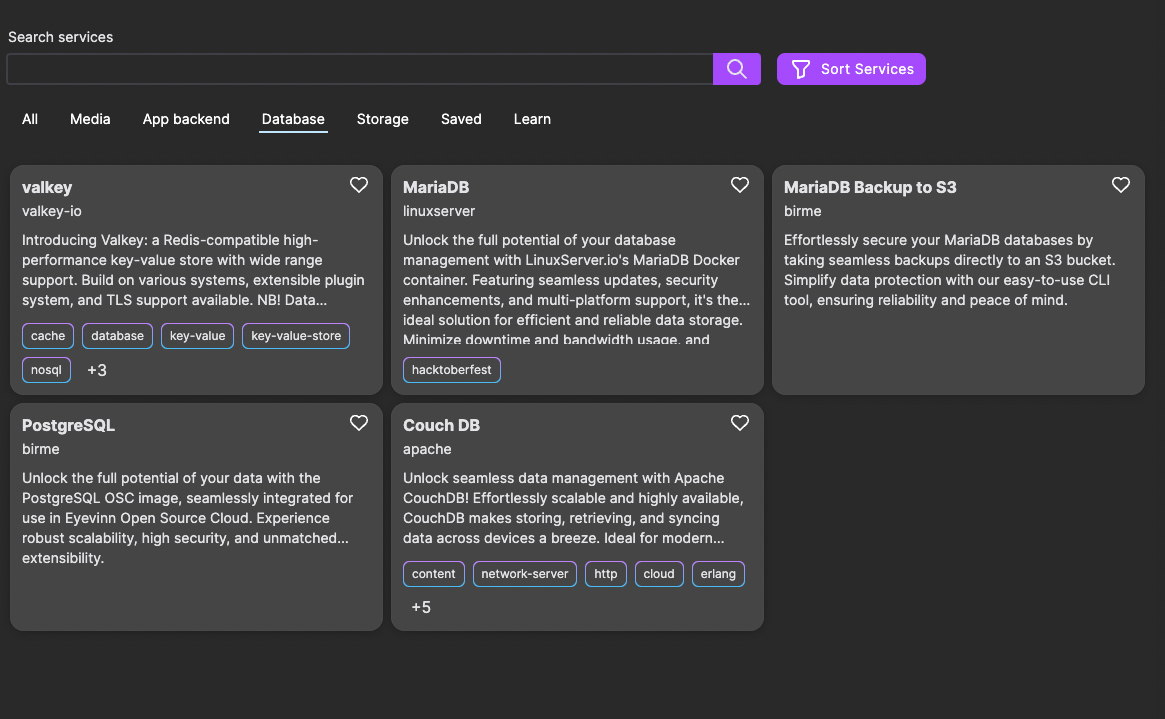
In this blog post we will go through the open source databases that are available as a service in Eyevinn Open Source Cloud.

Databases are fundamental in many solutions and some of the open source projects that are available as a service in Eyevinn Open Source Cloud depends on a database for storing data and states. There are a great number of databases to choose from and recent years a lot of open source alternatives have emerged. With open source you are not locked in with a single vendor but it requires you to host and manage it yourself. To reduce this barrier we have a few of these open source databases already made available as a service and more will be added. This enables you to run open source services in our platform that depends on a database without having to host and manage the database server yourself. It is of course possible to run the databases from another cloud provider if available. That choice is entirely up to you. And as with any other service in this platform we give a share of the revenue back to the original creators.

Let us go through what is available in Eyevinn Open Source Cloud today.

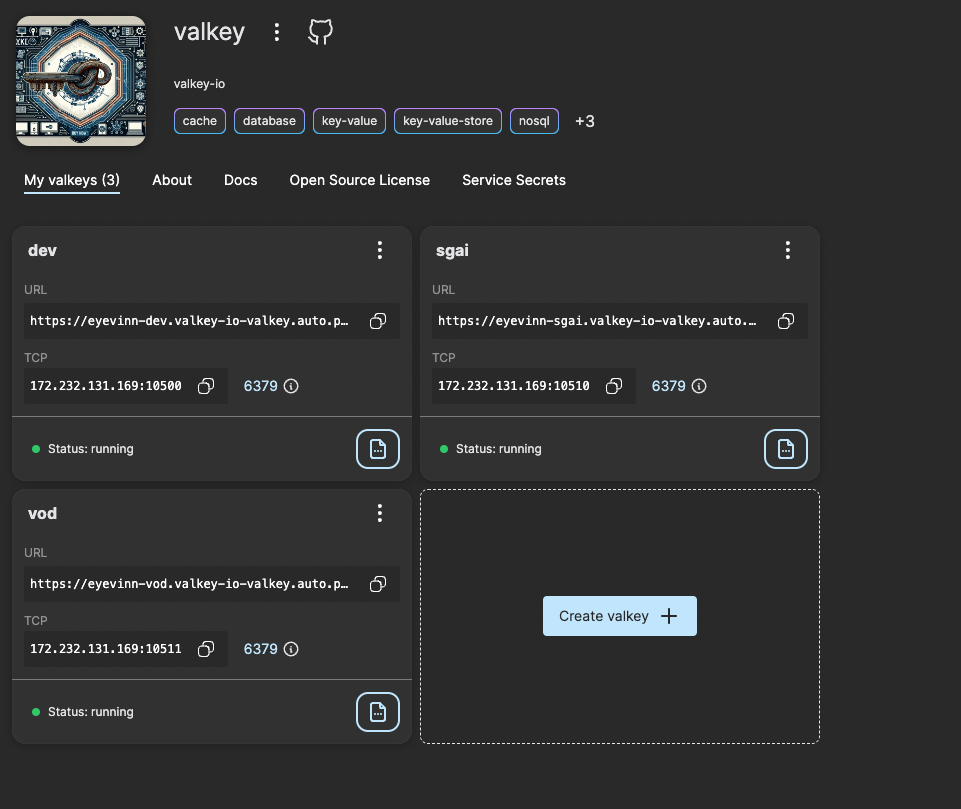
Valkey

Valkey is a Redis-compatible high-performance key-value store that can serve many purposes where simplicity and performance is of most importance. It can be used as a processing queue in a VOD transcoding and packaging solution as well as a store for application config service.

To create a Valkey instance simply navigate to the Valkey service in the Eyevinn Open Source Cloud web console and press Create. When the instance is created you obtain the IP and port to use on the instance card, e.g. redis://[IP]:[PORT].

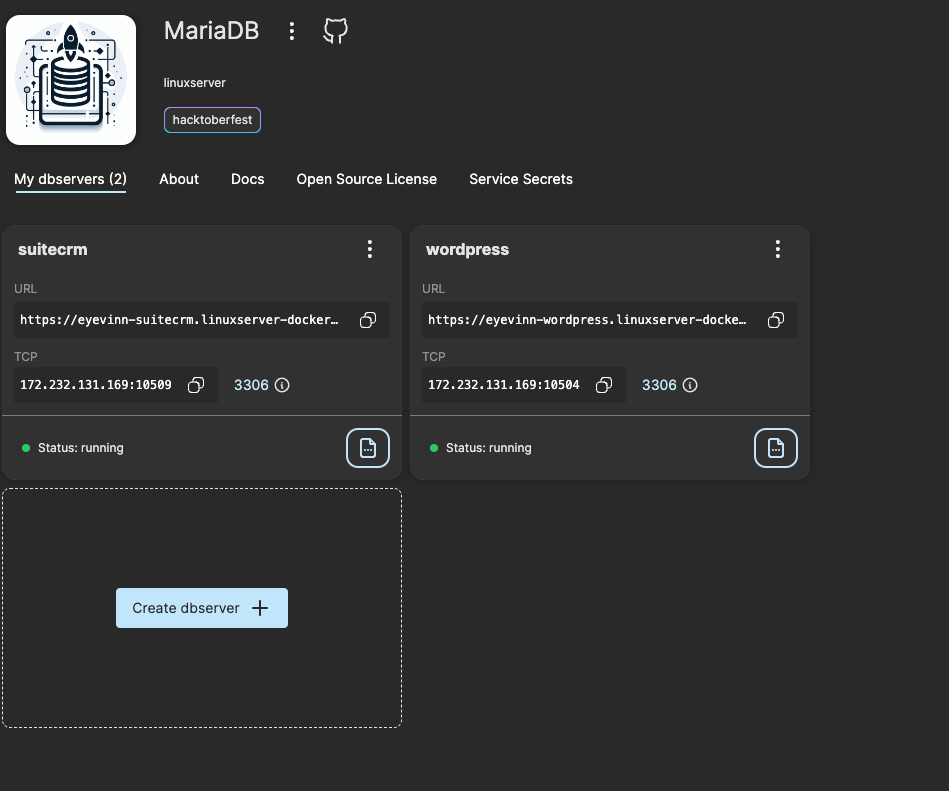
MariaDB

MariaDB is a relational databases made by the original developers of MySQL and guaranteed to stay open source. It can be used as the database for a WordPress blog for example the blog you are currently reading from. This blog is powered by WordPress and MariaDB in Eyevinn Open Source Cloud (dogfooding). Another example is the database for Suite CRM available here.

To create a MariaDB database instance navigate to the MariaDB service in the web console and press Create. Enter the root password and database users you want to setup. These credentials are then used to connect to the database from the application. Obtain the IP and port on the instance card when constructing the connection URL.

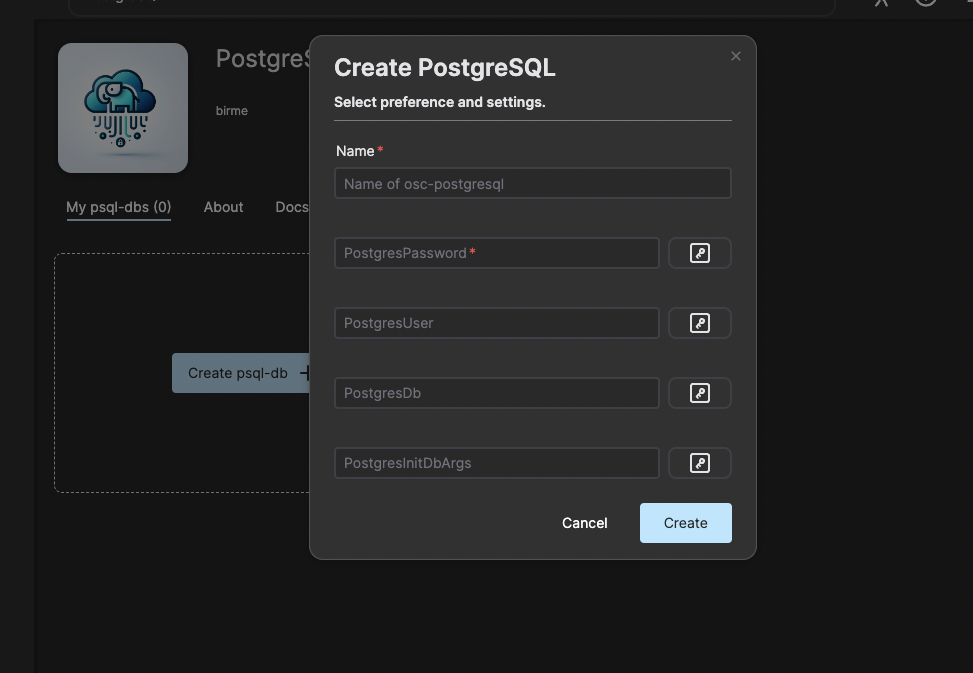
PostgreSQL

Another object-relational database that is open source is PostgreSQL. The origins of PostgreSQL date back to 1986 as part of the POSTGRES project at the University of California at Berkeley and has more than 35 years of active development on the core platform. Navigate to PostgreSQL service in the Open Source Cloud web console and press the button Create to launch a new database instance.

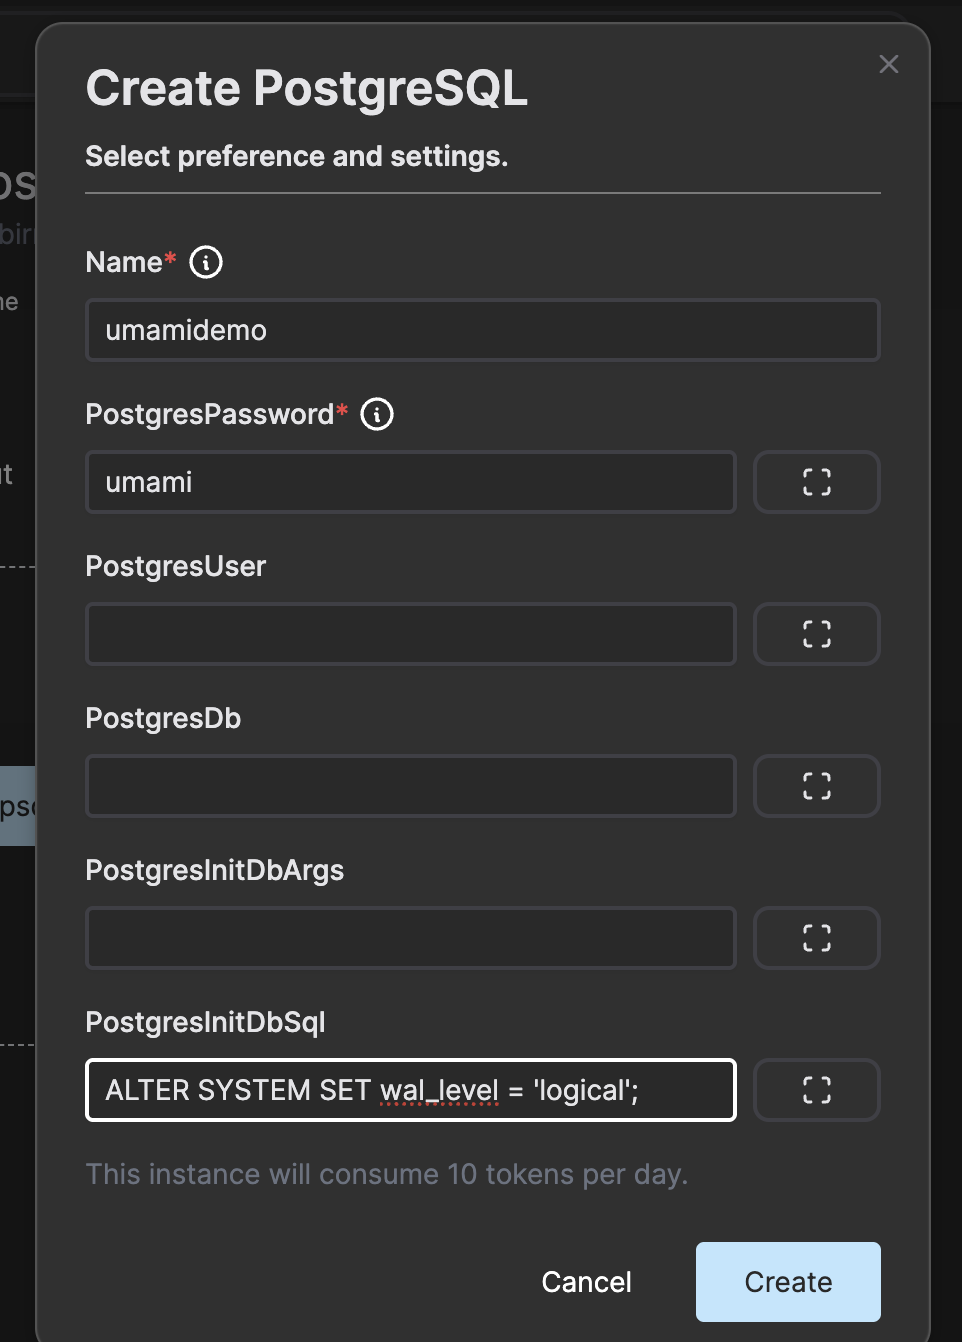
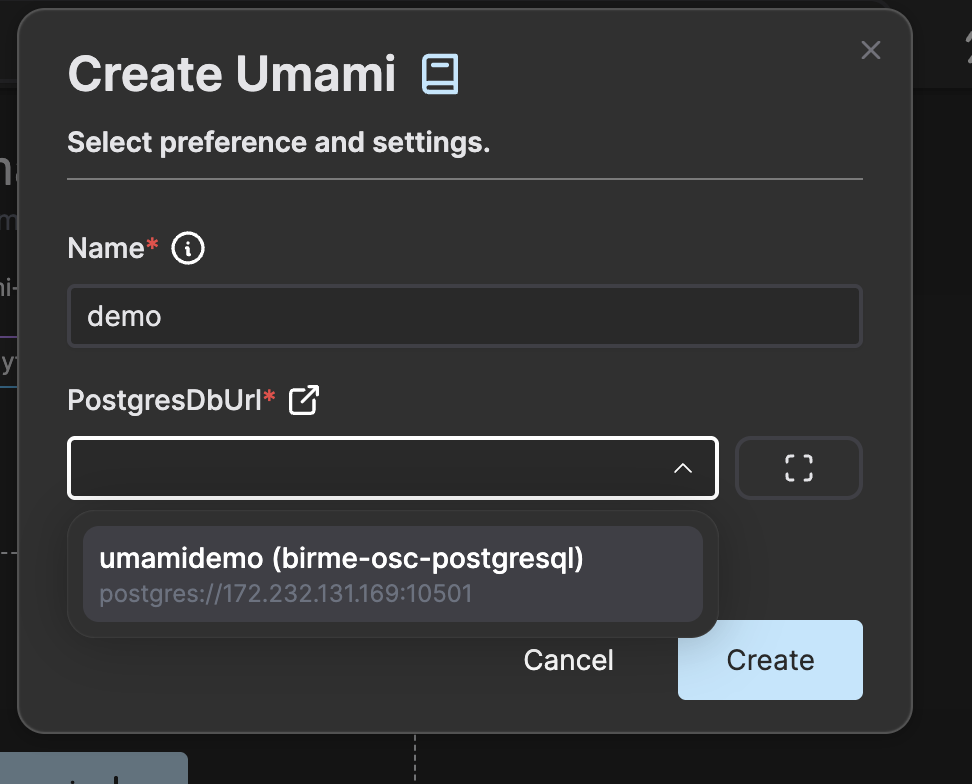
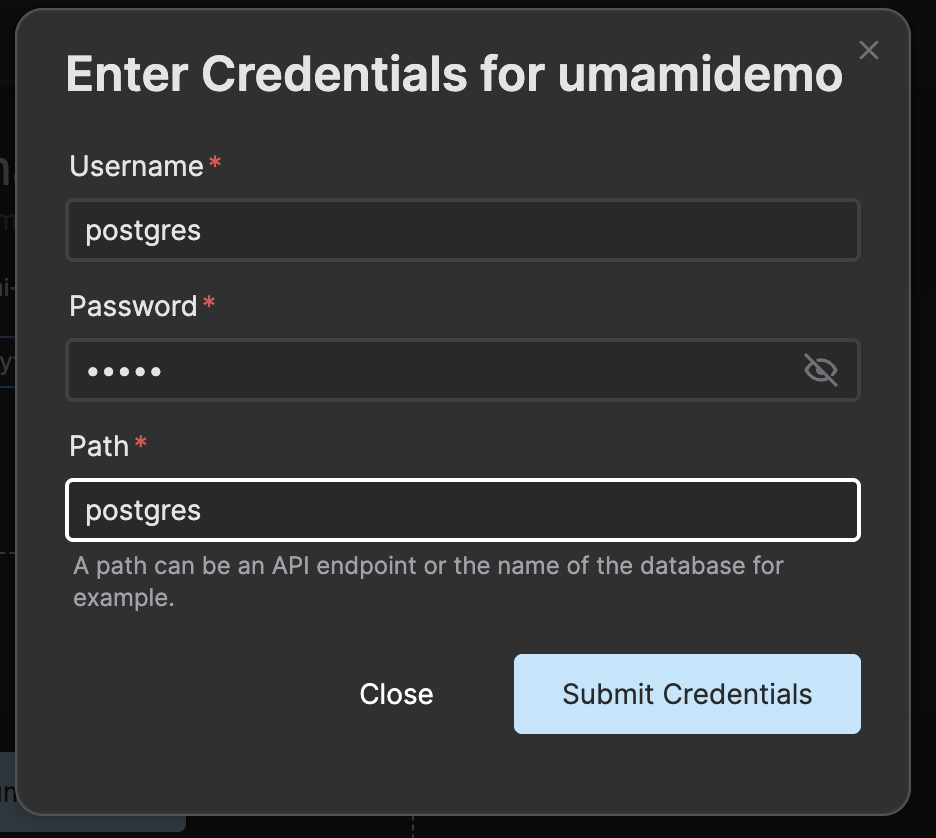
Enter the credentials and name of the database and press create.

Couch DB

Apache CouchDB is an open source NoSQL document database that collects and stores data in JSON-based document formats and works well with modern web and mobile applications. Access your document with your web browser via HTTP. The CouchDB API is the primary method of interfacing to a CouchDB instance. Requests are made using HTTP and requests are used to request information from the database, store new data, and perform views and formatting of the information stored within the documents. Simple and easy to use with any HTTP client.

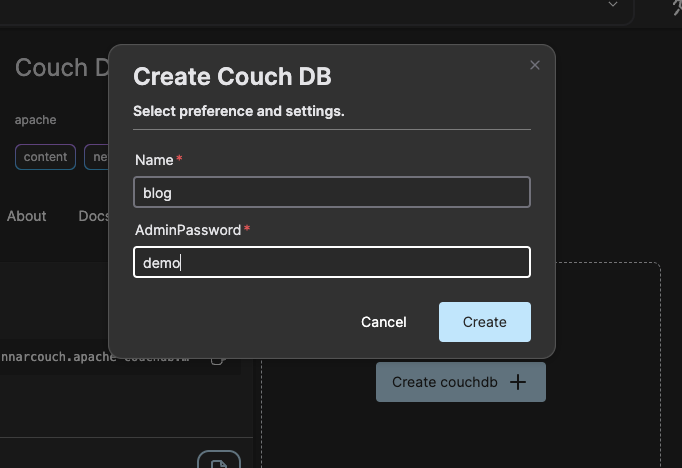
Navigate to the CouchDB service in Open Source Cloud and press Create to start a new instance.

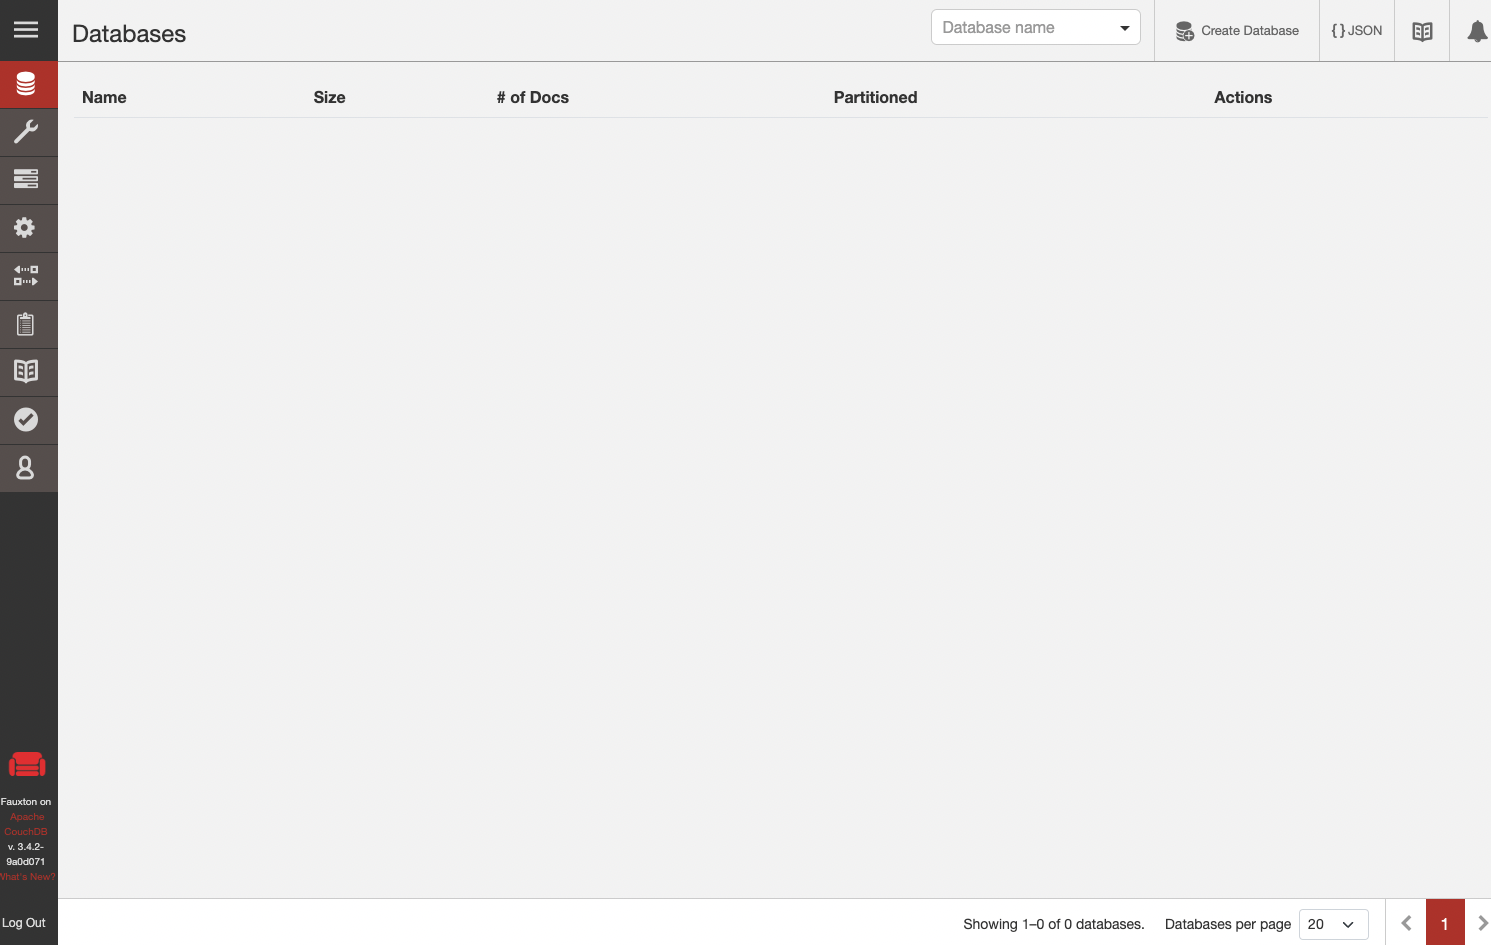
When the instance is up and running you can click on the instance card to go to the web user interface to Couch DB.

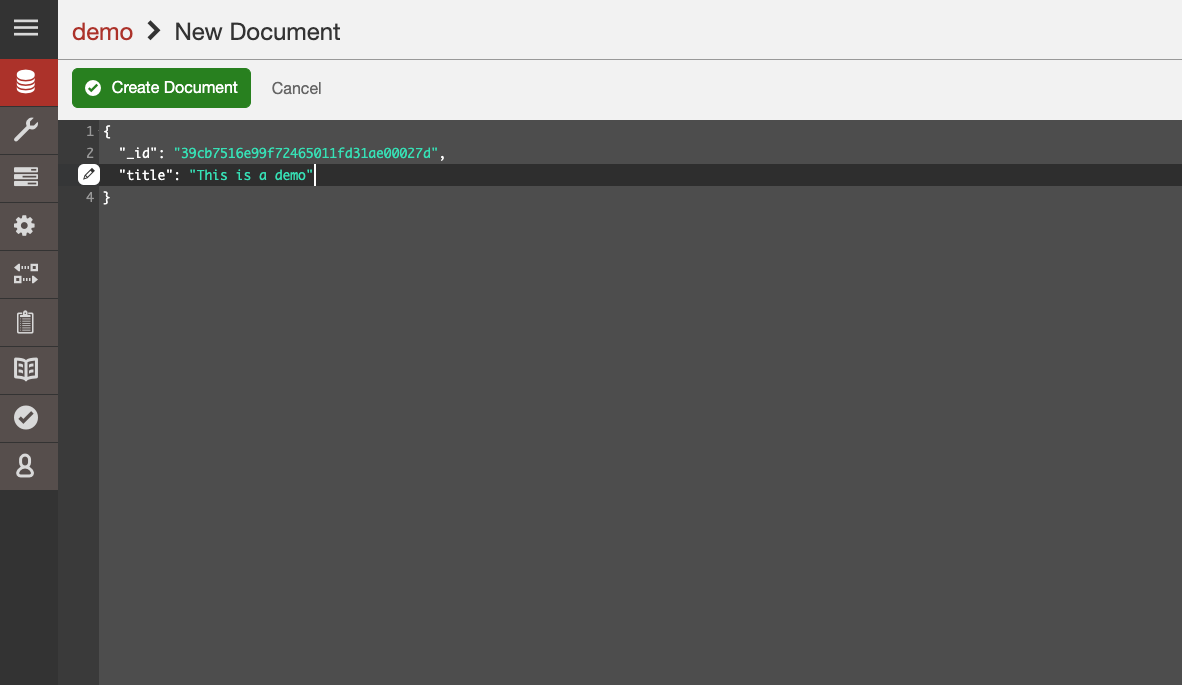
Create a new database by clicking the Create database button in the top right corner. Then you can create your first document that you want to store.

There are client libraries available and the offical Apache CouchDB library for Node.js is called nano.

Conclusion

These are the open source databases that are available as service in Eyevinn Open Source Cloud today. If you have a suggestion of another open source database that can be made available as a service go to www.osaas.io and submit it there, or write a comment to this post.

From Idea to Online Service in No Time: Leveraging AI and Eyevinn Open Source Cloud

As an entrepreneur, tech enthusiast, or developer, you know how daunting it can be to transform an idea into a functional web service. But with the combination of AI and the Eyevinn Open Source Cloud (https://www.osaas.io/), this journey becomes streamlined and efficient. In this post, I’ll share my experience of creating an online movie recommendation site—and how leveraging AI and Eyevinn Open Source Cloud made it possible in just a few hours.

The Idea: An Online Movie Recommendation Site

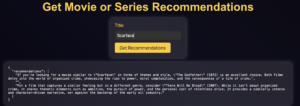
I had a simple idea: a website where users could enter a movie name and get two new movie recommendations, using the OpenAI API to generate suggestions. This seemed like a perfect project to test the capabilities of Eyevinn Open Source Cloud.


Step 1: Generating the Code with ChatGPT

To kick things off, I used ChatGPT to help create a Docker container with an HTML frontend and a Node.js backend that communicates with the OpenAI API. It requires an OpenAI API key to be entered when starting the Docker container. This approach let me rapidly build a prototype without needing to dive deep into intricate coding.

Step 2: Running the Code Locally

Next, I took the generated code and ran it locally on my Mac using VS Code, with the help of GitHub Copilot. It is important to make sure that the latest version of software, such as Node.js, is used to ensure security and performance, as the code generated by ChatGPT may not always be up to date. This local testing step was crucial to ensure everything worked smoothly before deployment. Once I confirmed the functionality, I published the code in a public GitHub repository. https://github.com/alexbj75/movierecommendator

Step 3: Deploying on Eyevinn Open Source Cloud


With the code ready, I created an account on Eyevinn Open Source Cloud https://www.osaas.io/ and connected it to my GitHub repository. After submitting the repository URL under “My service inbox”, it went through a quick approval process and then I launched the service.

In no time, my movie recommendation site was live and accessible here https://ej75hotmal-alex.alexbj75-movierecommendator.auto.prod.osaas.io.


Advantages of Eyevinn Open Source Cloud

Rapid Development and Deployment: Eyevinn Open Source Cloud and AI tools enabled me to take my idea from conception to a live web service in under three hours, which is impressive for someone who hasn’t written code in 24 years. This rapid turnaround is a game-changer for anyone looking to innovate quickly.

Easy Deployment Without Building or Hosting Software: Eyevinn Open Source Cloud simplifies the process of deploying services by removing the need to build or host the software yourself. This makes launching a project much easier.

Cost Savings: Leveraging open-source software eliminates expensive licensing fees, making it a cost-effective solution. Eyevinn Open Source Cloud also has no lock-in because the source code is always available on GitHub, ensuring full transparency and flexibility. This makes launching a project much easier.

Community-Driven Innovation: By using open-source tools, you benefit from the collective expertise of a global developer community that continuously enhances the software. Eyevinn Open Source Cloud also encourages community-driven innovation through revenue-sharing, contributing back to the community.

Conclusion

Eyevinn Open Source Cloud, combined with AI, is a powerful tool for entrepreneurs, tech enthusiasts, and developers who want to bring their ideas to life quickly and affordably. My experience of creating an online movie recommendation site—even after not having programmed for 24 years—is proof of how accessible this platform is. If you have a web service idea, I highly recommend giving Eyevinn Open Source Cloud a try. You might be surprised by how fast your idea can come to life.

Fast and simple QR-code implementation

QR code usage has sky-rocket the last years. From occasional usage to almost mandatory, can you get a ticket today without it having a QR code on it?

While QR codes are not the hardest thing to add it might be tedious if you have to do it all the time!

I’m sure there are a few tools out there to handle QR-code creation but let me tell you about the QR-code generator on Open Source Cloud!

Head over to www.osaas.io and create a free account.

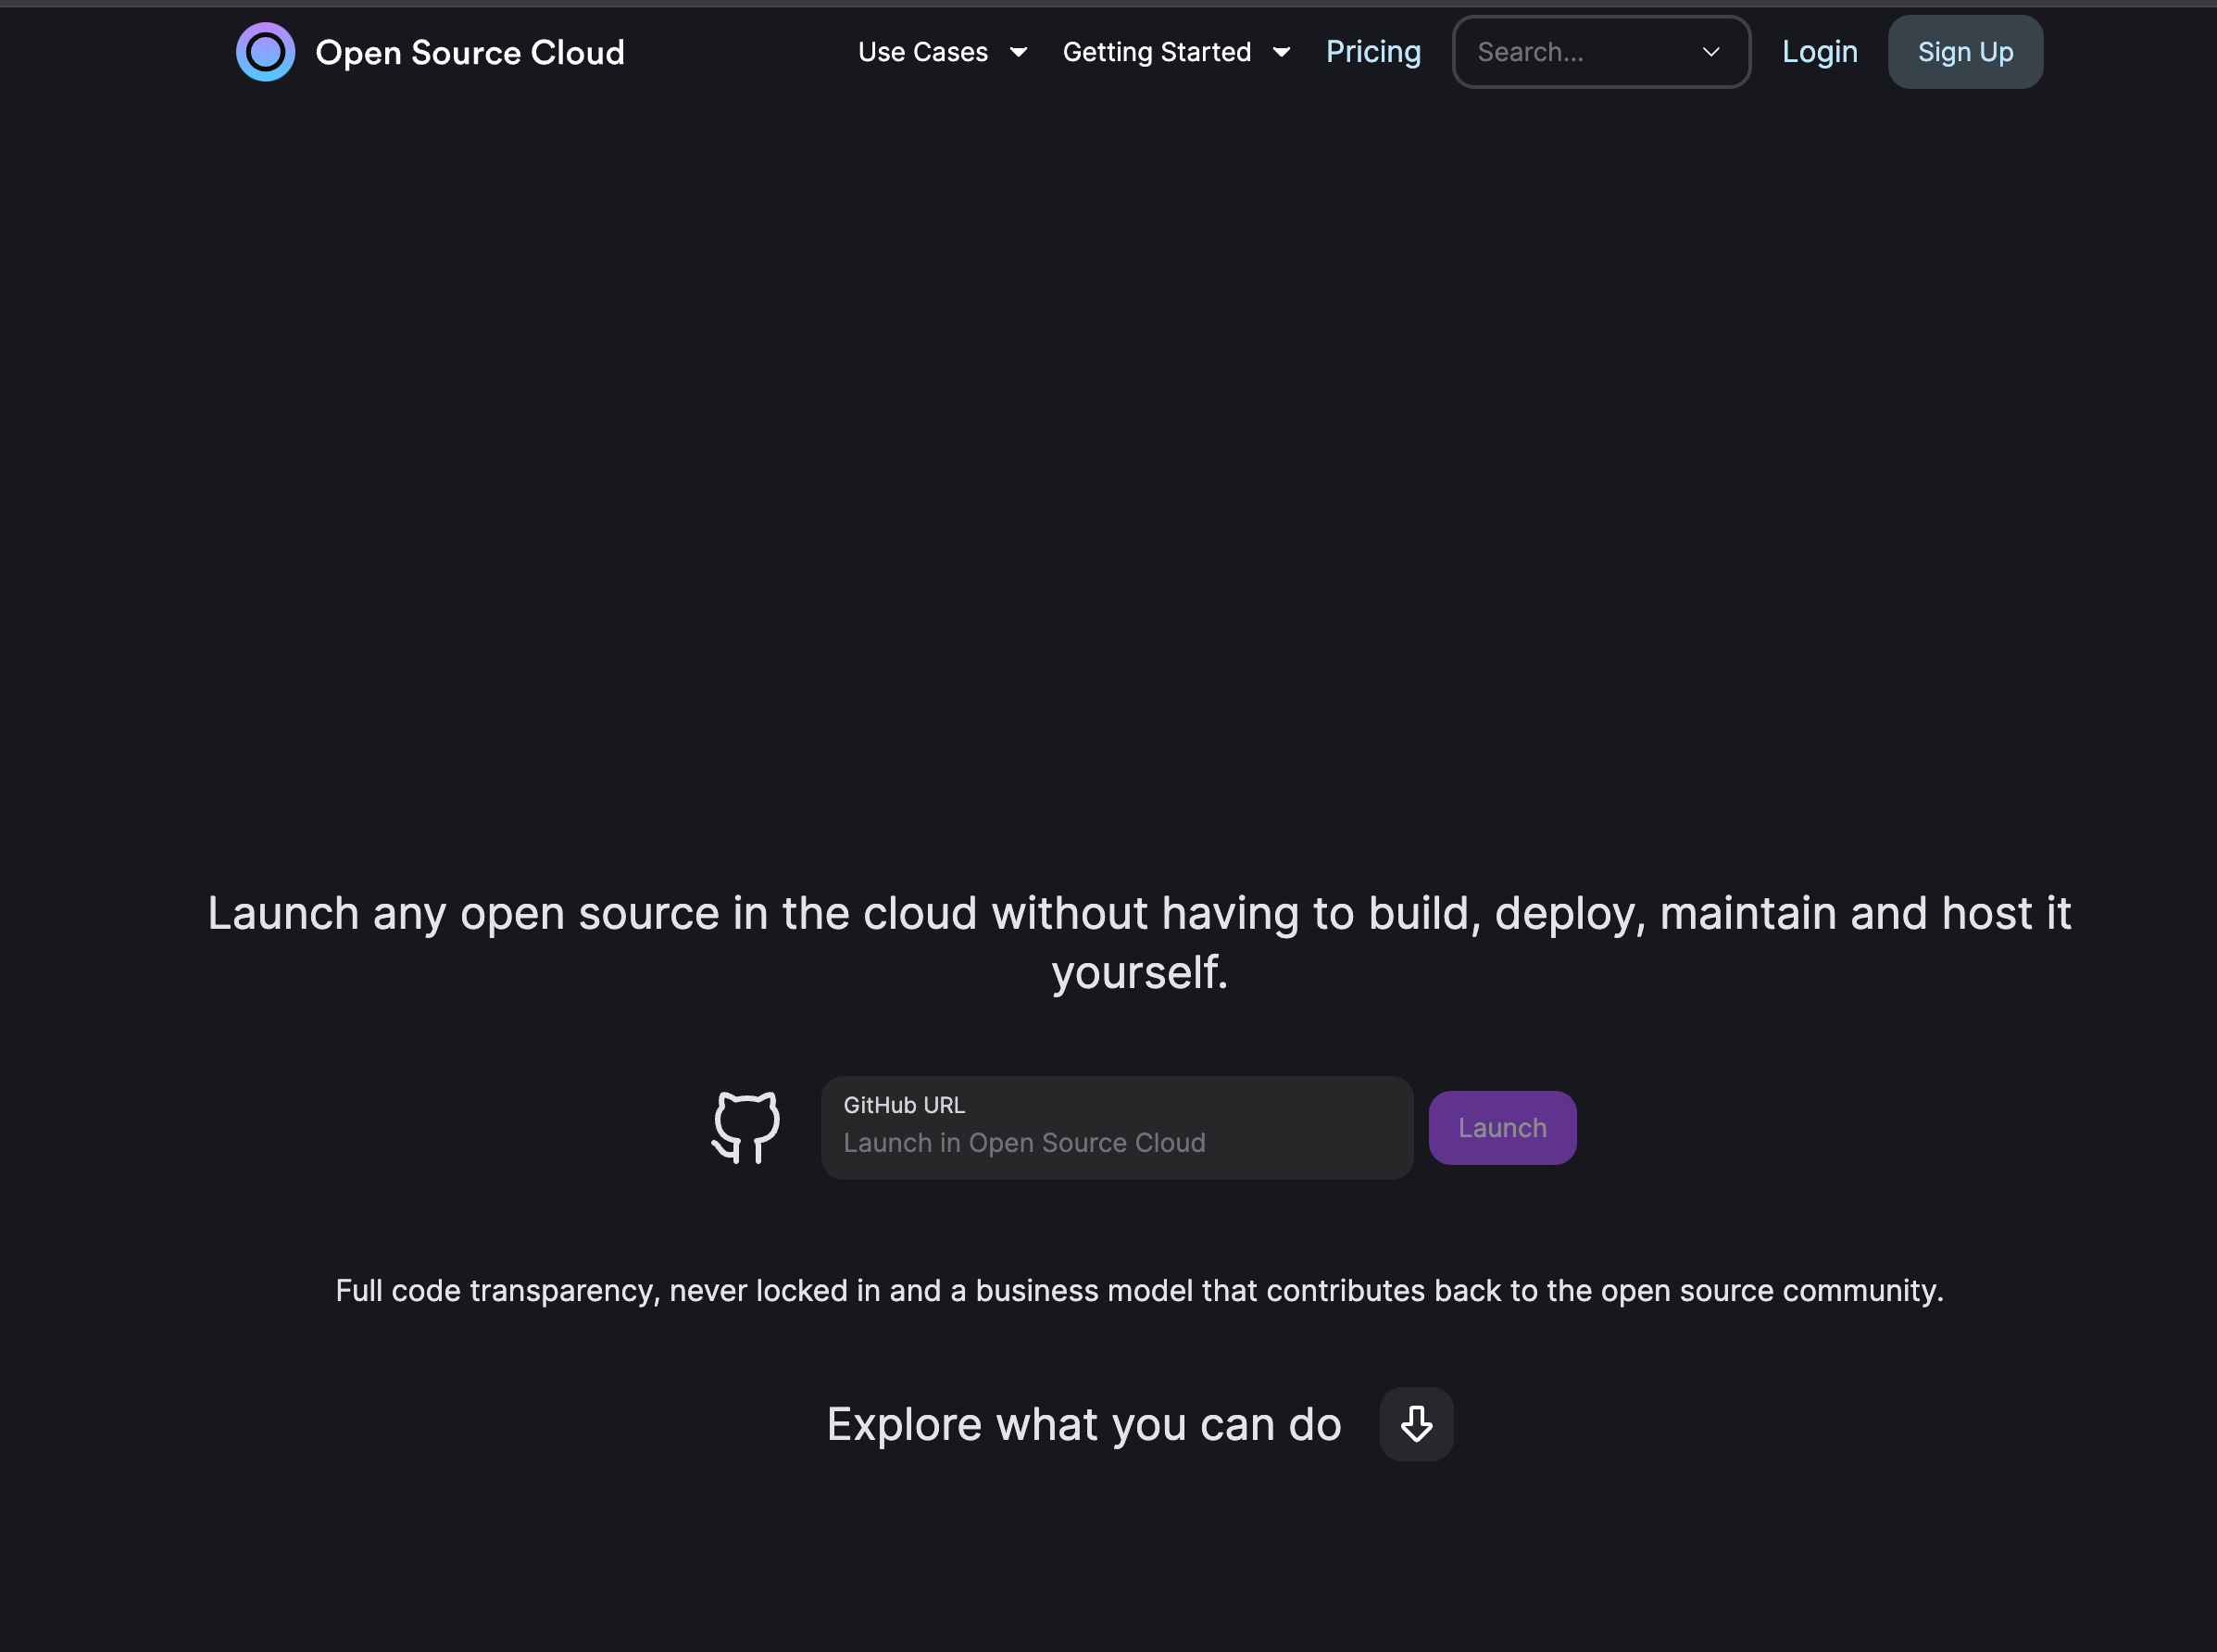
osaas landing page

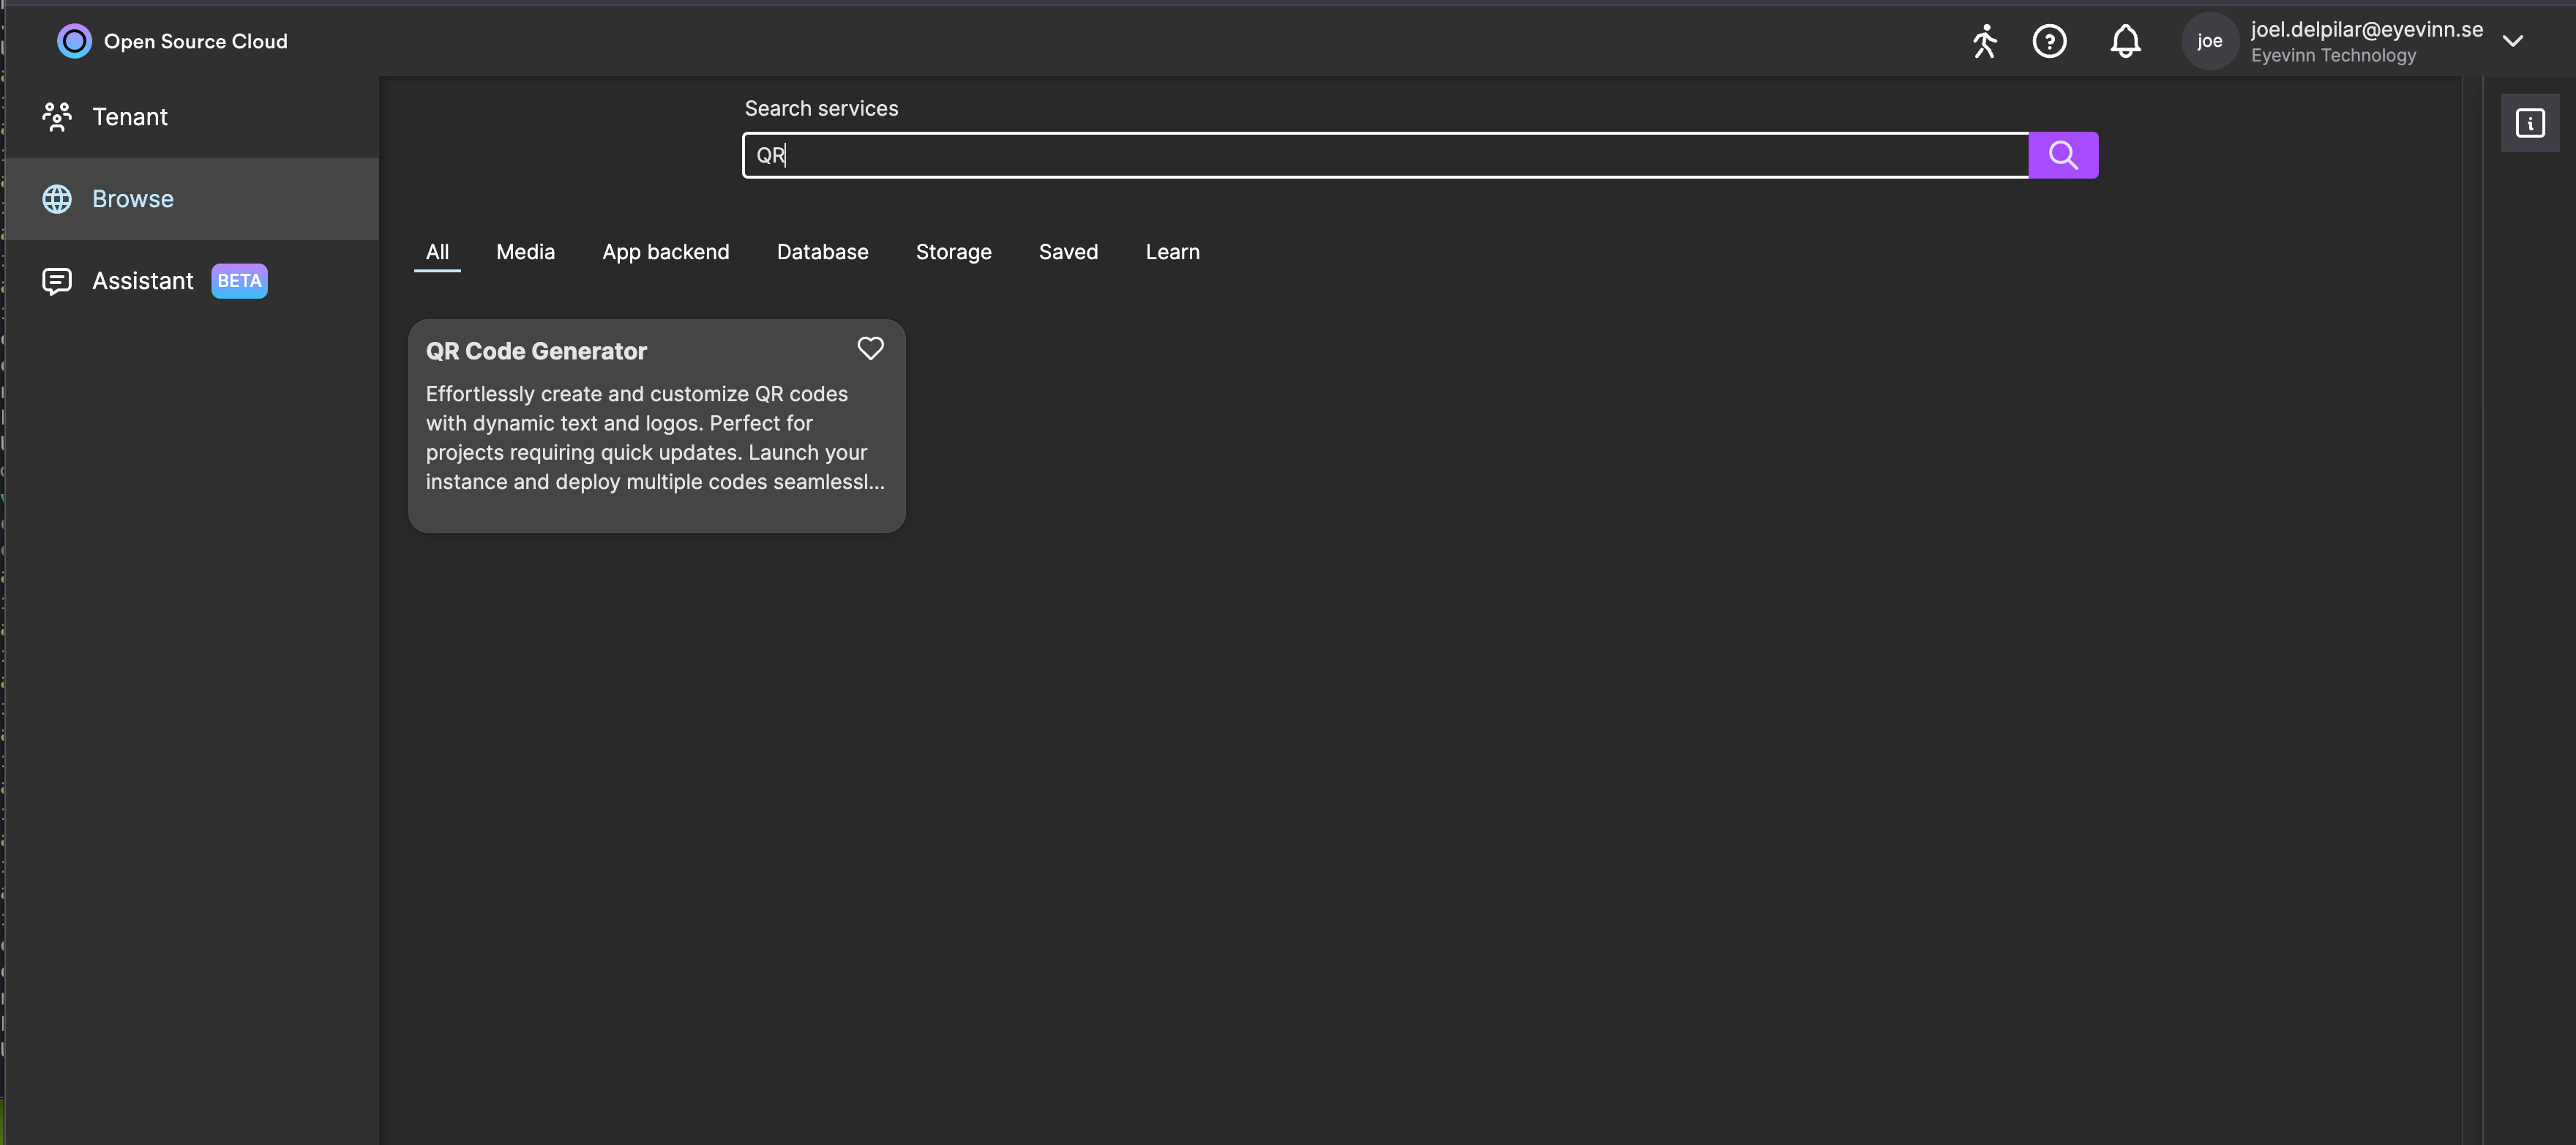
When you have logged on to the platform and created your tenant, go to browse and search for QR and click on the card in the search result.

Search result for QR

Click on Create qr-generator


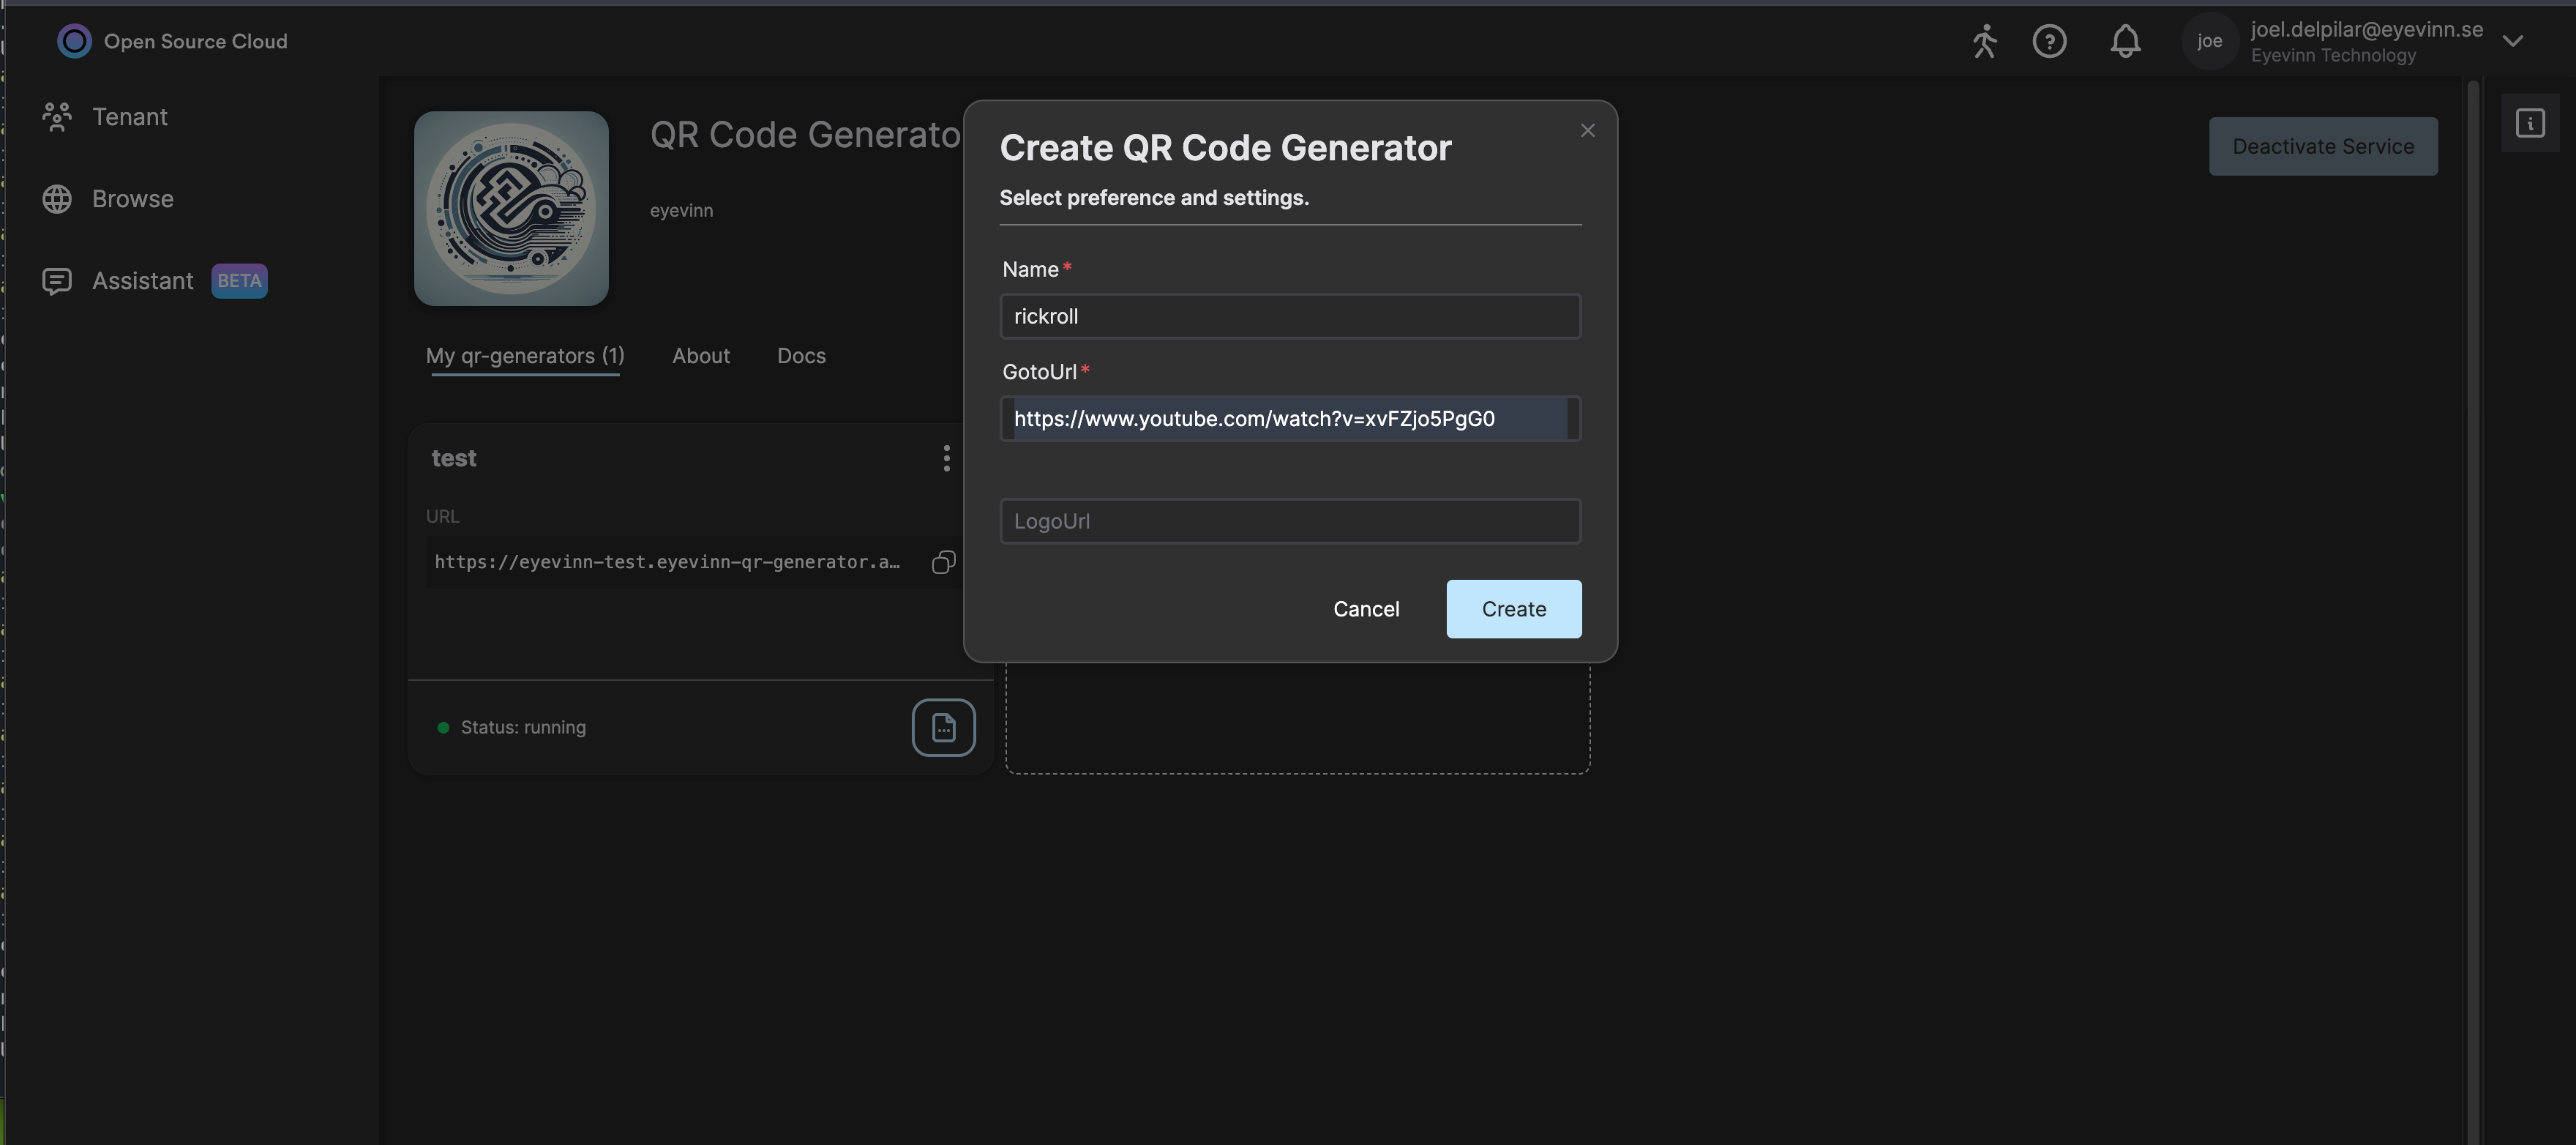
Now you need to give your generator a name and provide a url to where you want to redirect with your QR-code.

Form fields for QR code generator

You could provide a logo if you’d like, it should be in a square format for best result.


Click on create and wait for the instance to be created.


Now you have your QR-code!


Implement it in your web apps by simply add the url from the instance card in a img-tag src attribute.

img tag example

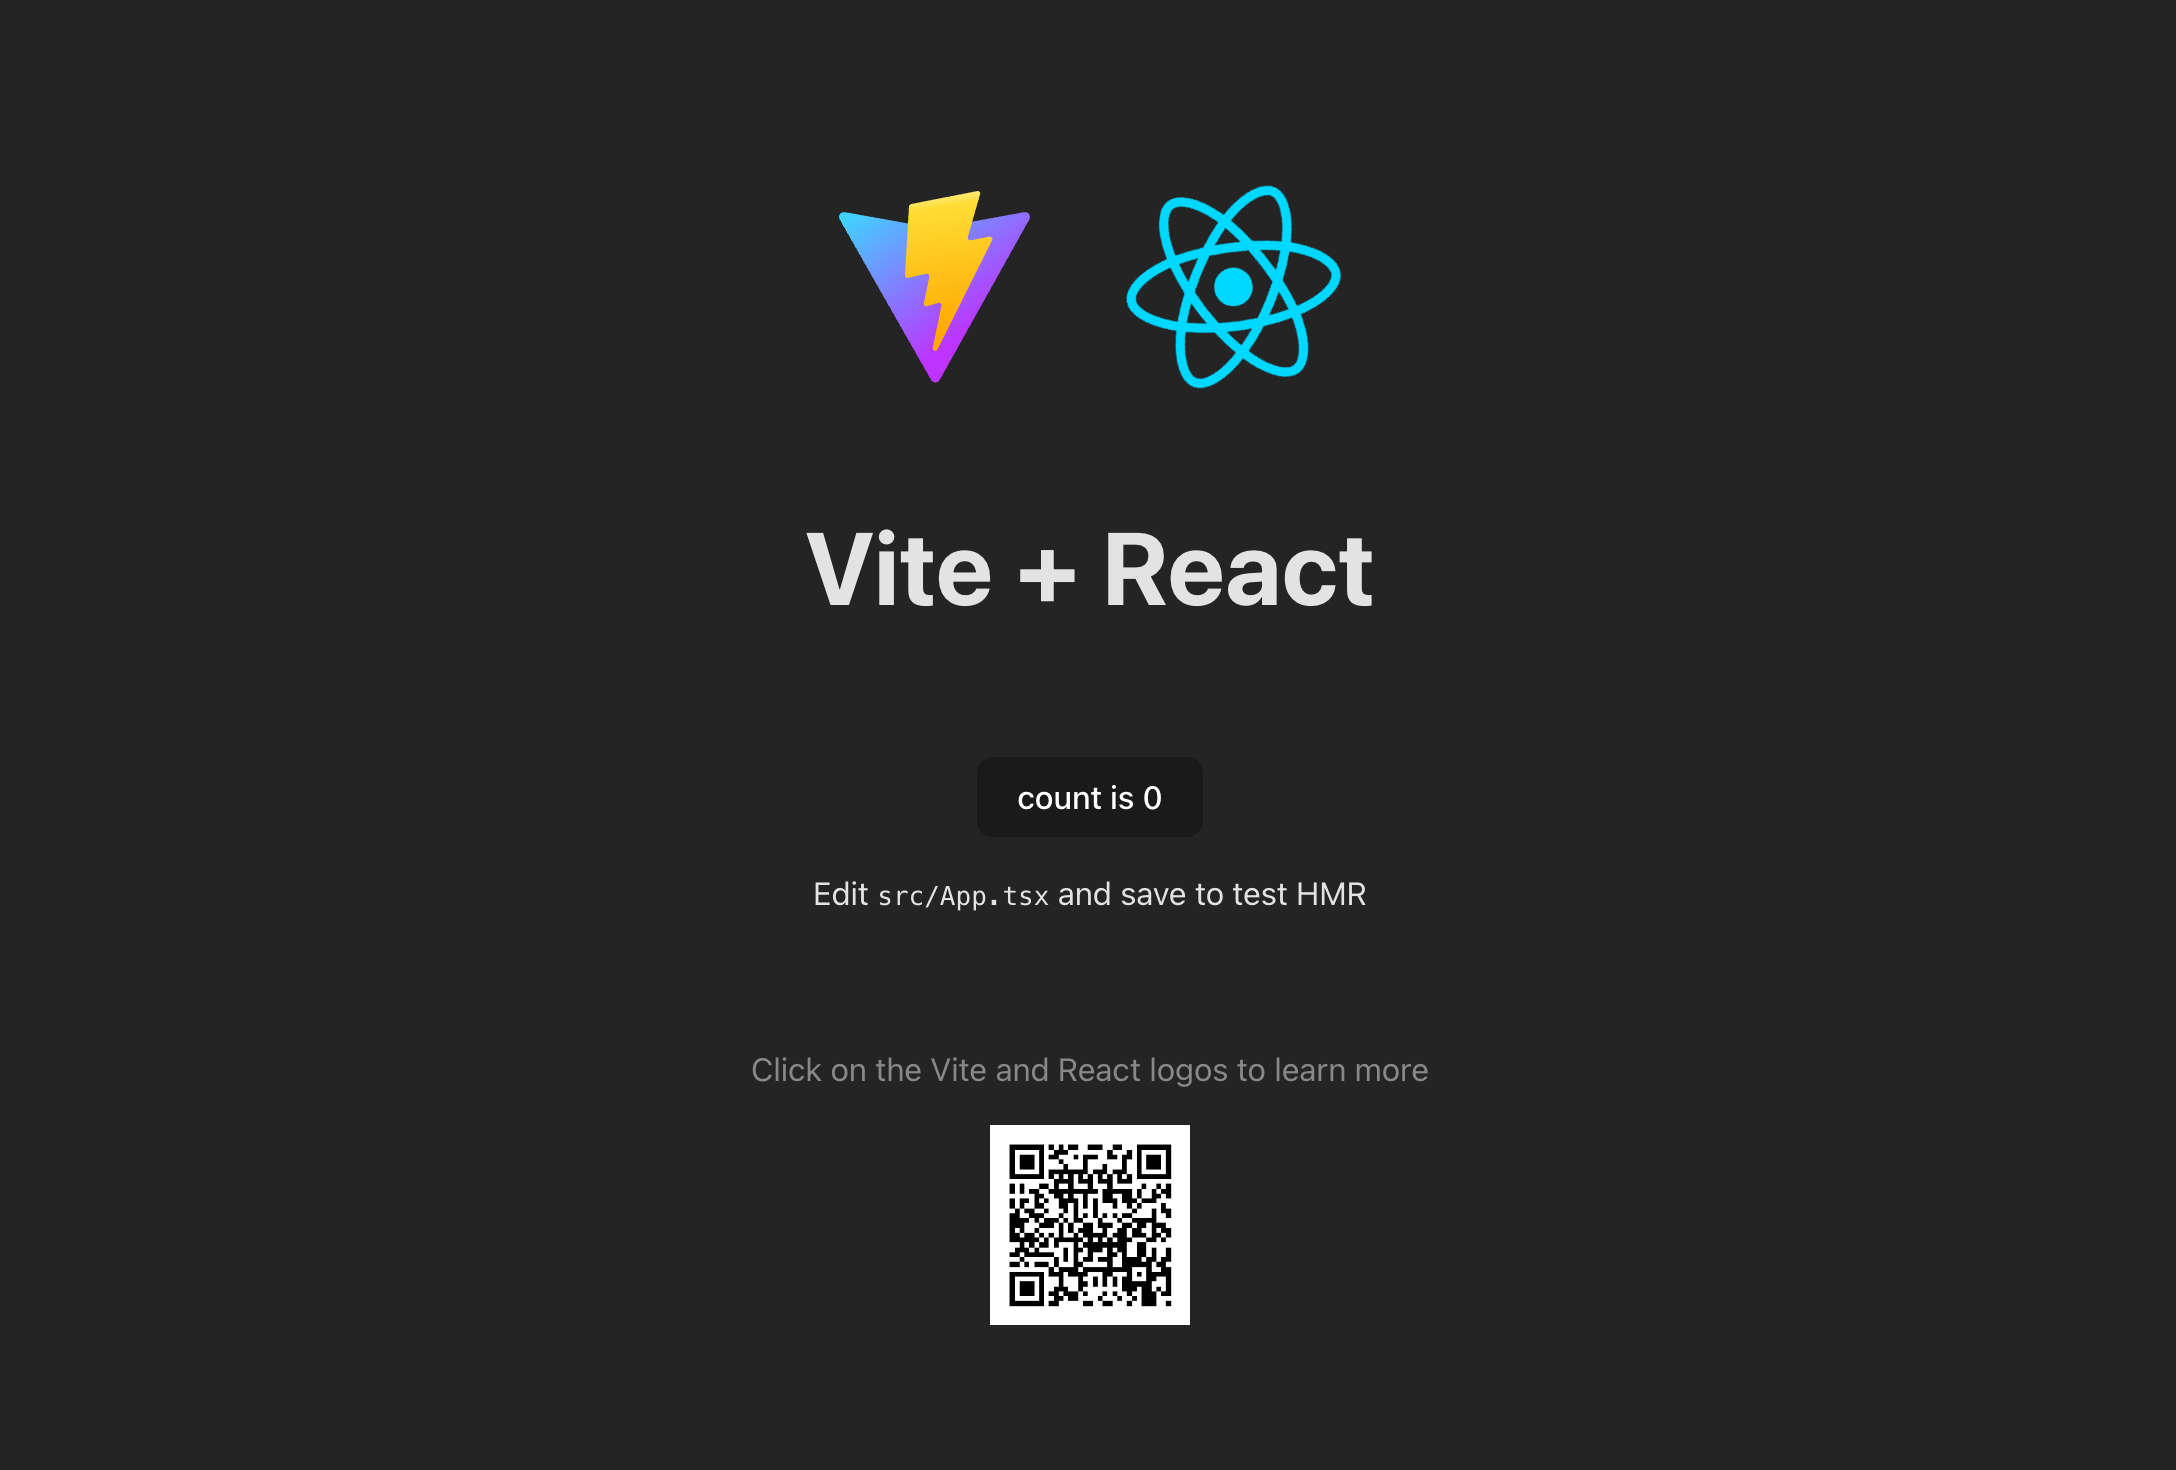
Here I have just created a boilerplate react app with VITE and added the img-tag and provided the url in the src attribute

Example of implementation

Contact form and CAPTCHA backend in Open Source Cloud

With an open source backend service for form collection and CAPTCHA handling you can implement a contact form with spam protection without developing your own backend services for this. These backend services are also available in Open Source Cloud so you don’t have to host these backend services yourself either.

In this blog I will describe how you can quickly get a contact form where the message is sent to a Slack channel.

Create a Slack Bot

The Slack Bot will be the one posting the message to the channel in Slack. Visit https://api.slack.com/apps/ and create a new app with the permissions to post to the desired Slack channel.

Save the Slack Bot token as this will be used later in this tutorial.

Create form backend service in Open Source Cloud

Login to or signup for an account at Open Source Cloud.

Navigate to the Contact Form Service and click on the tab Service Secrets. Click on New Secret and add a secret that contains the Slack Bot token obtained earlier.

Image description

Create a contact form service by pressing the Create service button.

Image description

Give the service a name and select slack in the transport dropdown. Provide the service secret holding the token and enter the ID of the channel where the message should be posted.

Image description

When the service is up and running you can copy and save the URL to the contact form service.

Contact form example in React

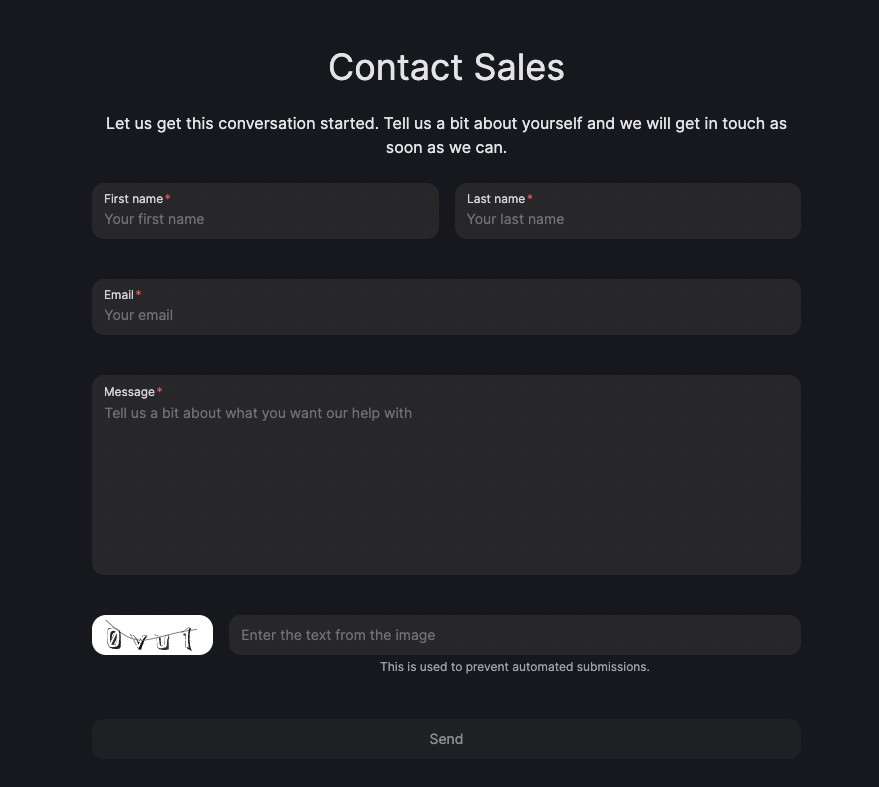
Develop your contact form in your frontend application which in React could look something like this. Replace BACKEND-SERVICE-URL with the URL acquired above.


'use client';
import { Input, Textarea } from '@nextui-org/react';

export default function Page() {
  const handleSubmit = (formData: any) => {
    fetch(new URL('BACKEND-SERVICE-URL/contact'), {
      method: 'POST',
      headers: {
        'Content-Type': 'application/x-www-form-urlencoded'
      },
      body: new URLSearchParams(formData).toString()
    });
  };

  return (
    <form action={handleSubmit}>
      <Input name="firstname" placeholder="First name" />
      <Input name="lastname" placeholder="Last name" />
      <Input name="email" placeholder="Your email" />
      <Textarea
        name="message"
        minRows={8}
        placeholder="Tell us a bit about what you want our help with"
      />
      <Input type="submit" value="Send" />
    </form>
  )
}
When the form is submitted you should now get a message in your Slack channel. To prevent spam-bots to misuse this form we need to add a CAPTCHA. CAPTCHA is an acronym that stands for "Completely Automated Public Turing test to tell Computers and Humans Apart."

To provide this functionality we will use an open source CAPTCHA backend service to generate and verify CAPTCHA. How it works is that you generate a CAPTCHA image that displays a text. Then you ask the user (human) to provide the text that he or she sees and the backend will verify that this was the text shown in the image.

Create CAPTCHA backend service in Open Source Cloud

Navigate to the CAPTCHA Service and click on the button Create service.

Image description

Give the service a name and once the service has started copy the URL to the service. Replace CAPTCHA-SVC-URL below with this URL.

Add CAPTCHA verification to your form

Extend the form we created above with the following code.


'use client';
import { Input, Textarea } from '@nextui-org/react'; 

export default function Page() {
  const [captchaSvg, setCaptchaSvg] = useState<string | null>(null);
  const [captchaId, setCaptchaId] = useState('');
  const [captcha, setCaptcha] = useState('');
  const [invalidCaptcha, setInvalidCaptcha] = useState(true);

  useEffect(() => {
    fetch(new URL('/captcha', 'CAPTCHA-SVC-URL'))
      .then((response) => response.json())
      .then((data) => {
        setCaptchaSvg(data.svg);
        setCaptchaId(data.id);
      });
  }, []);

  const onCaptchaChange = (value: string) => {
    setCaptcha(value);
    fetch(new URL('CAPTCHA-SVC-URL/verify/' + captchaId + '/' + value))
      .then((response) => {
        setInvalidCaptcha(!response.ok);
      })
      .catch(() => {
        setInvalidCaptcha(true);
      });
  };

  const handleSubmit = (formData: any) => {
    fetch(new URL('BACKEND-SERVICE-URL/contact'), {
      method: 'POST',
      headers: {
        'Content-Type': 'application/x-www-form-urlencoded'
      },
      body: new URLSearchParams(formData).toString()
    });
  };

  return (
    <form action={handleSubmit}>
      <Input name="firstname" placeholder="First name" />
      <Input name="lastname" placeholder="Last name" />
      <Input name="email" placeholder="Your email" />
      <Textarea
        name="message"
        minRows={8}
        placeholder="Tell us a bit about what you want our help with"
      />

      {captchaSvg && (
        <Image src={captchaSvg} className="bg-white" alt="Captcha" />
      )}

      <Input
        name="captcha"
        placeholder="Enter the text from the image"
        description="This is used to prevent automated submissions."
        required
        maxLength={4}
        value={captcha}
        onValueChange={onCaptchaChange}
      />
      <Input type="submit" value="Send" isDisabled={invalidCaptcha} />
    </form>
  )
}


Conclusion

This was an example on how you can add to your web application a contact form with CAPTCHA verification that posts to a Slack channel without having to build or host your own backend services for it.

What is Open Source Cloud?

Open Source Cloud reduces the barrier to get started using open source and reduces the barrier for creators to make their software available as a service. Read more about why we developed it in this post.