As a continuation to previous blog where we described how to get started with MinIO storage in Eyevinn Open Source Cloud we will in this blog walk you through how you can use it as an origin for Video On-Demand distribution.

Why Open Source Cloud as VOD Origin?
Using an open web service based on open source you are not locked in with a specific vendor and you have the option to run the very same code in your own infrastructure or cloud.
We will not cover how to create video on demand files in this blog post as it is covered in detail in the Eyevinn Open Source Cloud documentation.
Create an account for free at app.osaas.io and create your tenant. If you already have access to Eyevinn Open Source Cloud you can skip this step.
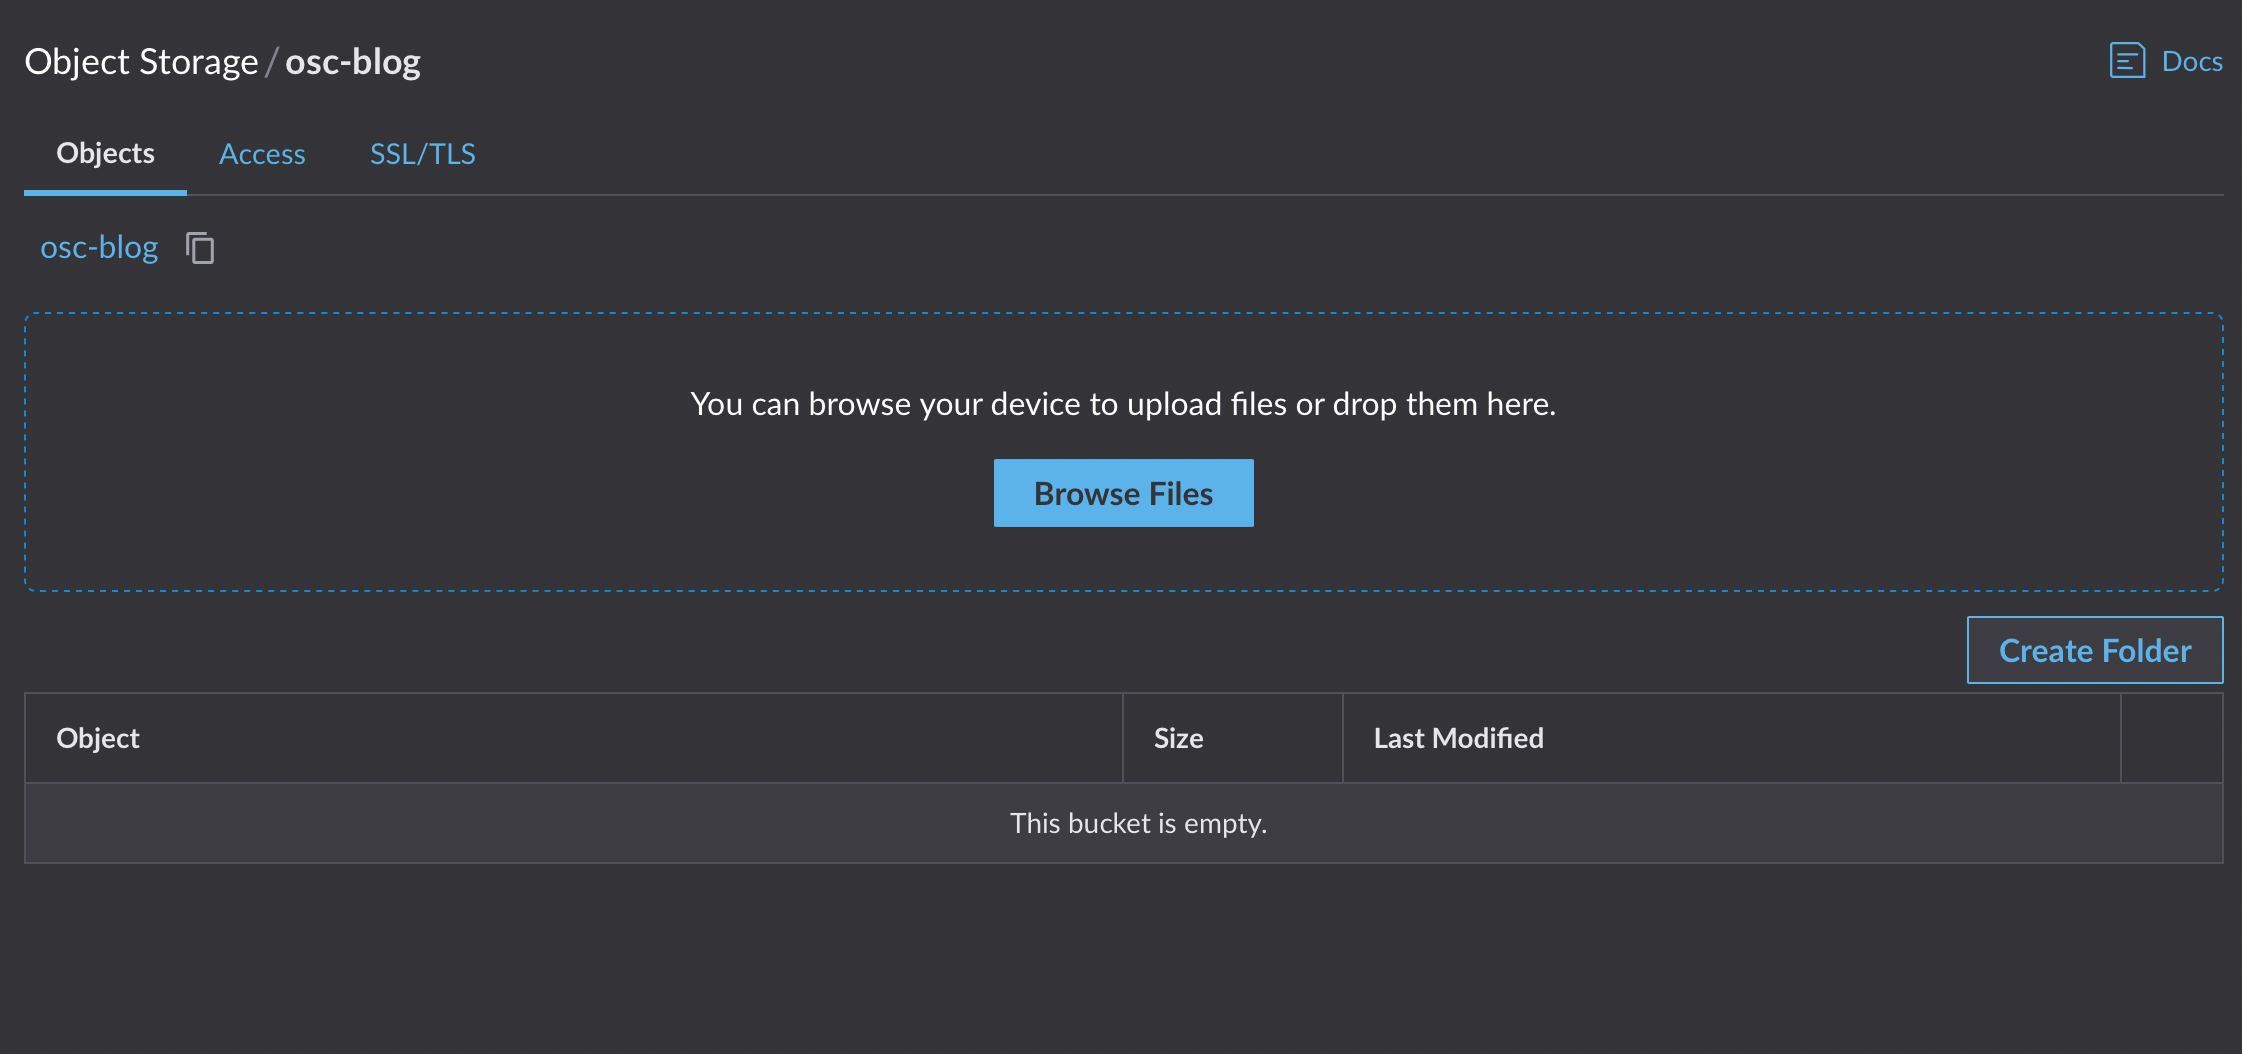
Step 1: Create a MinIO bucket
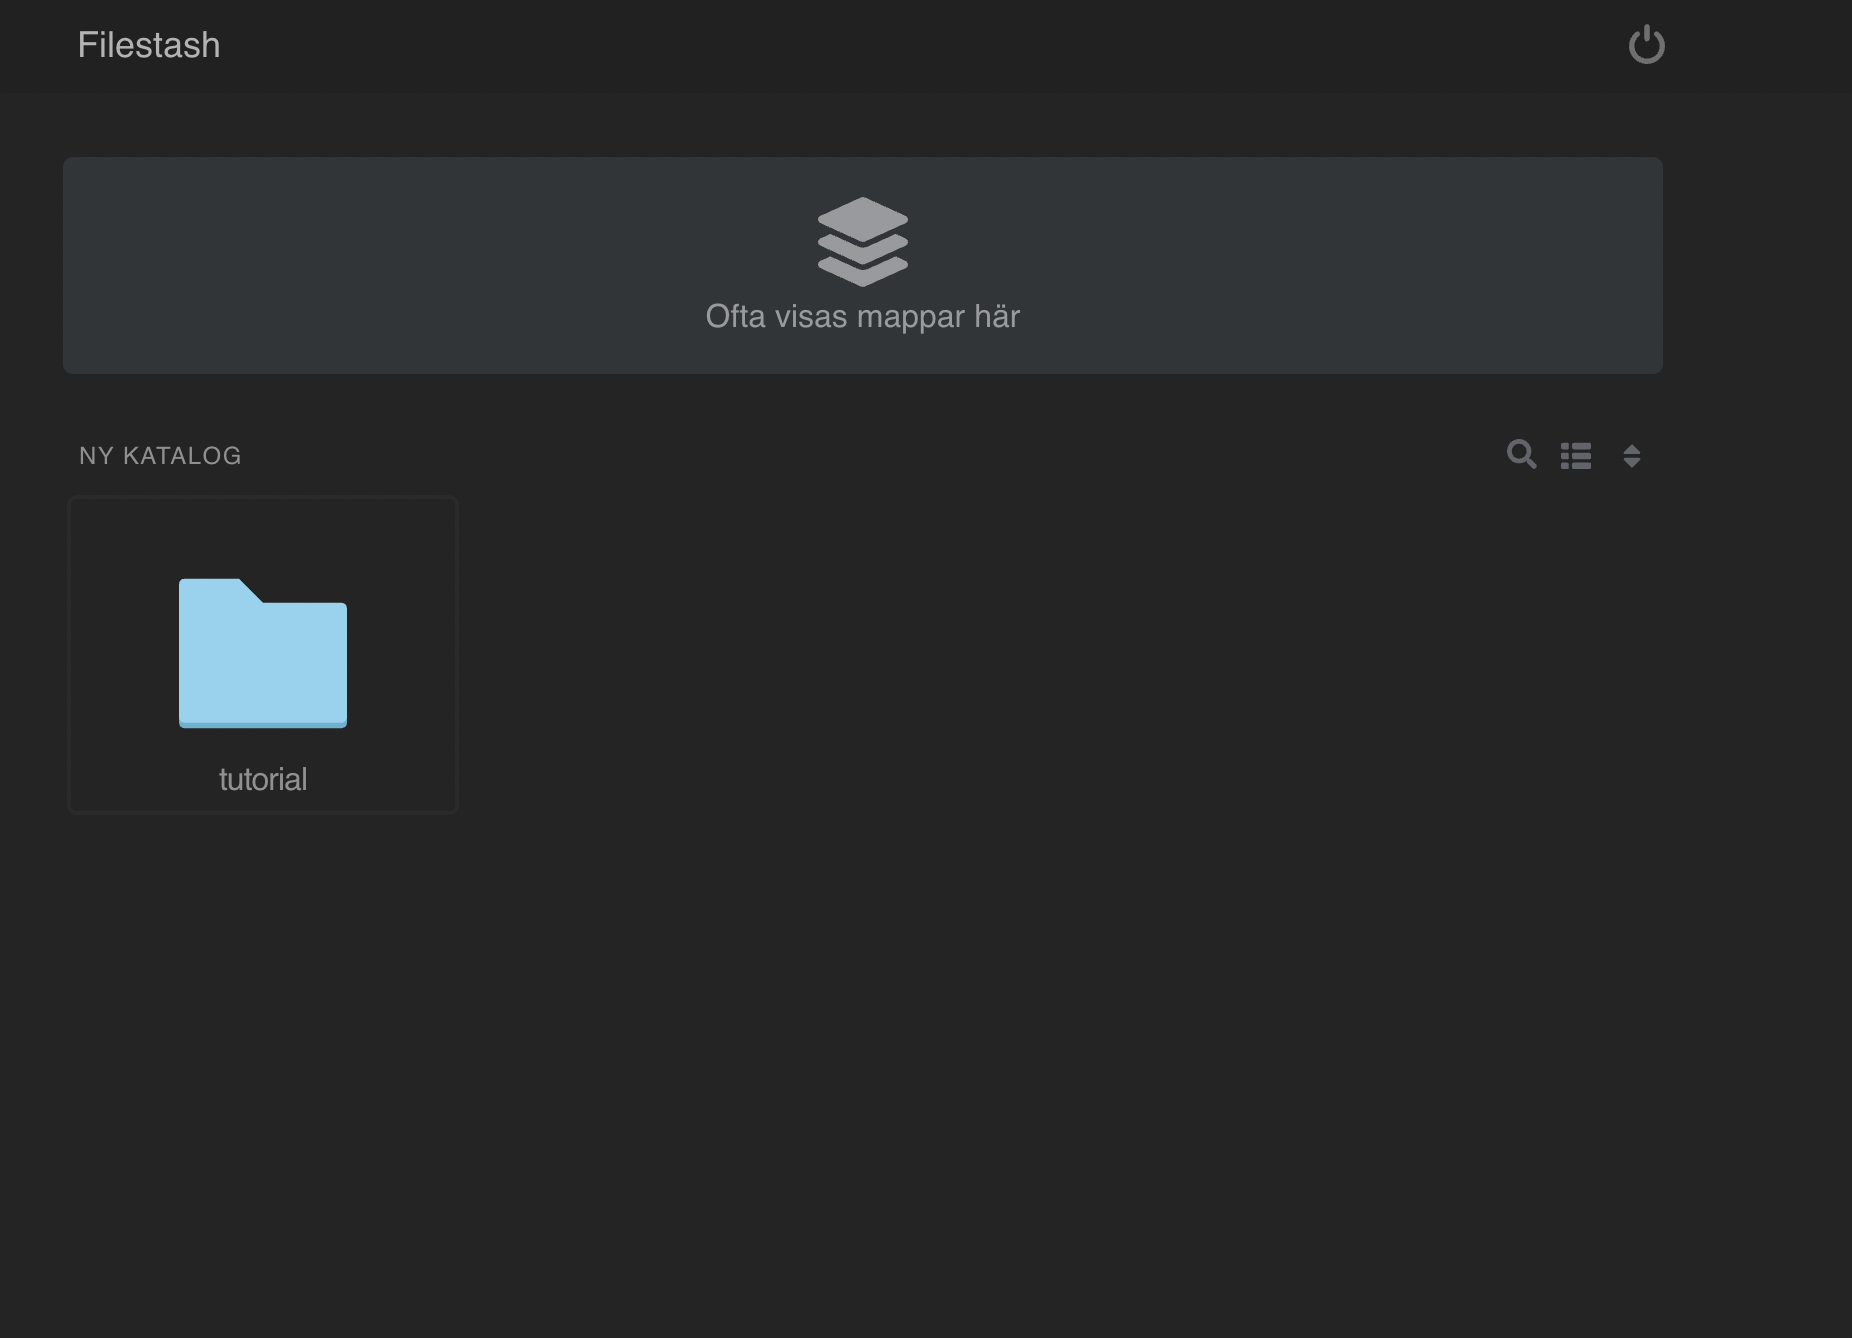
Start by creating a MinIO bucket in Eyevinn Open Source Cloud by following the instructions in the documentation. By following this guide you should now have a bucket called “tutorial”.
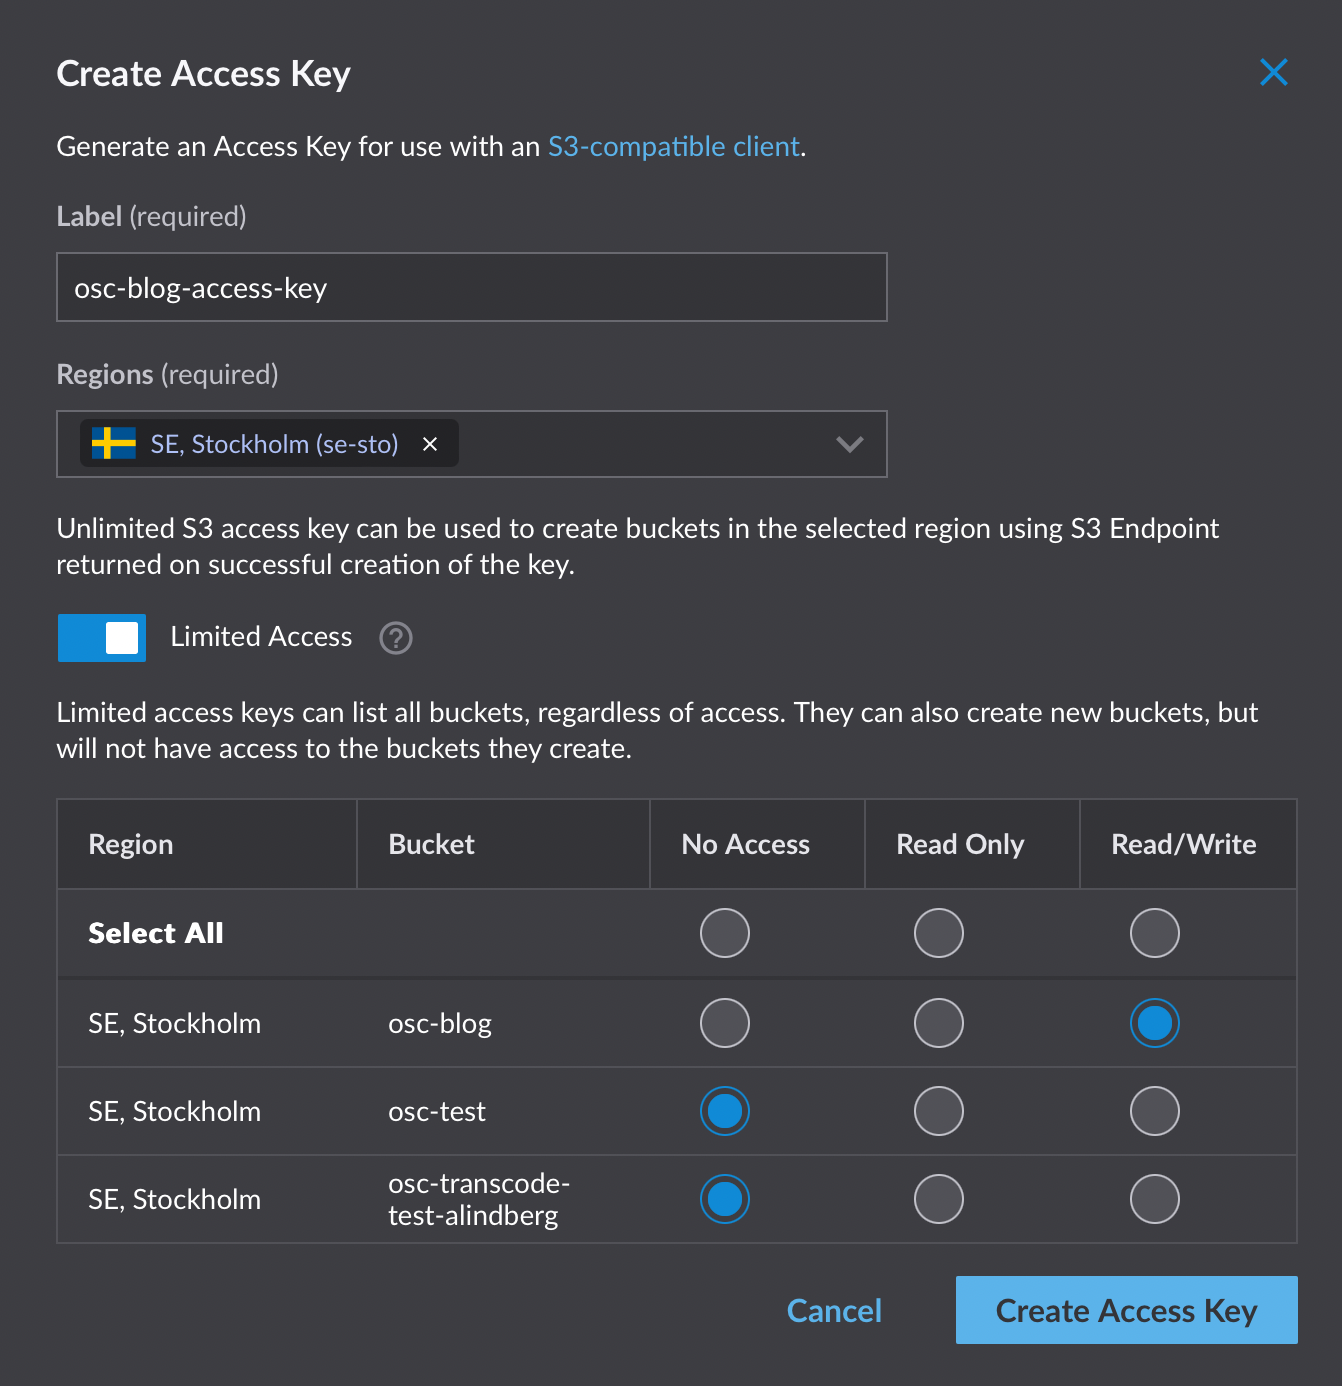
Step 2: Enable public access to bucket
For a video player to be able to download the Video On-Demand files we need to enable public read-only access for the bucket. If you followed the guide you will have en alias to your MinIO server instance called “guide” and using the MinIO command line tool you enable public access with the following command.
% mc anonymous set download guide/tutorial
Step 3: Upload VOD packages to bucket
Now let us upload VOD packages to this bucket. There are several options available here:
- Setup a VOD creation pipeline in Eyevinn Open Source Cloud to create a VOD package from a video file.
- Upload existing VOD packages on your computer to this bucket.
- Migrate VOD packages from another origin using the HLS Copy to S3 service in Eyevinn Open Source Cloud.
In this walk-through we will use the “HLS Copy to S3” service to copy an HLS package we have available online to the bucket you created.

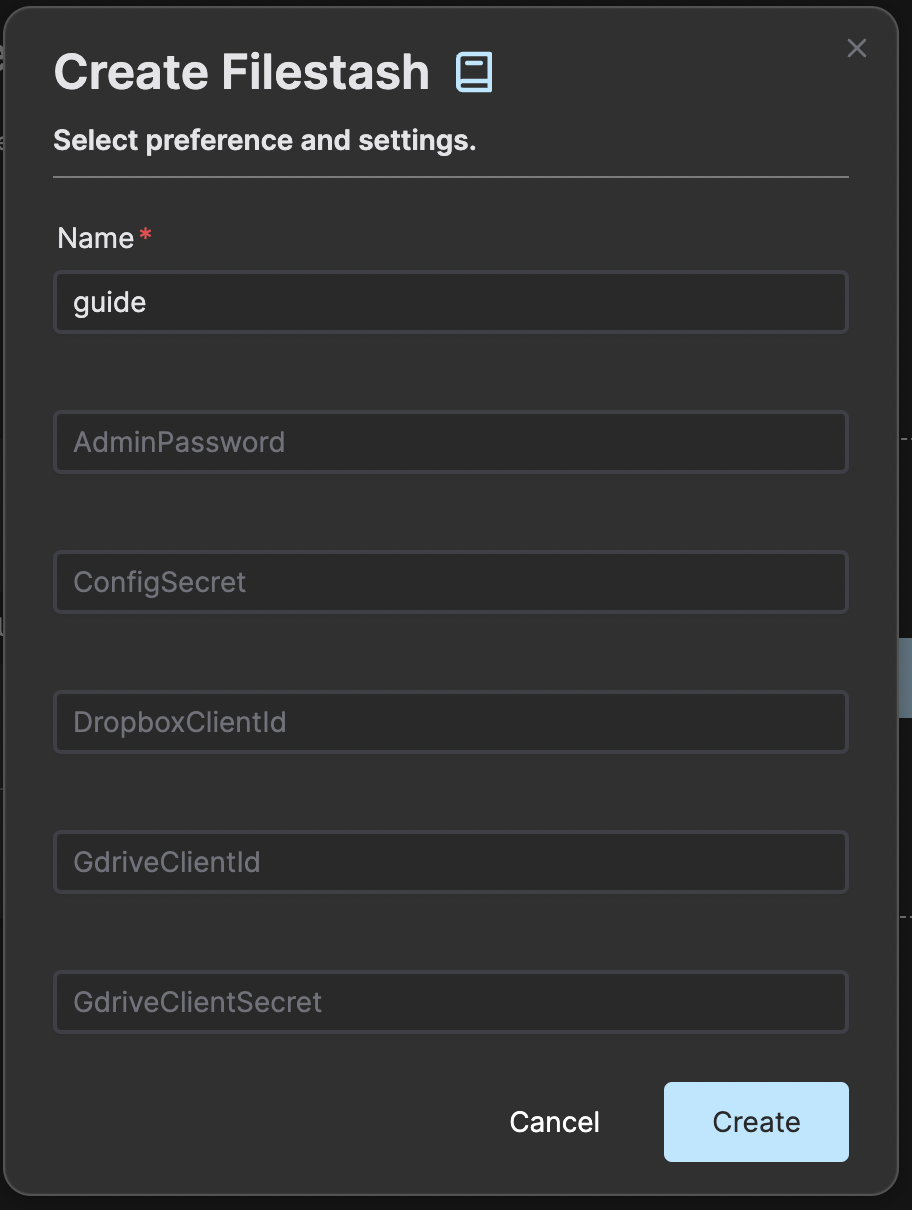
Navigate to the HLS Copy to S3 service and click on the button “Create Job”. Enter the following in the job creation dialog.
- Name: guide
- CmdLineArgs: https://maitv-vod.lab.eyevinn.technology/VINN.mp4/master.m3u8 s3://tutorial/
- DestAccessKey: root
- DestSecretKey: abC12345678
- DestEndpoint: (MinIO server endpoint)

Press “Create” and wait for the job to complete.

Let us now verify that all files ended up in our bucket. We can use the MinIO command line tool or the AWS S3 client.
% mc ls guide/tutorial/VINN.mp4/
[2025-01-15 13:51:33 CET]   351B STANDARD master.m3u8
[2025-01-15 13:51:58 CET]     0B 1000/
[2025-01-15 13:51:58 CET]     0B 2000/
[2025-01-15 13:51:58 CET]     0B 600/
Step 4: Verify VOD package
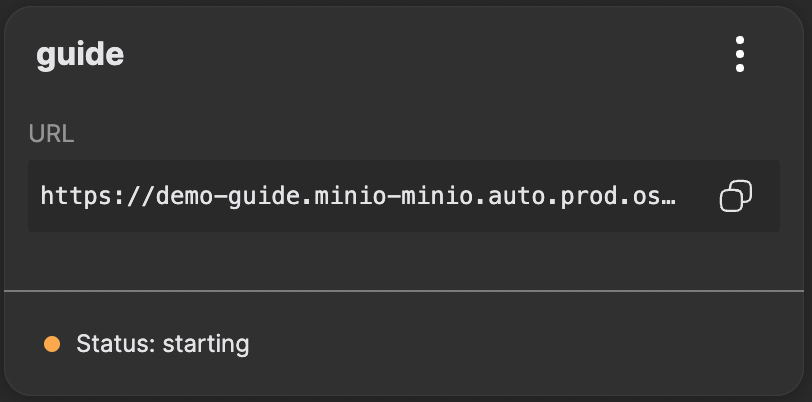
We can now verify that the VOD package can be played. Open a web browser and go to our online web player at https://web.player.eyevinn.technology/ and enter the URL to index file, in our example it is https://demo-guide.minio-minio.auto.prod.osaas.io/tutorial/VINN.mp4/master.m3u8

Step 5: Configure CDN
To be able to handle the distribution of these VOD files you need to setup a CDN that your users go through to access the files. Pointing your users directly to the origin is not recommended as it is designed to handle large scales of request. For performance and security you will use a CDN provider for the delivery.
When you setup your distribution property at your CDN provider you will use the following:
- Origin: Your MinIO instance hostname, e.g. demo-guide.minio-minio.auto.prod.osaas.io
- Protocol: HTTPS
- Port: 443
- Origin Host Header: e.g. demo-guide.minio-minio.auto.prod.osaas.io
Important here is that the Host header in the HTTPS request to the origin is the hostname of the MinIO storage instance and not the hostname in the viewer request. Consult your CDN provider documentation on how to configure this.
Conclusion
With the open web service providing origin functionality in Eyevinn Open Source Cloud you always have the option to run the same solution on your own premises as it is based on open source. You can create one MinIO instance including 50 GB storage for free to try this out.