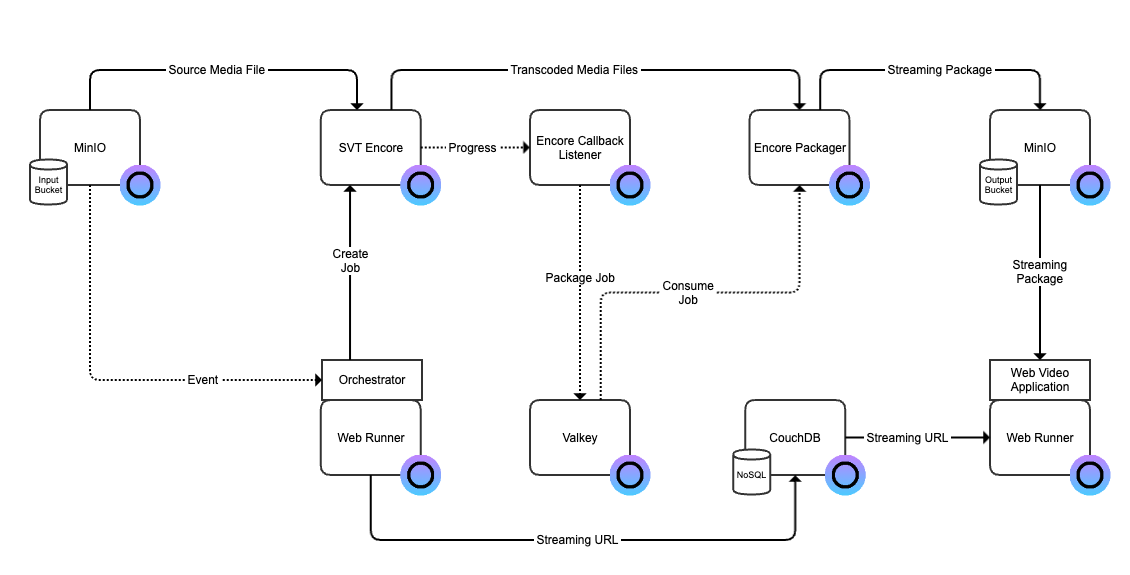
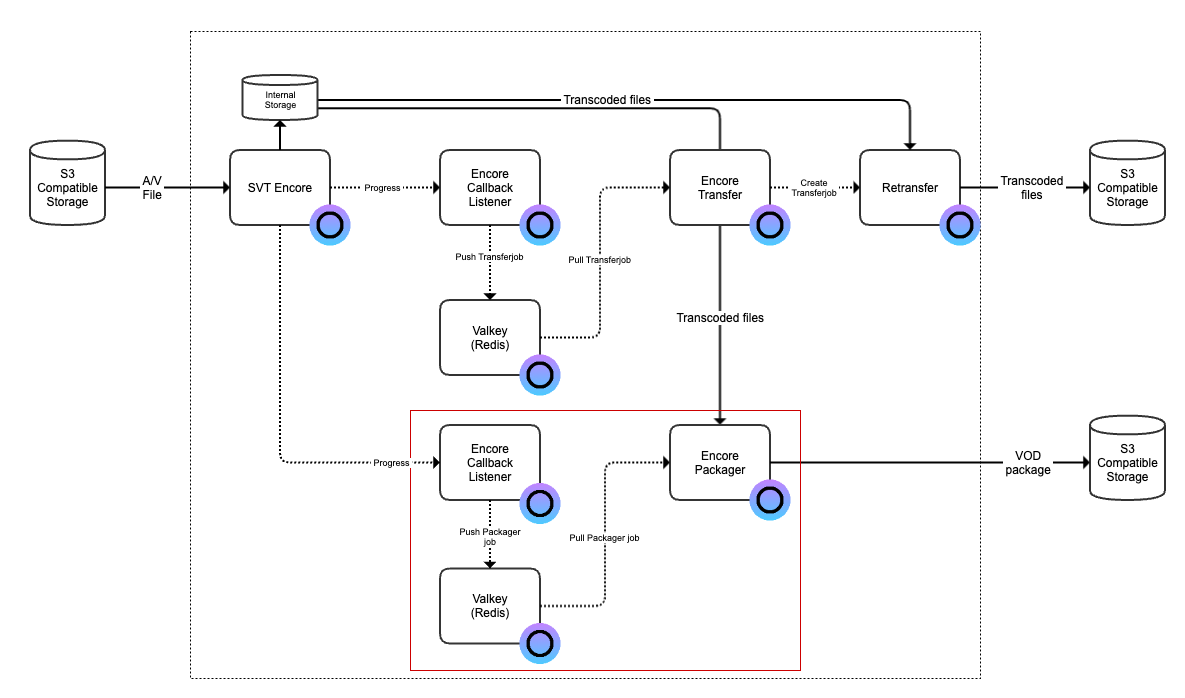
SVT Encore is a powerful open-source video transcoder specifically designed for the cloud. It forms the backbone of the transcoding process in the media supply chain, taking raw video inputs and converting them into multiple formats and bitrates suitable for adaptive streaming. The transcoding process involves breaking down video files into different resolutions and bitrates, allowing viewers to receive the best possible quality based on their device and network conditions.
To reduce the barrier to get started with SVT Encore we have added their project to Open Source Cloud together with some supporting backend services that we have added. This blog gives you a walk-through on how to setup video file transcoding using Open Source Cloud.
Prerequisites
- If you have not already done so, sign up for an OSC account.
- 5 remaining services on your subscription plan or individually purchased the services included in this solution.
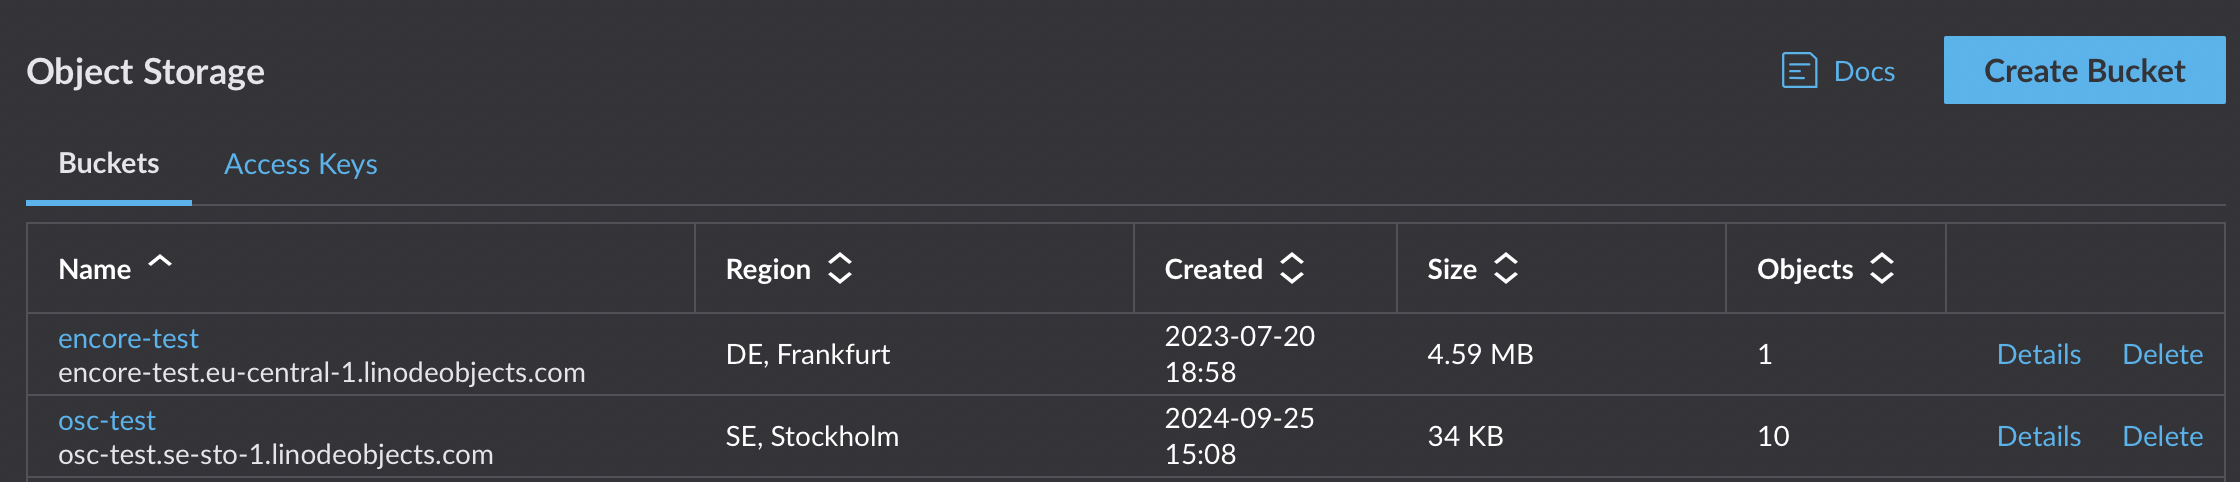
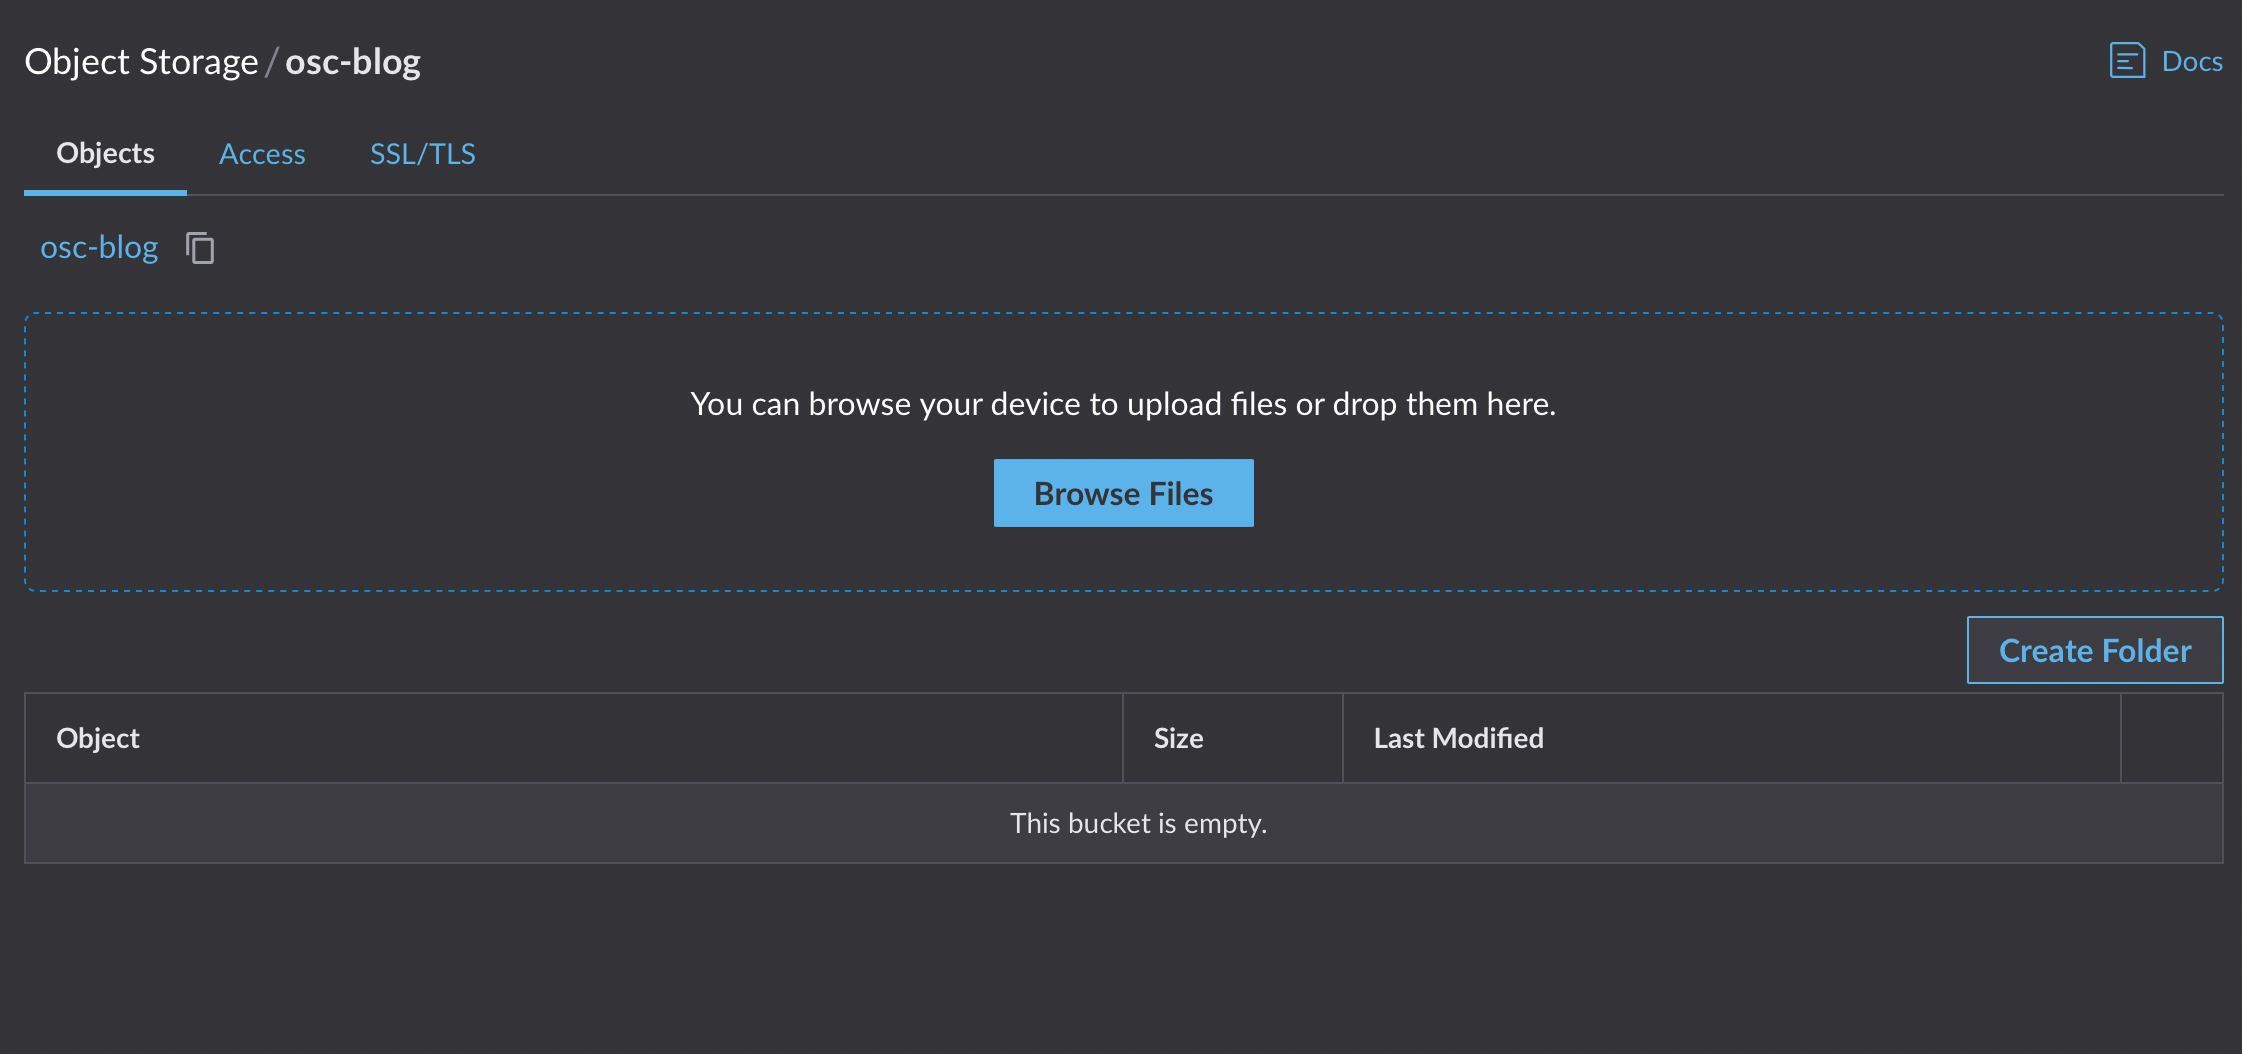
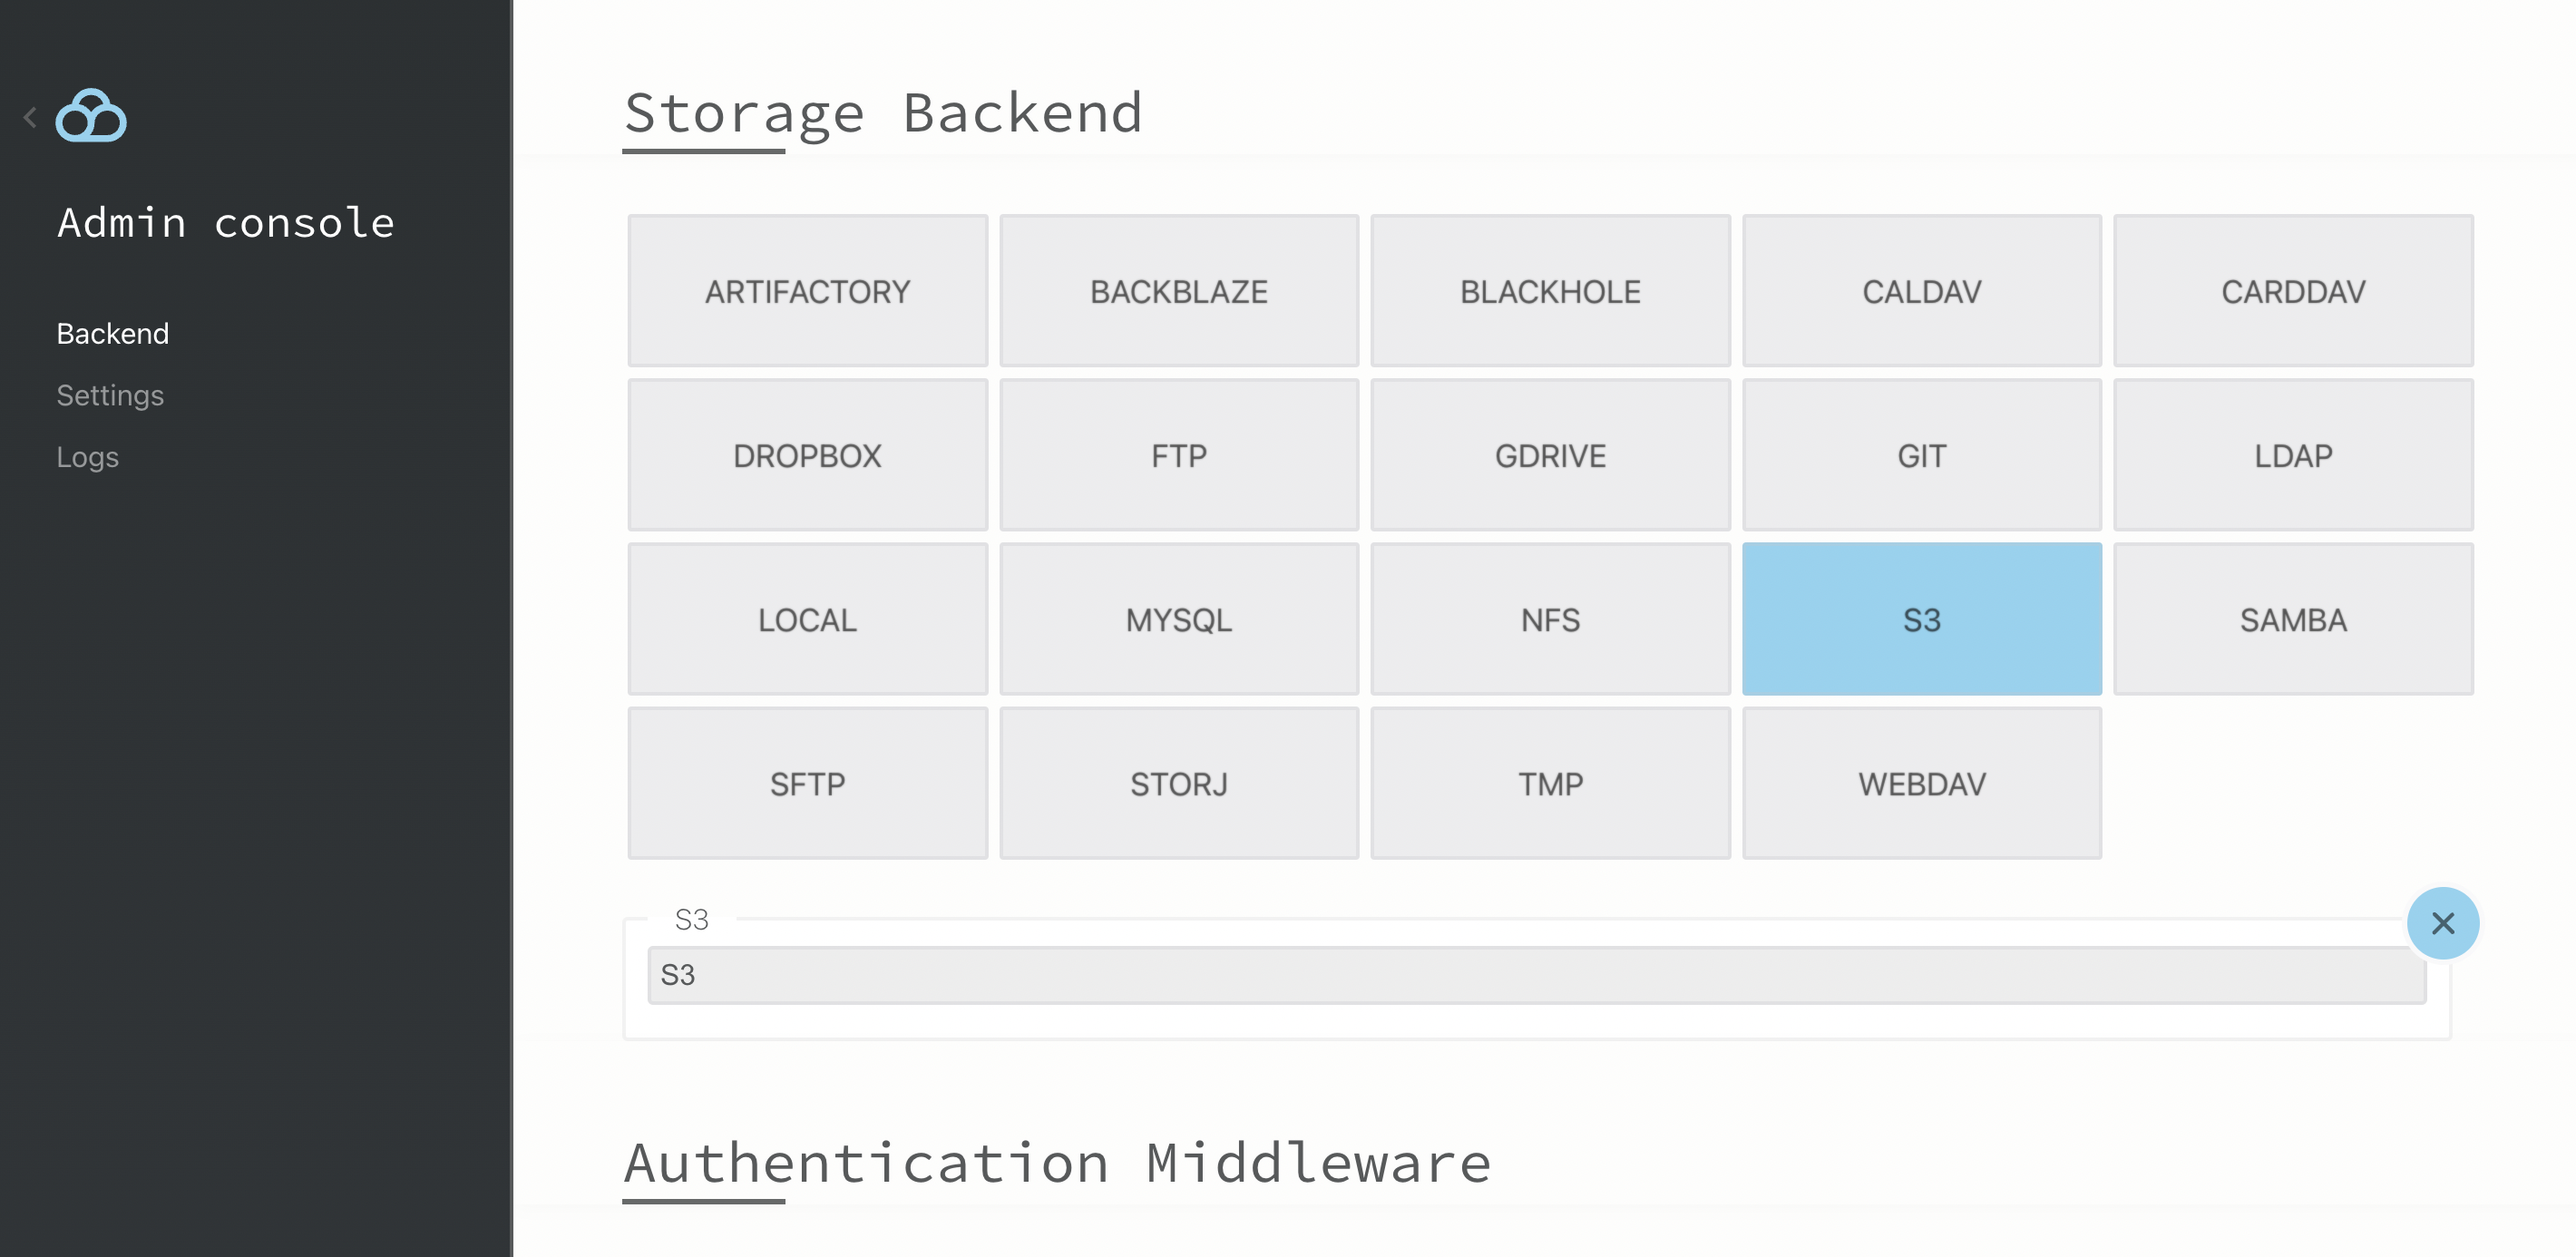
- S3 compatible object storage solution
This solution is based on the following open source projects made available as a service:
- SVT Encore
- Valkey
- Encore Callback Listener
- Encore Transfer
- Retransfer
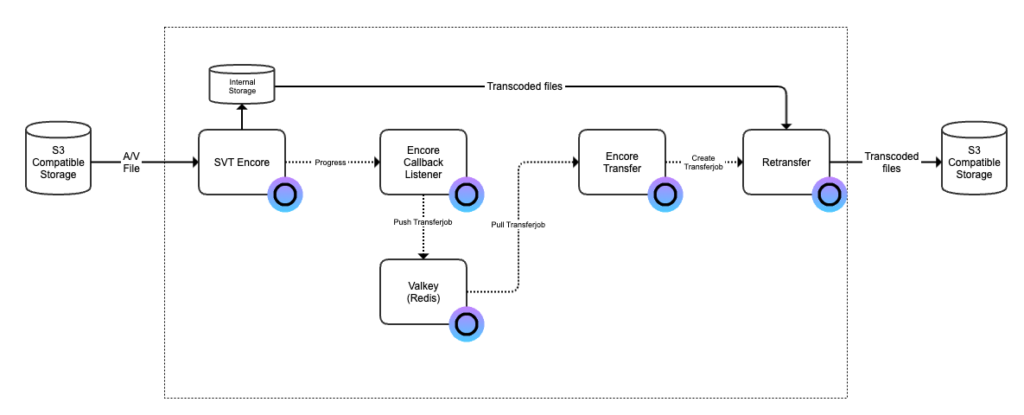
After completed this tutorial you will be able to transcode a video file on an S3 compatible storage and the output is placed on another S3 compatible storage when the processing is completed.
Step 1: Create Encore Queue
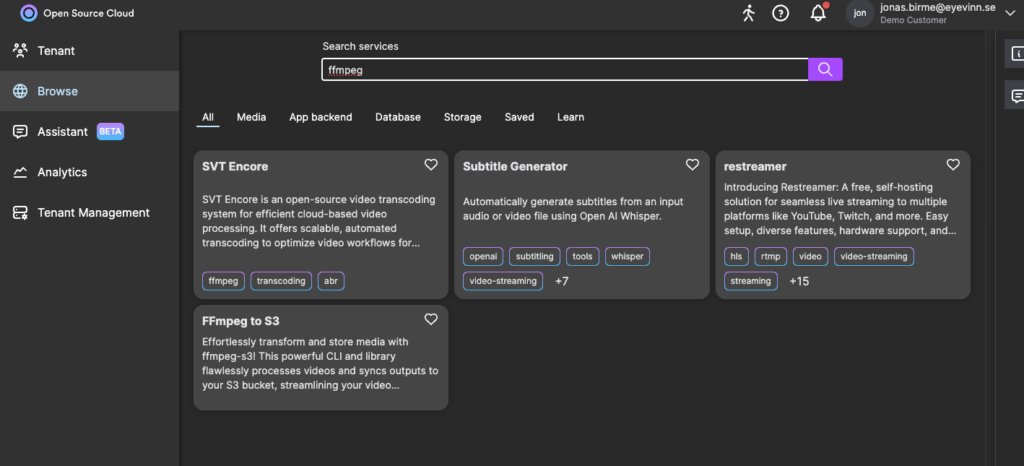
Go to the web user interface and navigate to the service called SVT Encore. Click on the button “Create queue” and give the queue a name.
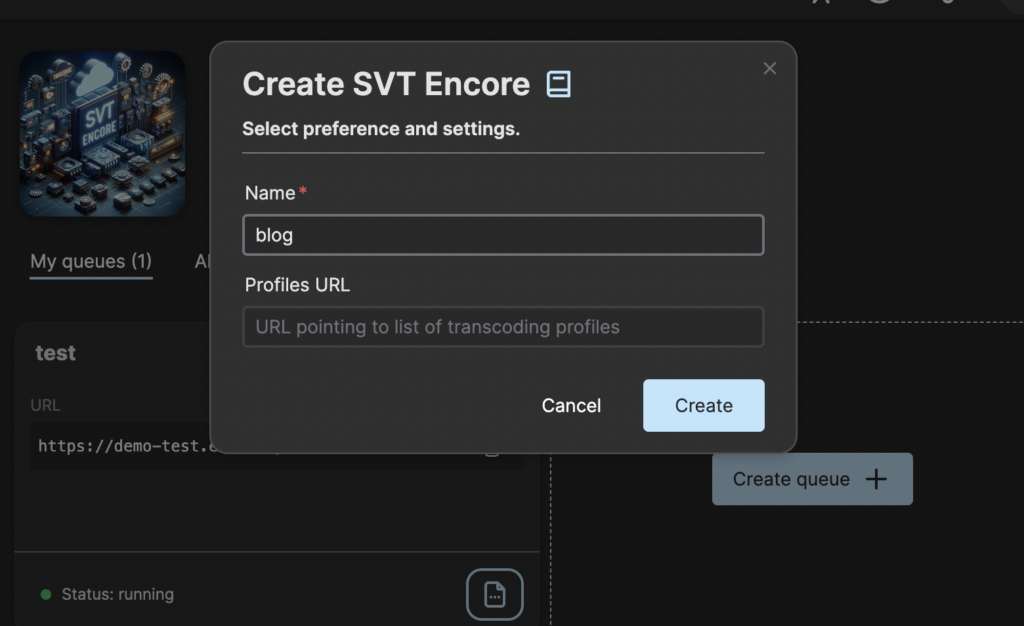
You can leave the Profiles URL empty for now and then press Create.
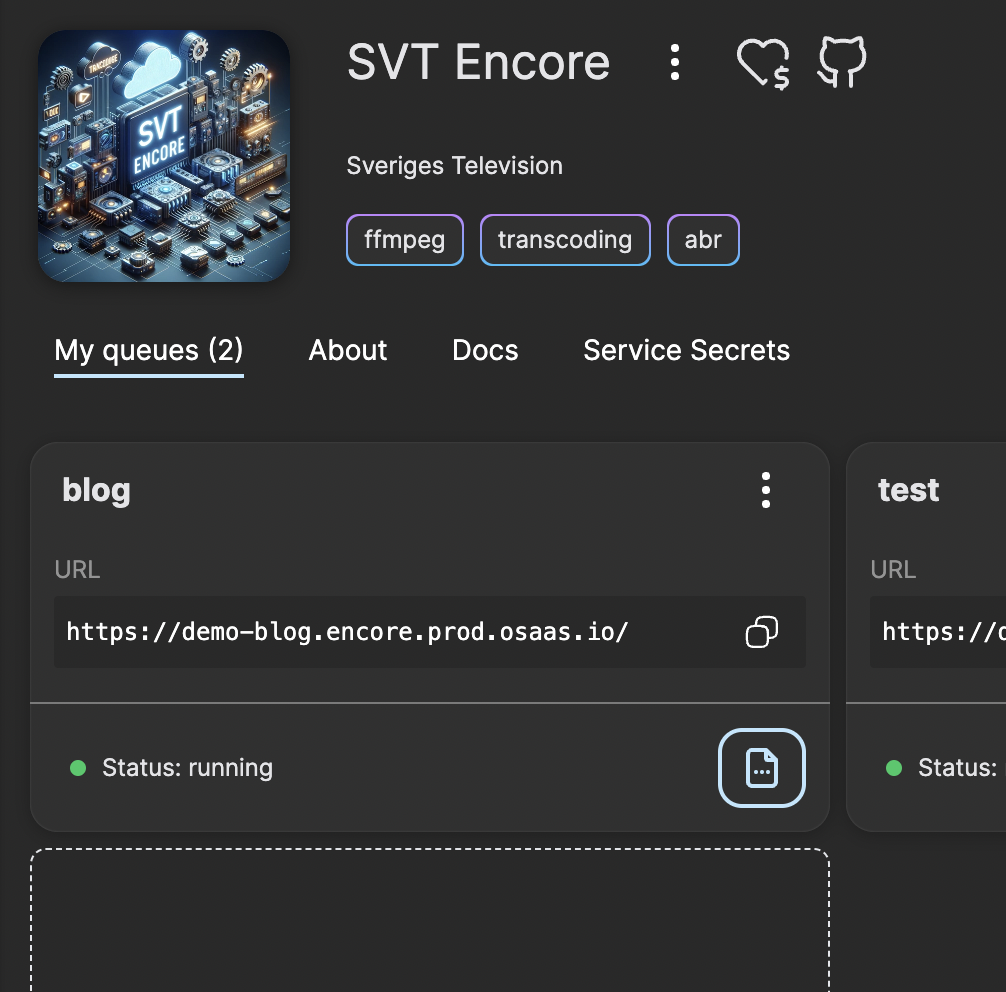
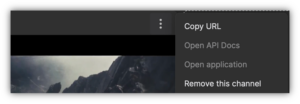
Now you have an instance of SVT Encore running with one single queue and ready to receive transcoding jobs for processing. You can try this out by clicking on the menu item Open API docs to access the online REST API documentation and submit a job.
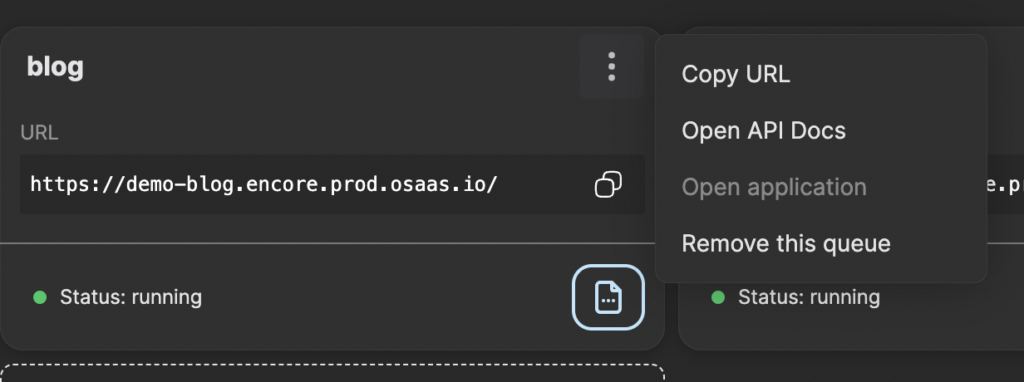
However, to automatically get transcoded files out from SVT Encore and transferred to the output storage we need a few more help services. So that we will setup now. Start by take a note of the URL to the SVT Encore instance.
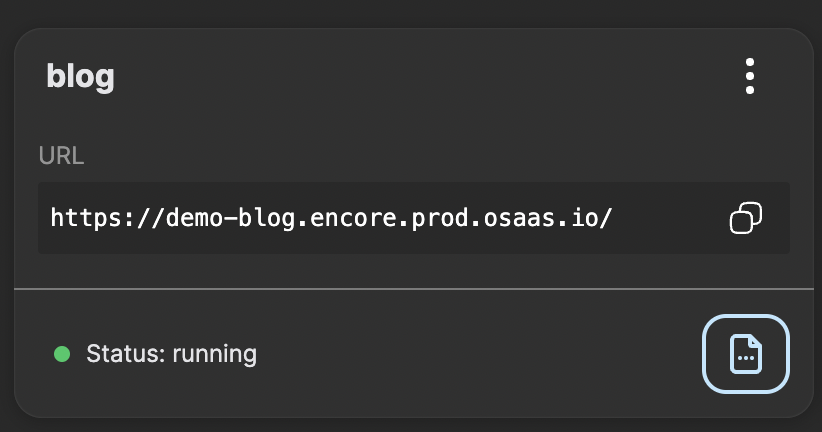
Remove the trailing slash an keep it for later use. In this case it is https://demo-blog.encore.prod.osaas.io.
Step 2: Create Valkey queue
Valkey provides a Redis compatible key / value store and this i what we will use to manage the queue for transferring files out from Encore and to out output bucket.
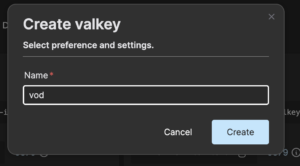
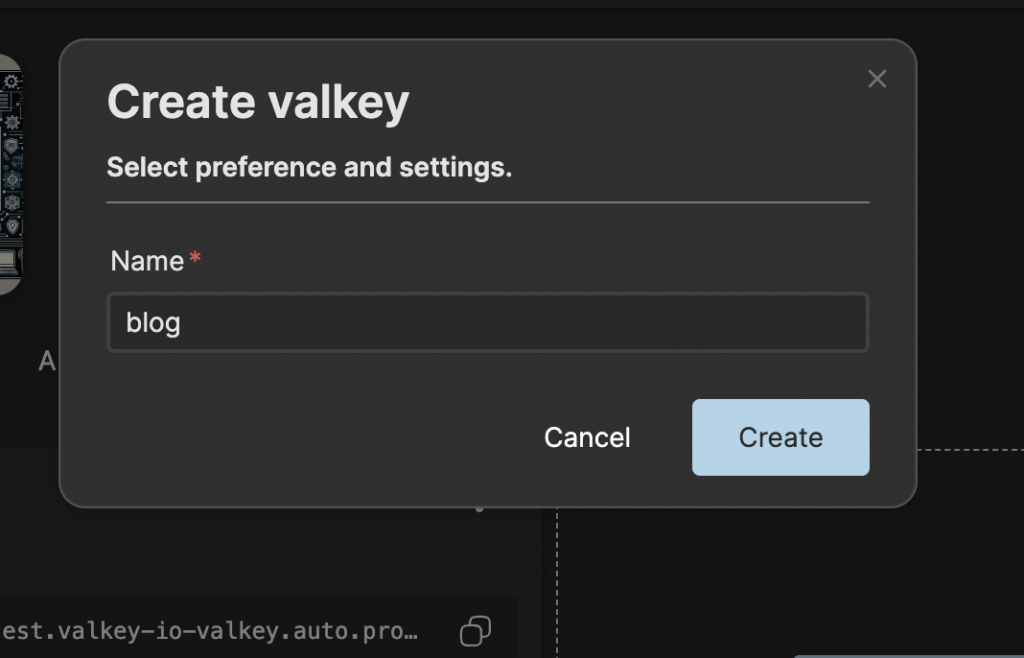
Navigate to the Valkey service in Open Source Cloud and press “Create valkey”. Give the instance a name and press Create.
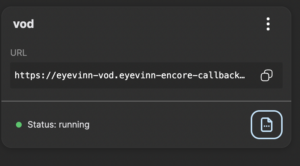
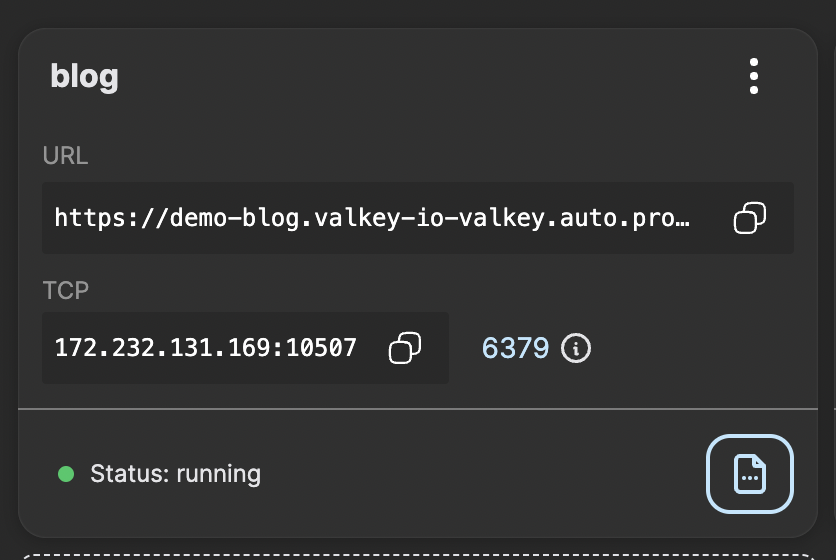
Note down the IP and port to the Valkey instance card and this is what will be the Redis URL that we will refer to later in this blog. In this example it would be redis://172.232.131.169:10507.
Step 3: Launch Encore Callback Listener
Now we need something that monitors a transcoding job in SVT Encore so we know when the file is ready to be transferred. For that you navigate to the Encore Callback Listener in the web user interface. Click on button “Create callback” and enter the name of the instance, Redis URL (above), URL to the SVT Encore instance and the name of the transfer queue. We call it “transfer” in this example.
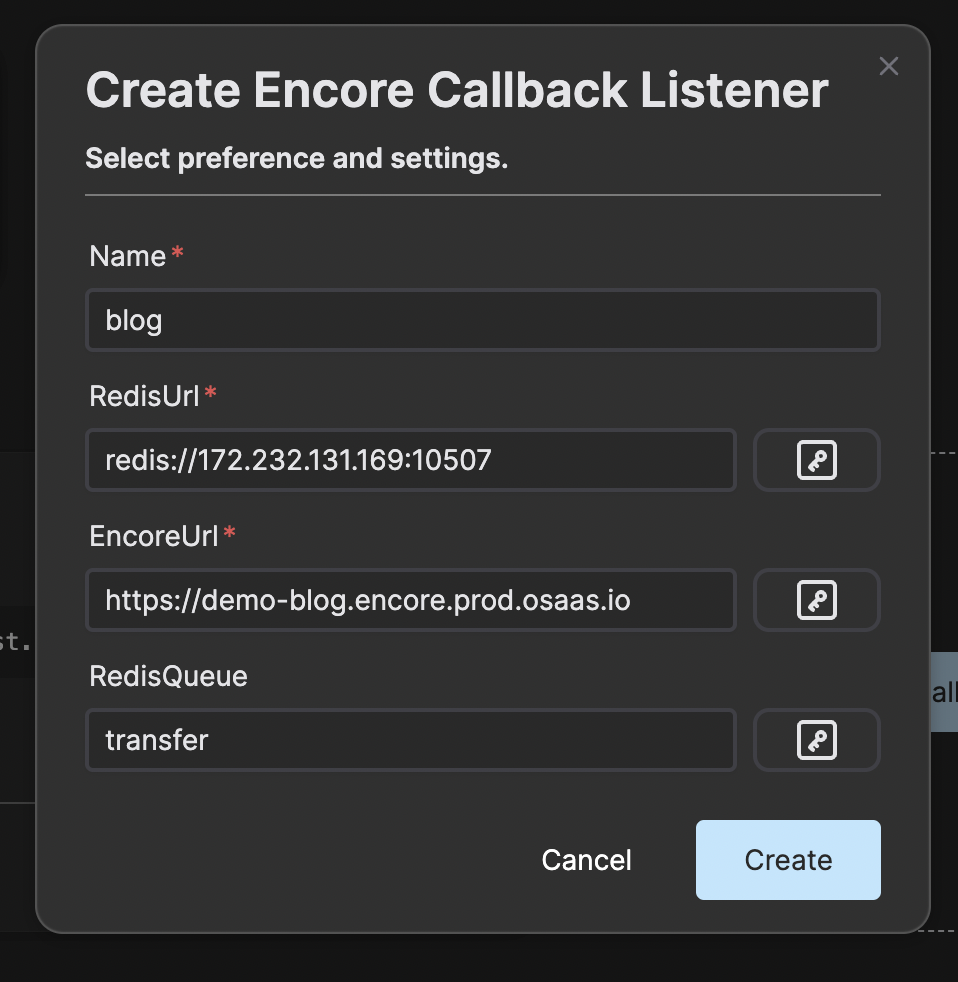
Important the URL to the SVT Encore instance is without the trailing slash.
Press Create and you are done with this step for now.
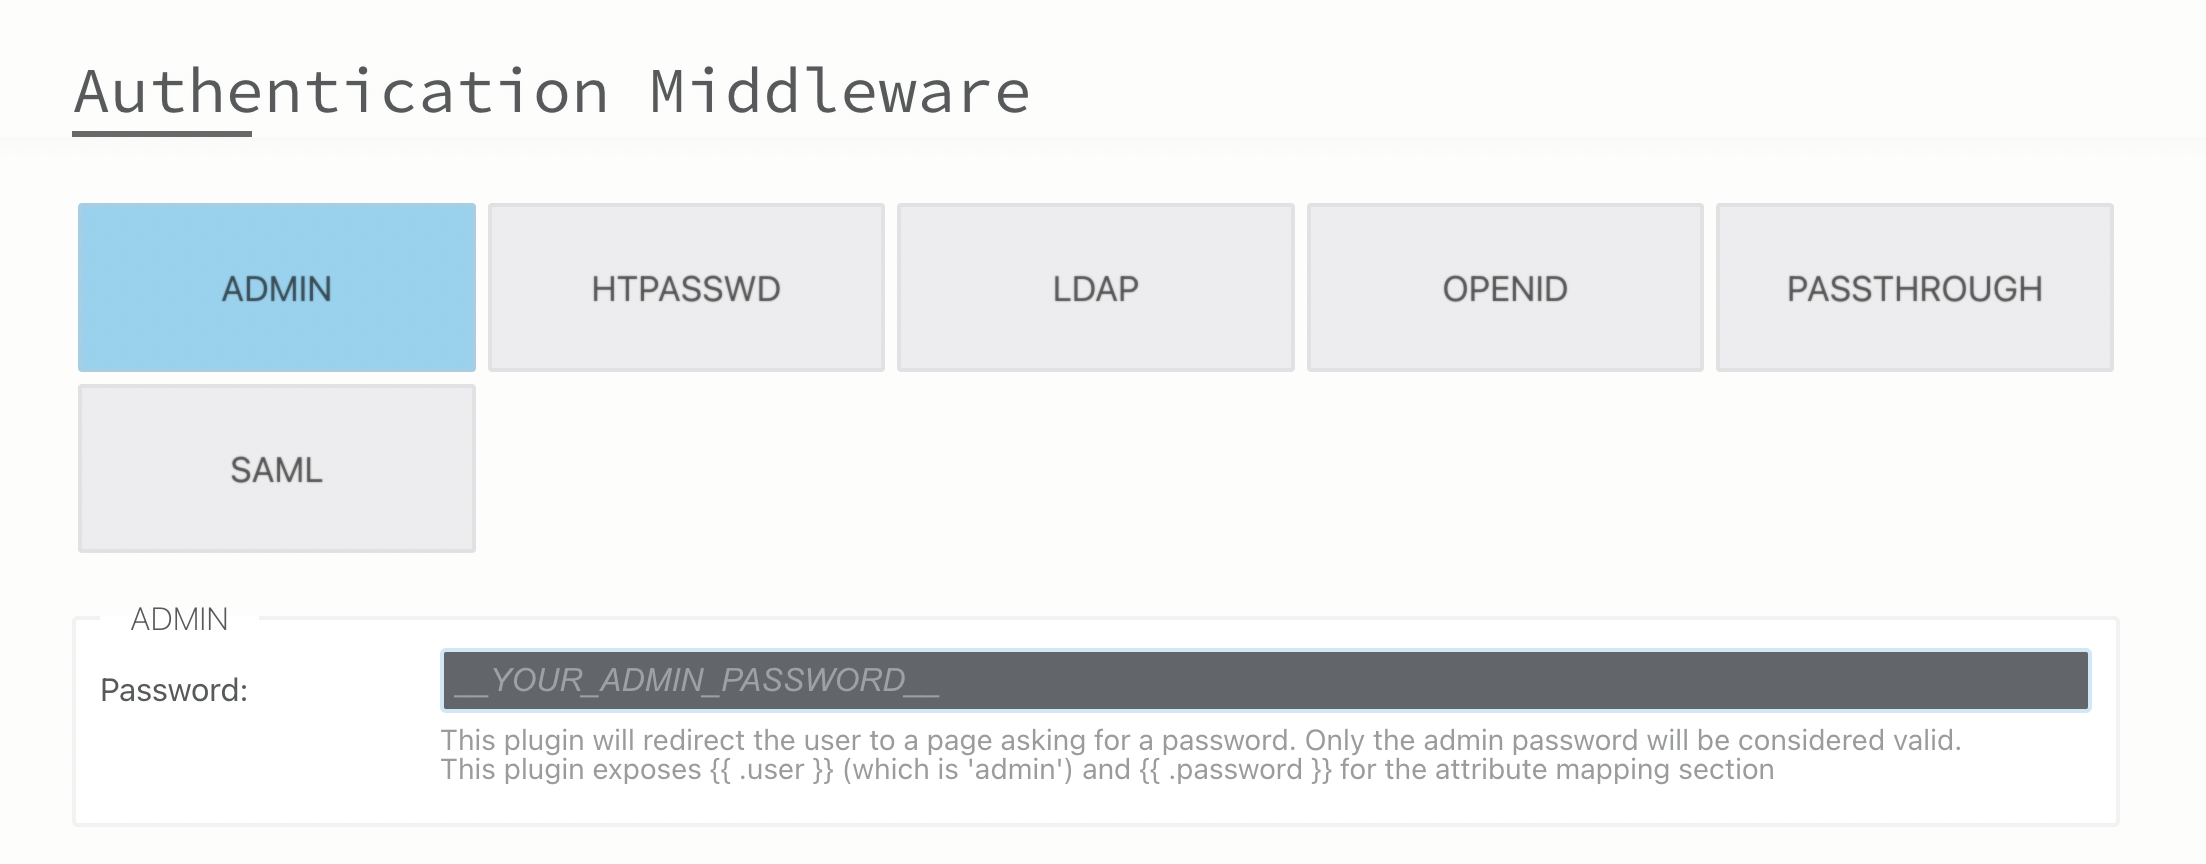
Step 4: Setup secrets
Now we have the Callback Listener service running that will monitor transcoding job and place completed jobs in the transfer queue. Now we need a service that picks up a job from the transfer queue and actually transfers the file out from SVT Encore and to our destination bucket.
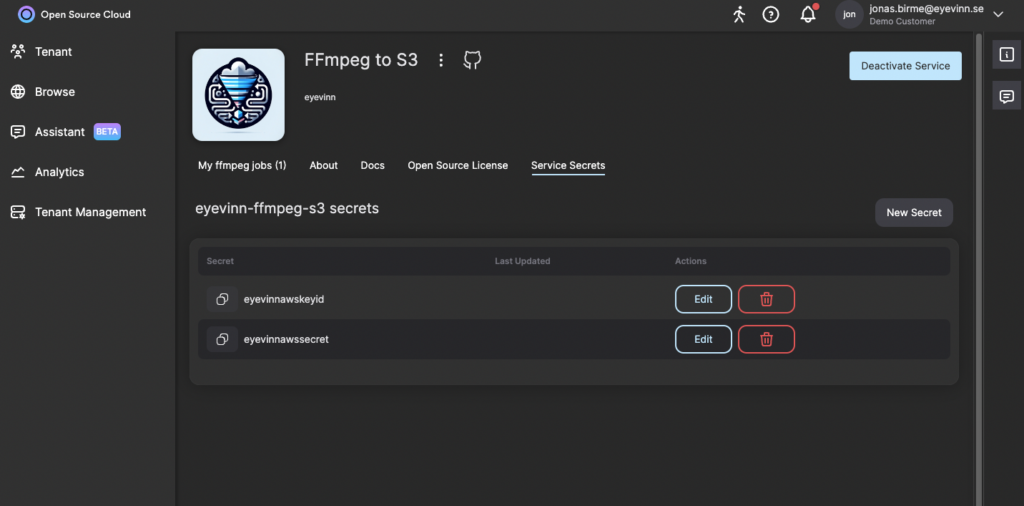
First we need to configure the transfer job service with API secrets needed for the access to the S3 bucket. Navigate to the Retransfer service in Open Source Cloud and click on the tab Secrets.
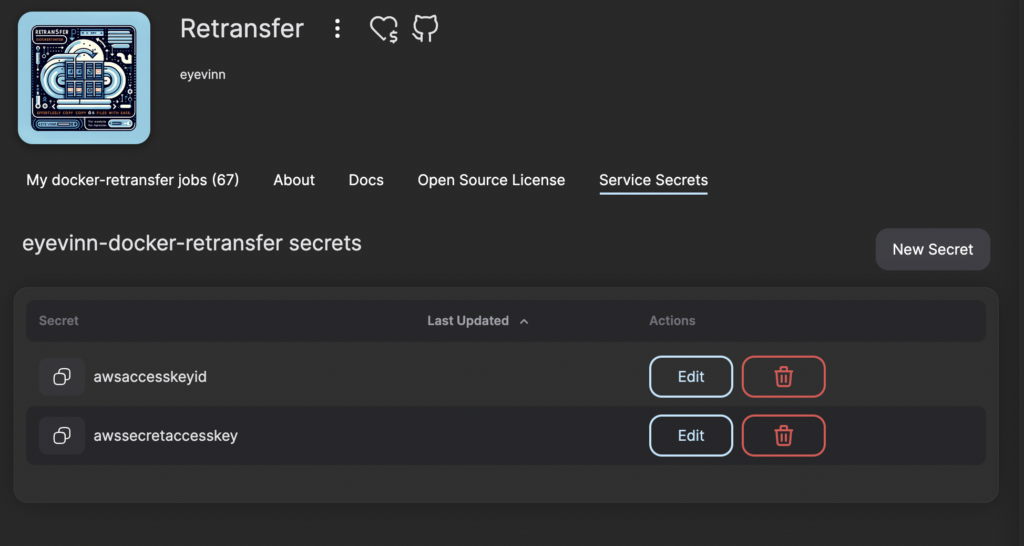
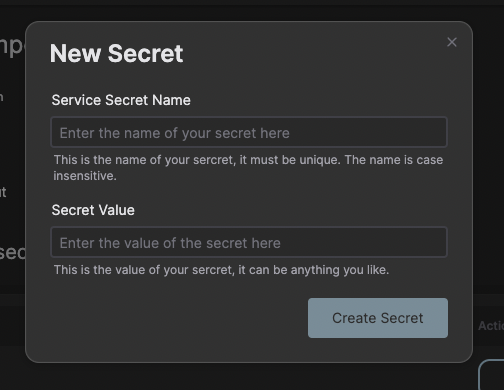
Create the secrets containing the Access Key Id and Secret Access Key for the destination storage access. Note down the name of these secrets as you will be using it later.
  awsaccesskeyid

  awssecretaccesskey
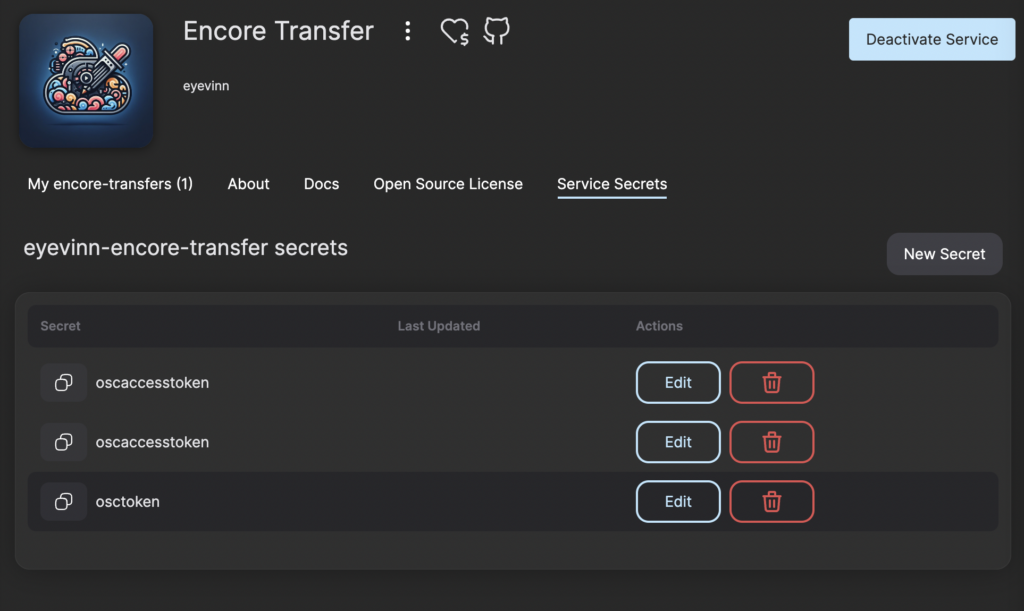
Now navigate to the Encore Transfer service in the web user interface and click on the tab Secrets. Add a secret with your personal access token (OSC token) that you find under Settings and the tab API.
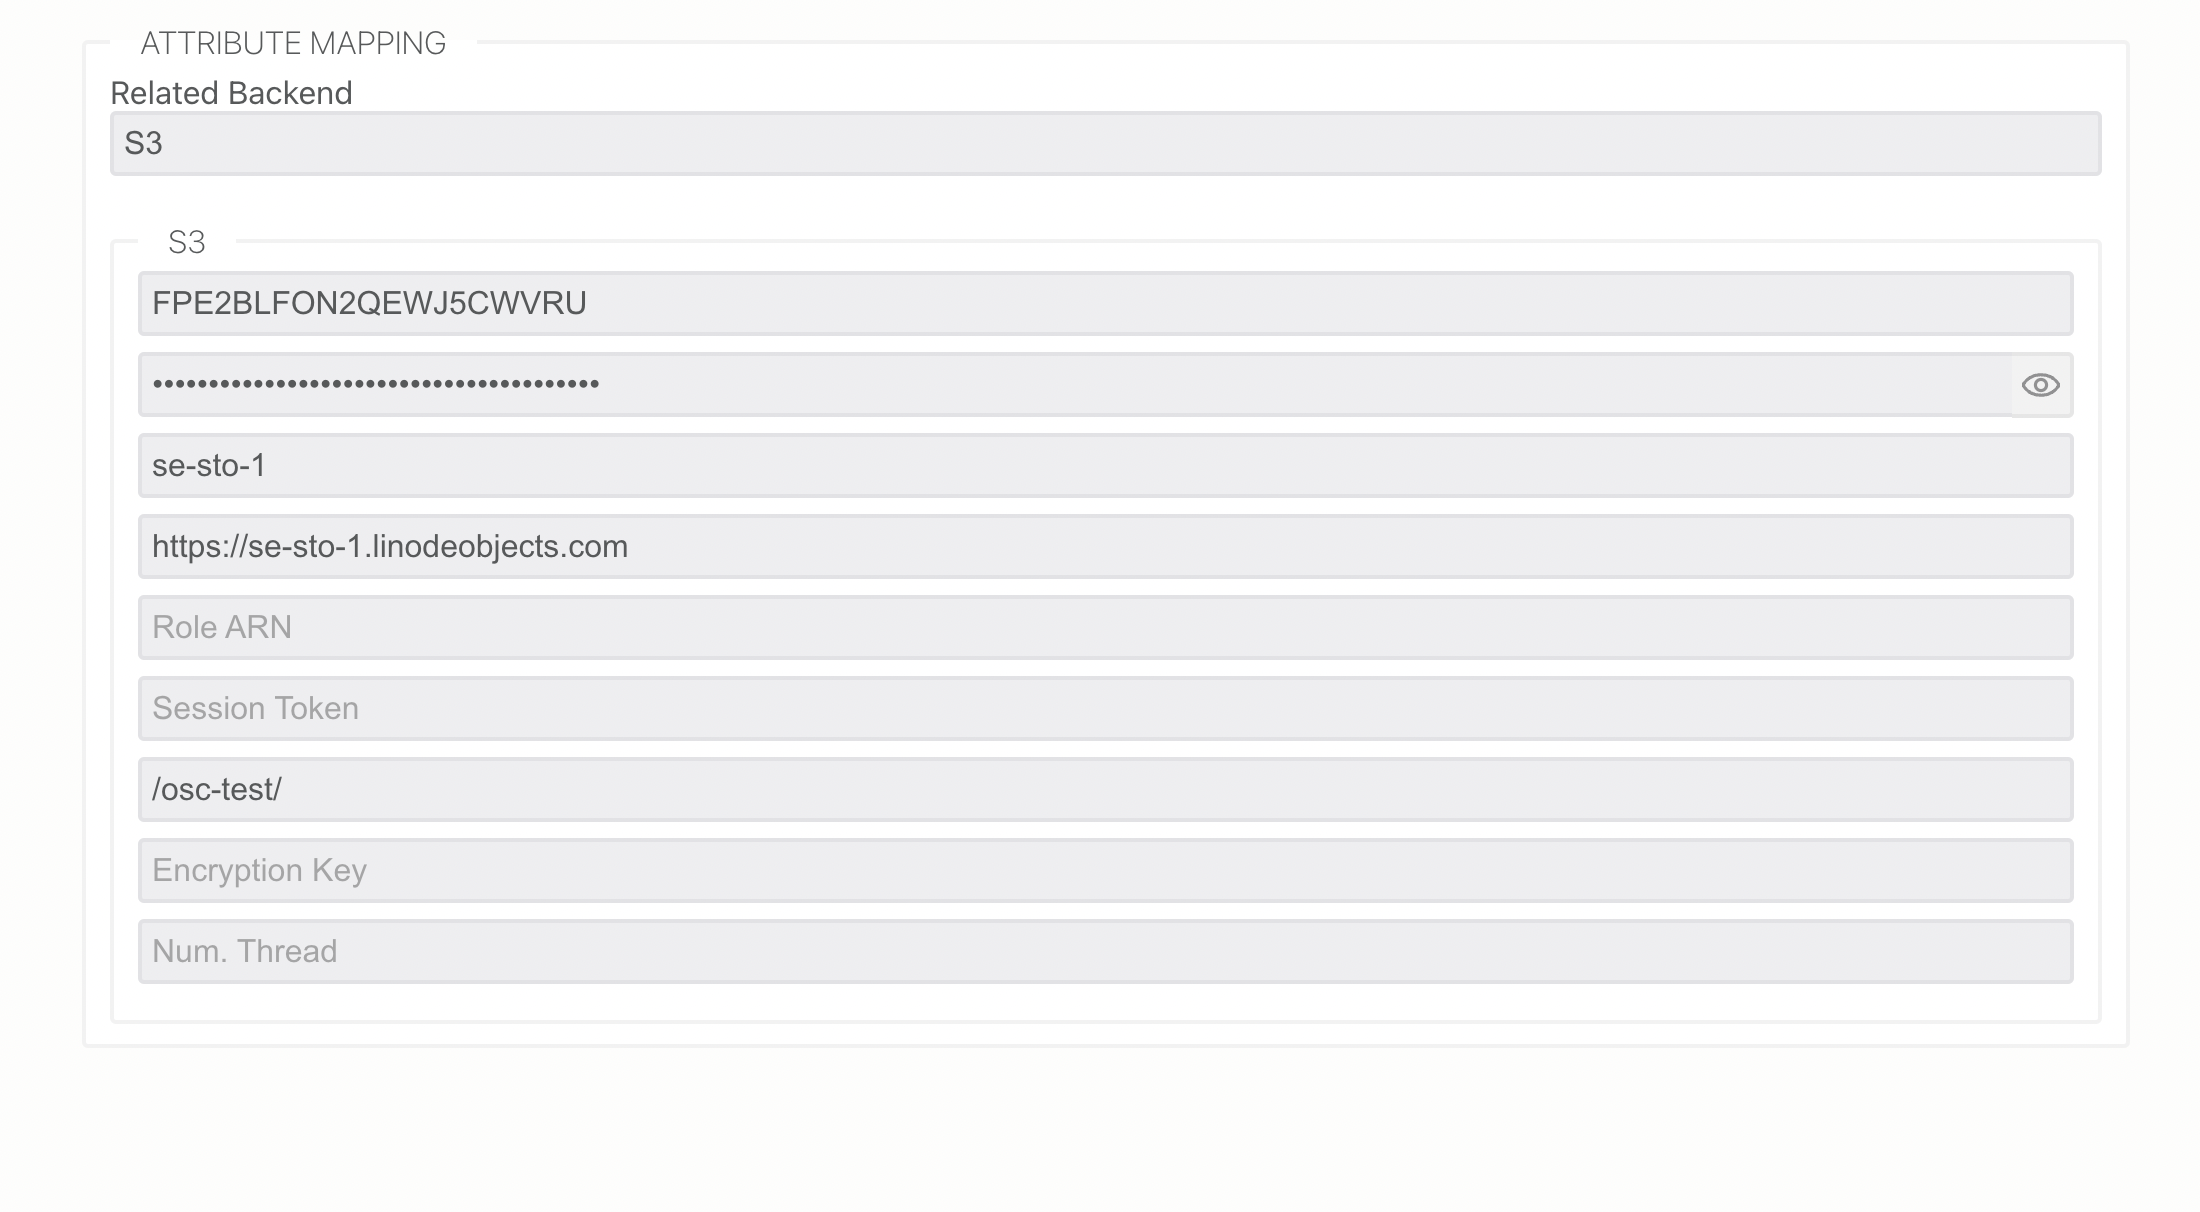
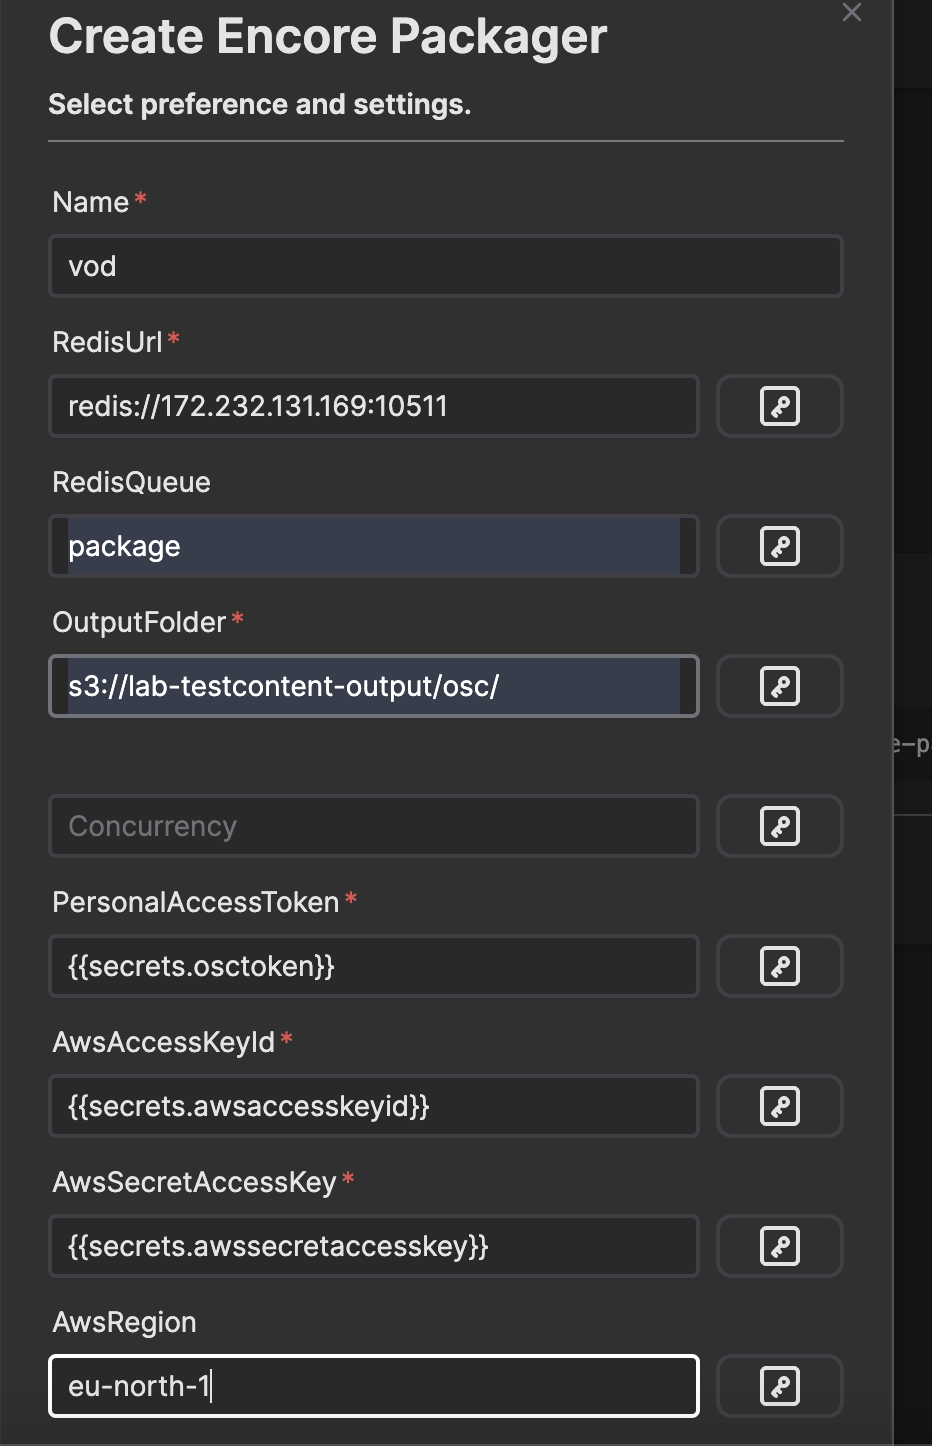
Step 5: Create Encore Transfer service
When the service is created and saved we can now move on with creating the Encore Transfer service. Enter the name of the instance, Redis URL, name of queue in Redis (Valkey), output URL, OSC token and the name of the access key secrets in the Retransfer service. In this example we will have the following values:
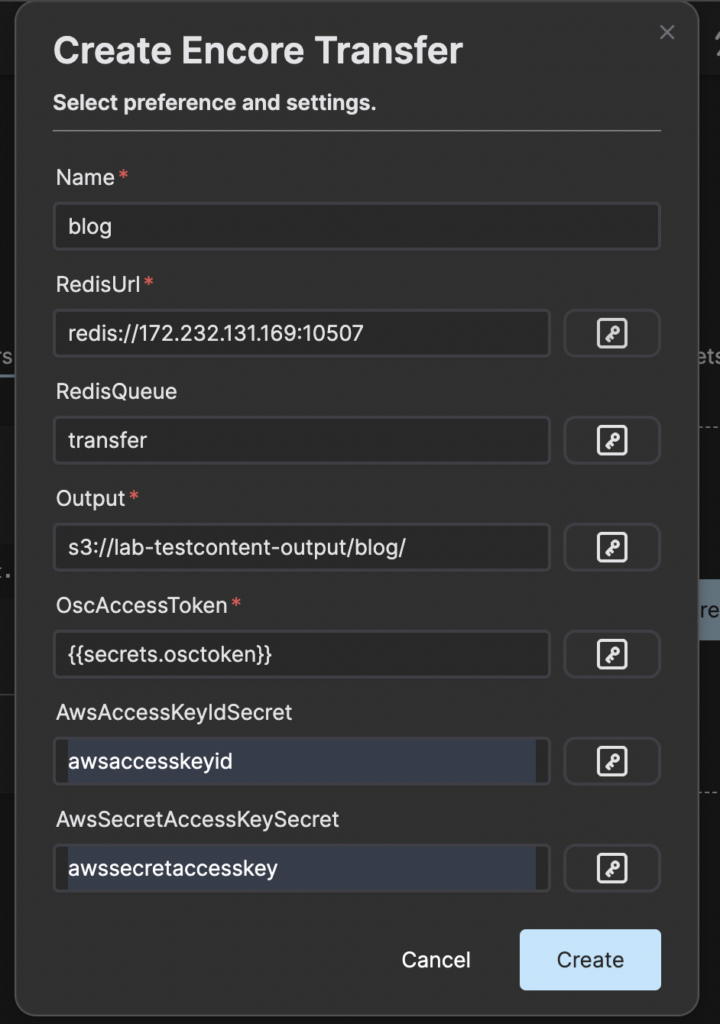
Then press Create and wait for the instance to be ready.
Step 6: Submit a job
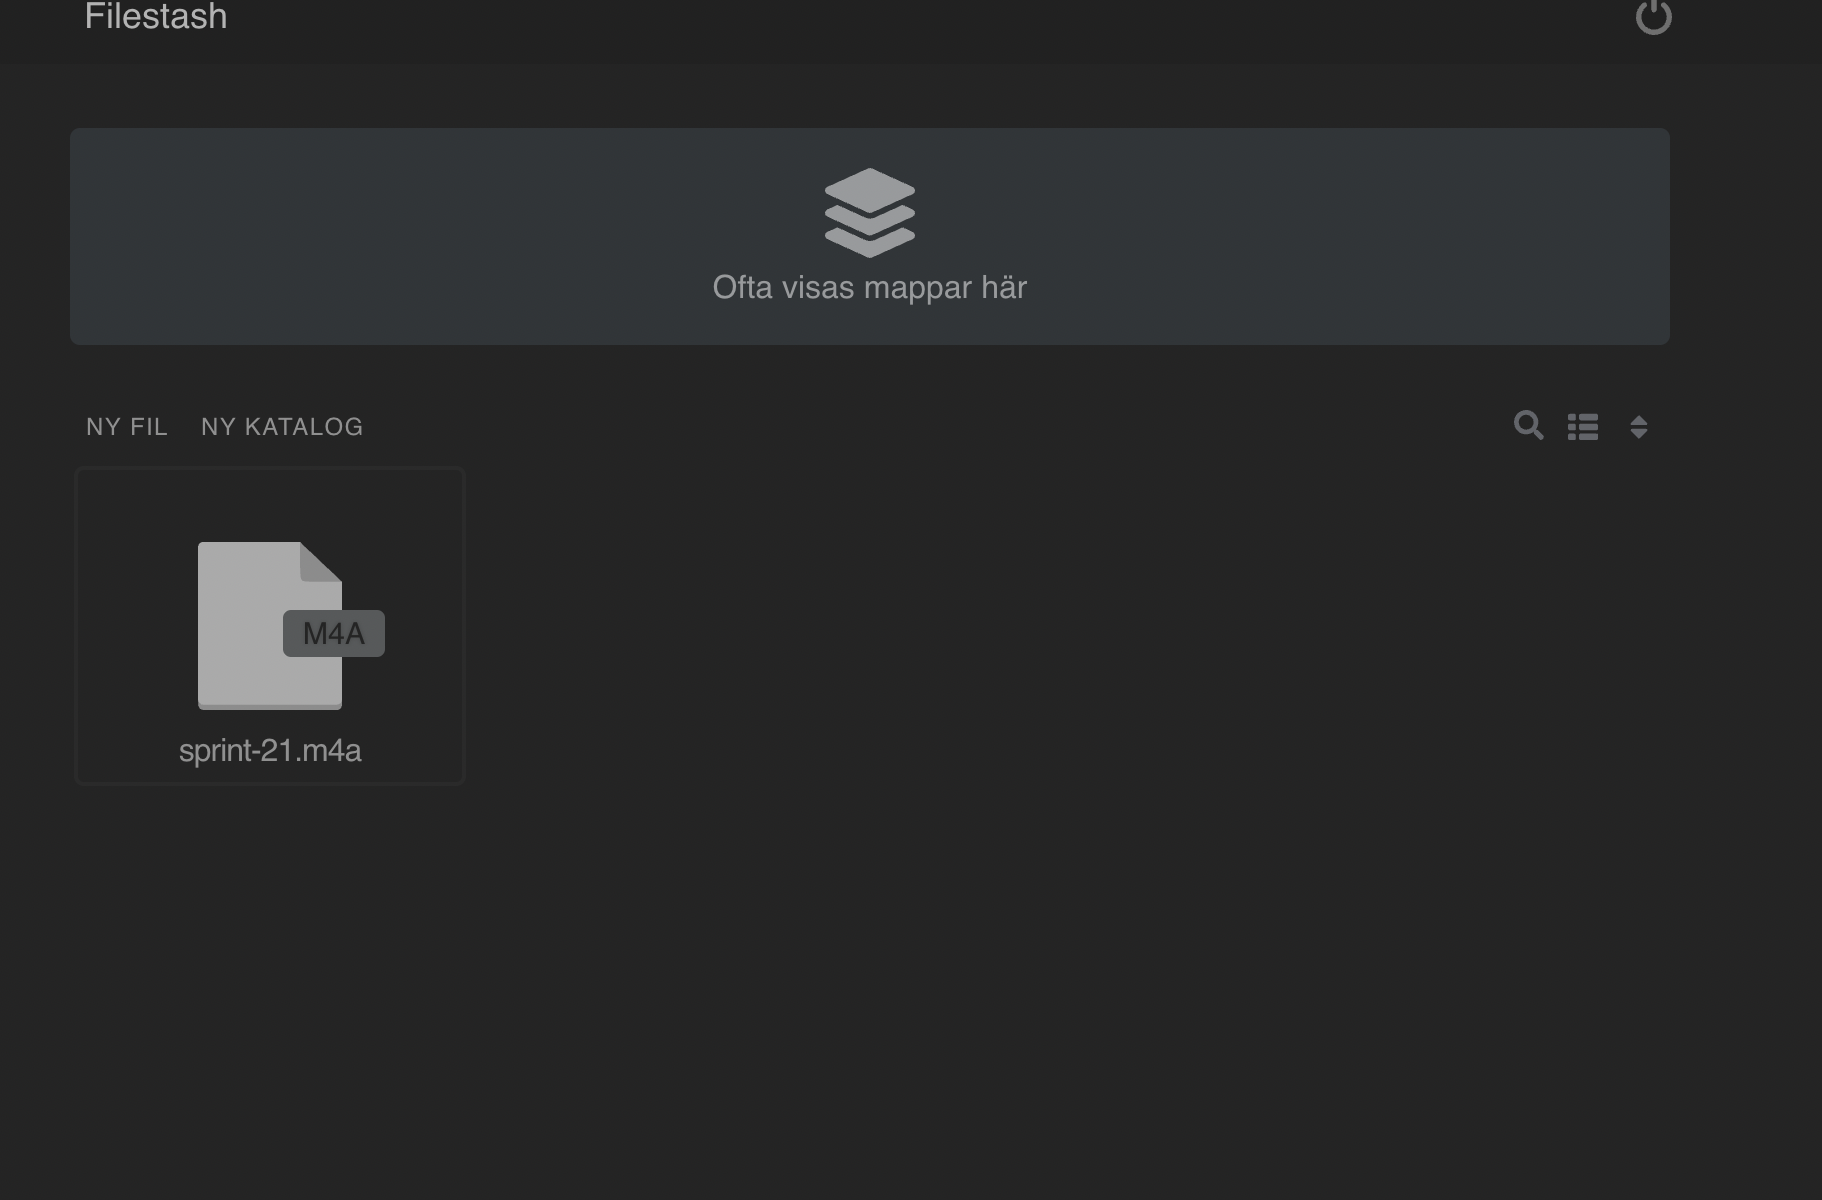
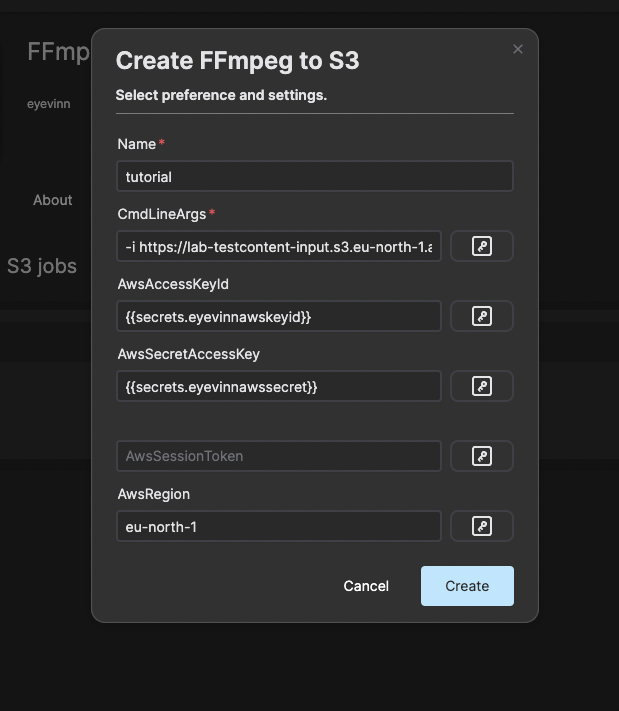
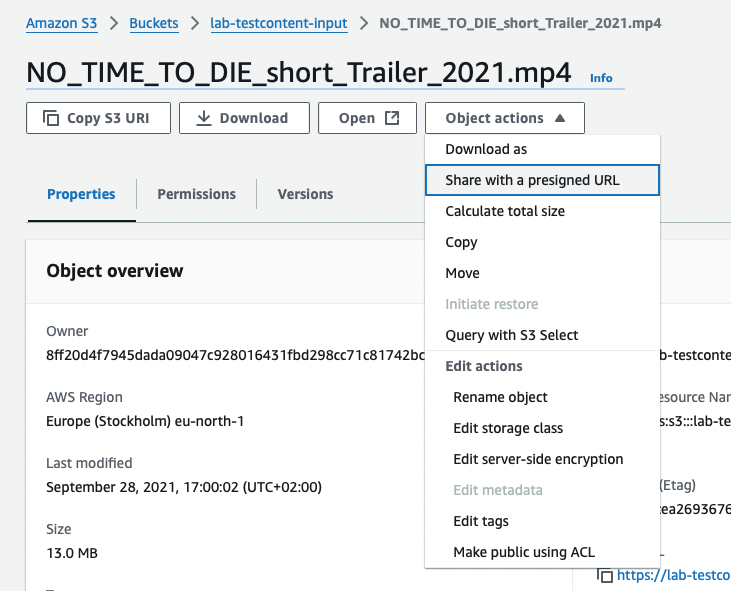
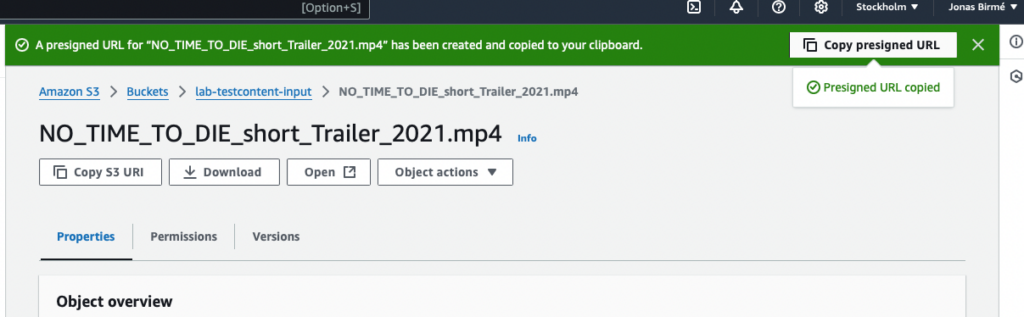
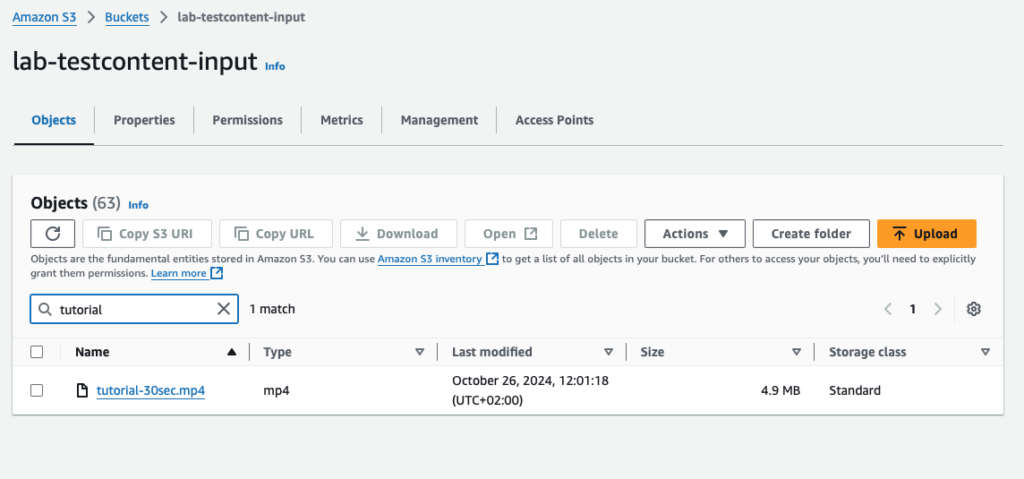
Now we are ready to try transcoding a video file that we have available on an S3 compatible storage. We will create signed URL to the video file we want to transcode. For example:
https://lab-testcontent-input.s3.eu-north-1.amazonaws.com/NO_TIME_TO_DIE_short_Trailer_2021.mp4?SIGNURLSTUFF
Navigate back to the SVT Encore service and press the menu item to open API docs again.
Click on the POST /encoreJobs bar and button Try it out and enter the following JSON
{
  "externalId": "blog",
  "profile": "program",
  "outputFolder": "/usercontent/blog",
  "baseName": "blog",
  "progressCallbackUri": "https://demo-blog.eyevinn-encore-callback-listener.auto.prod.osaas.io/encoreCallback",
  "inputs": [
    {
      "uri": "https://lab-testcontent-input.s3.eu-north-1.amazonaws.com/NO_TIME_TO_DIE_short_Trailer_2021.mp4?SIGNURL",
      "seekTo": 0,
      "copyTs": true,
      "type": "AudioVideo"
    }
  ]
}
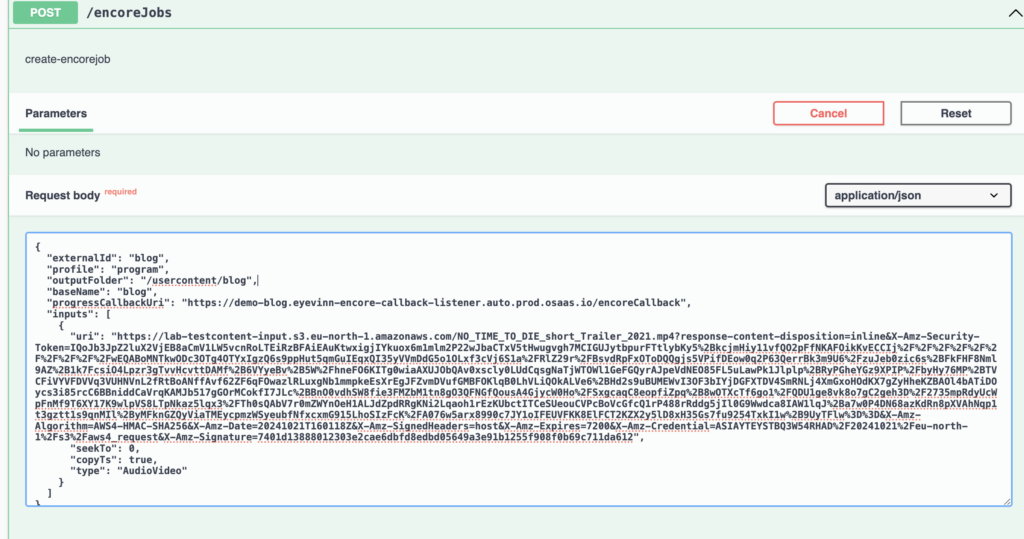
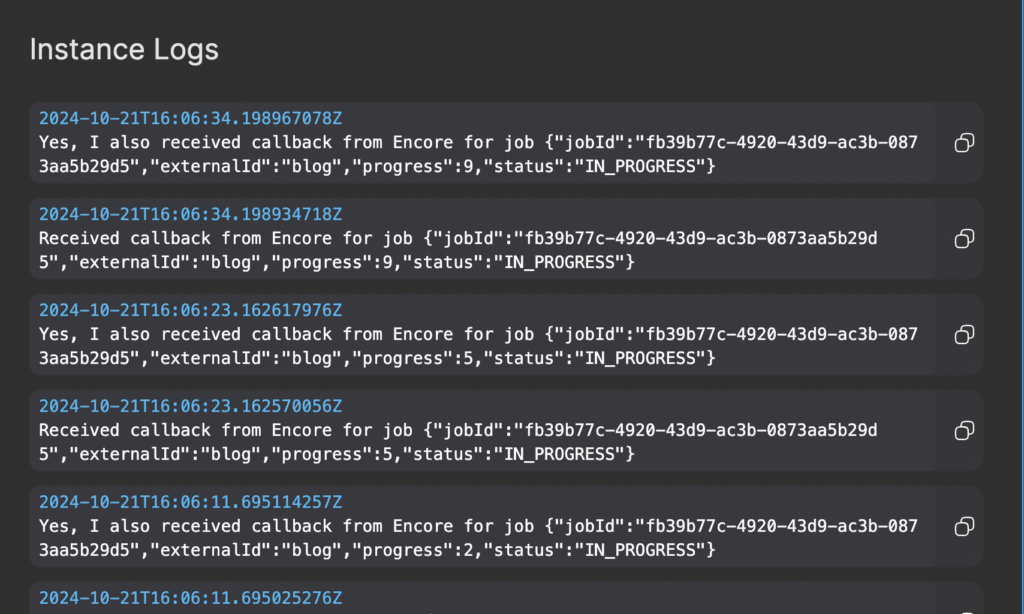
And then press button Execute. Now a job is submitted and if you want to see the progress you can go to the Encore Callback Listener service and open the instance logs to check that it is receiving the callbacks.
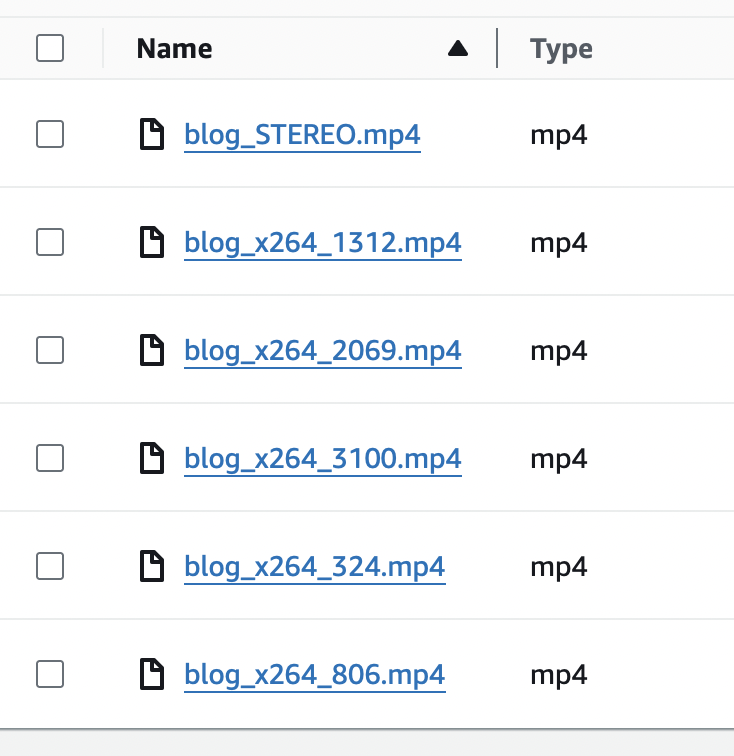
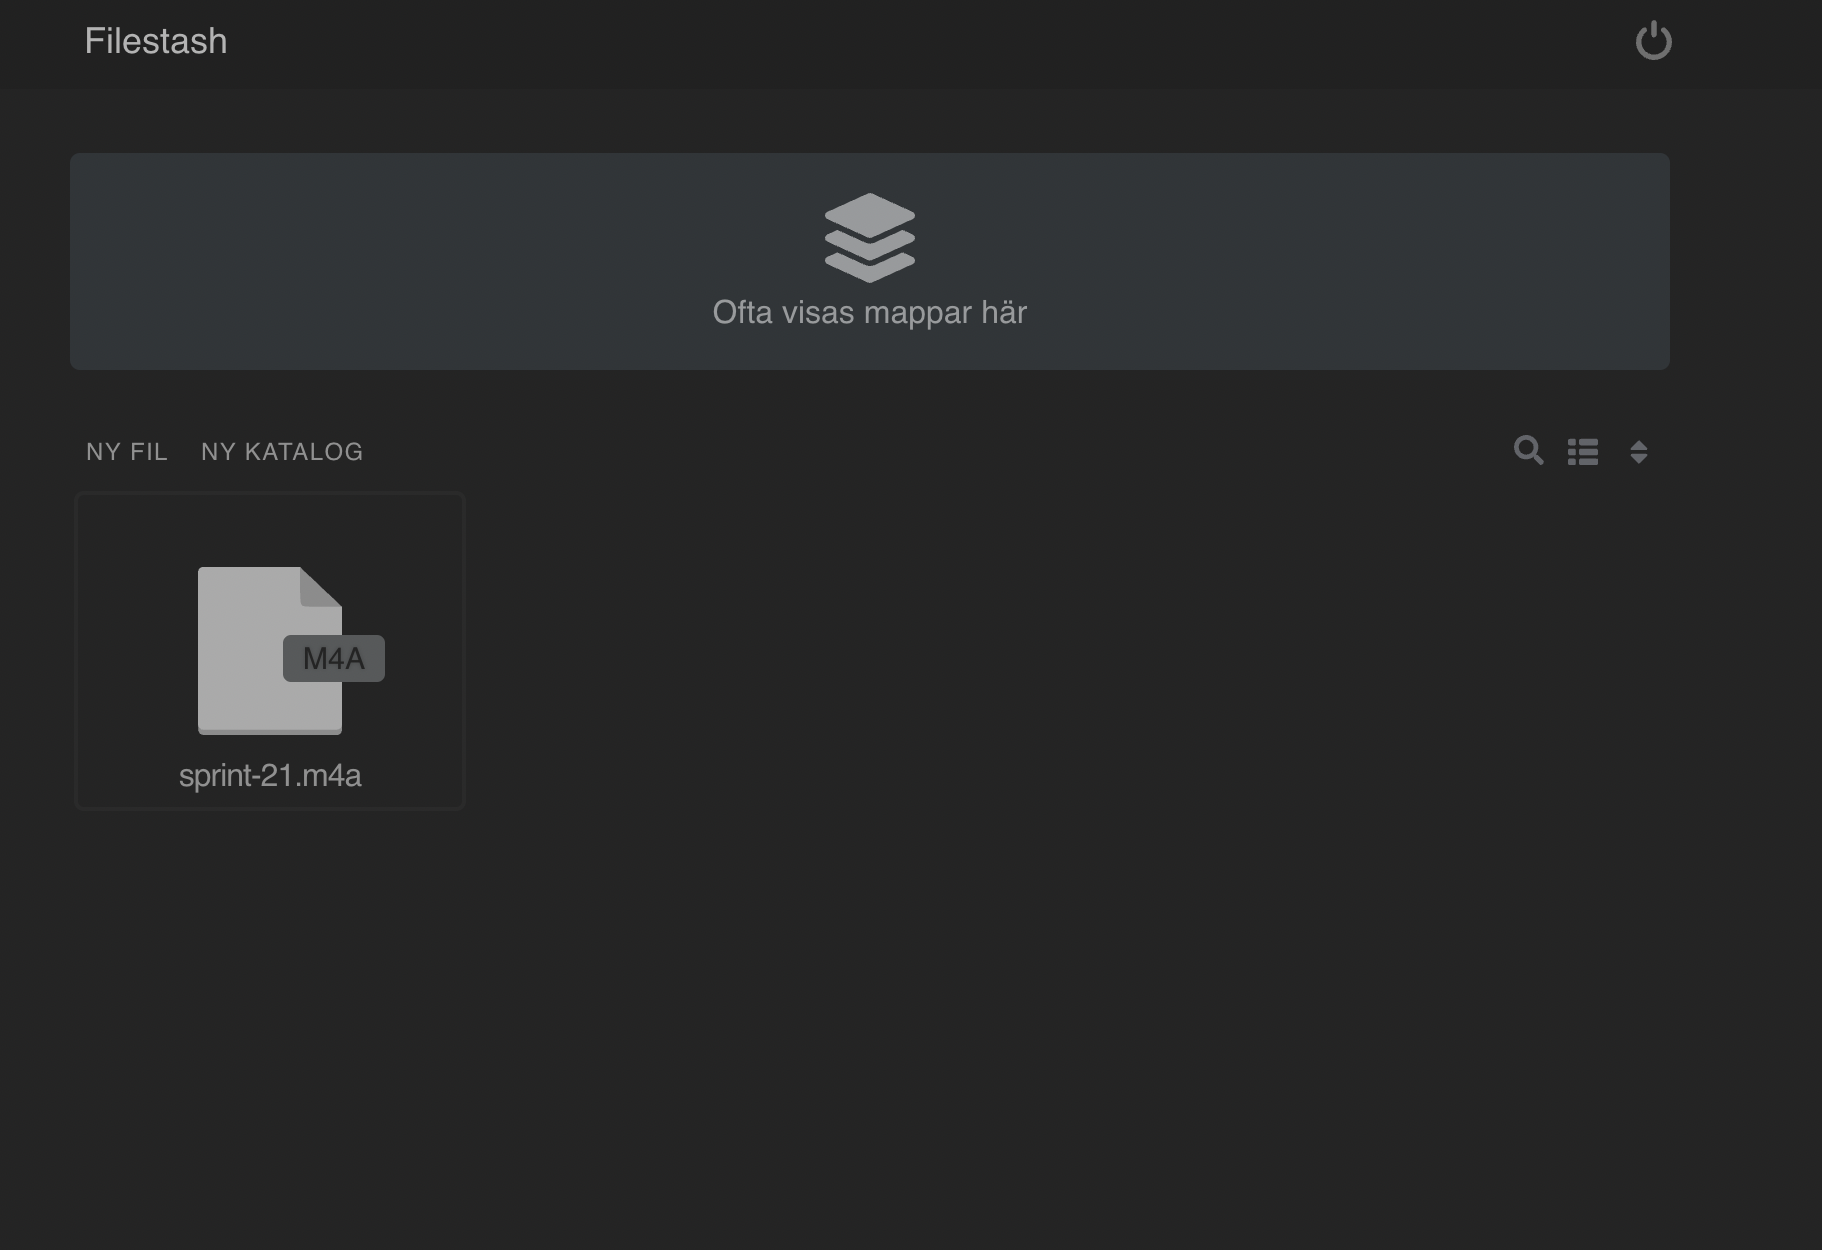
When the transcoding process is completed it will place a job on the transfer queue that will be picked up by the Encore Transfer service. And when all the transfer jobs are completed you will in this example find a set of files in your output bucket where you have set of different variants with different resolutions and bitrates.
Conclusion
You now have a fully fledged video transcoding pipeline for preparing video files for streaming using ´SVT Encore with some supporting services. All based on open source and you don’t have to setup your own infrastructure for this to get started. If you later choose to do so you are free to do it as the code and everything demonstrated here is available as open source.